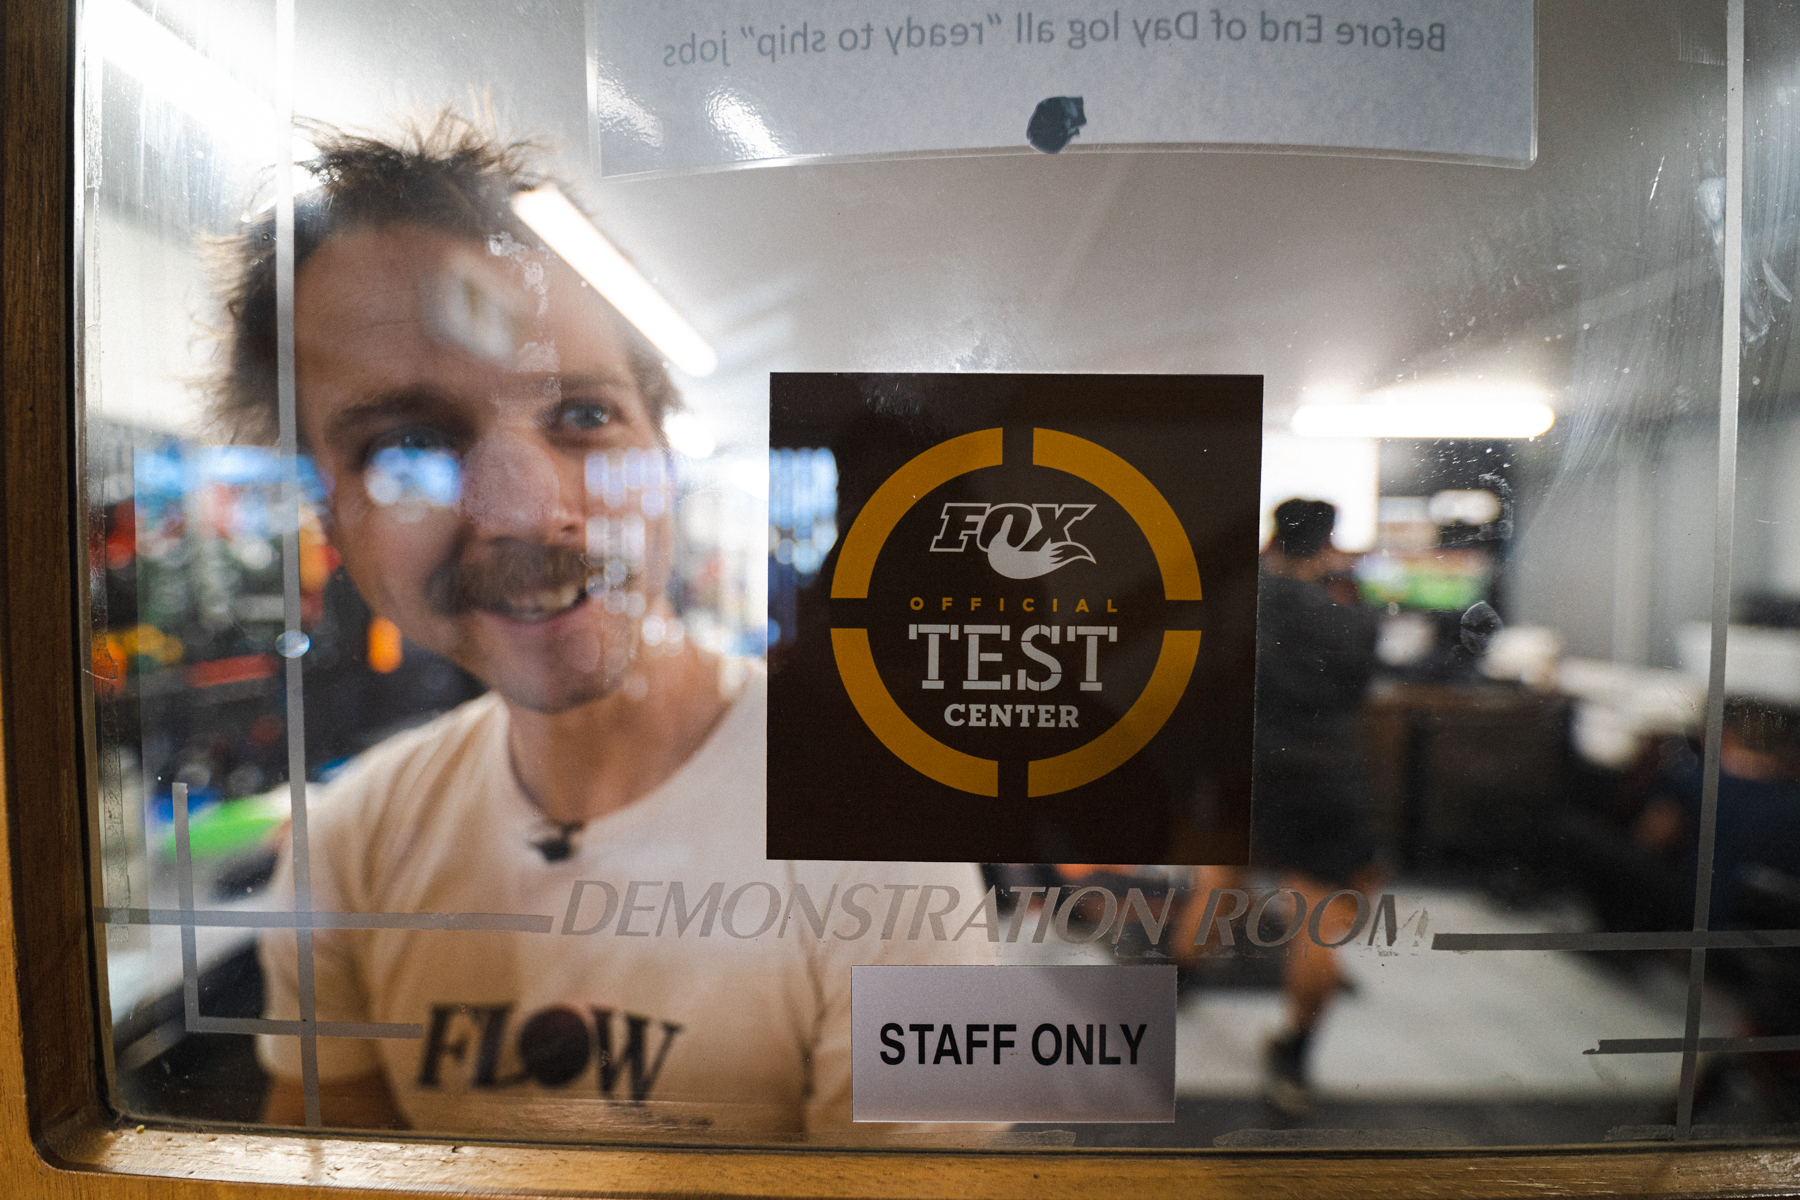
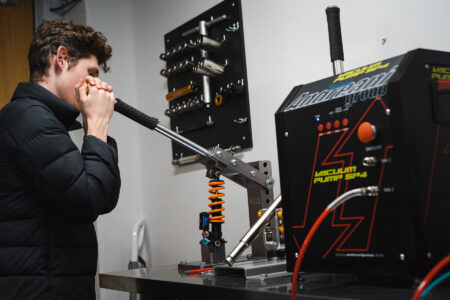
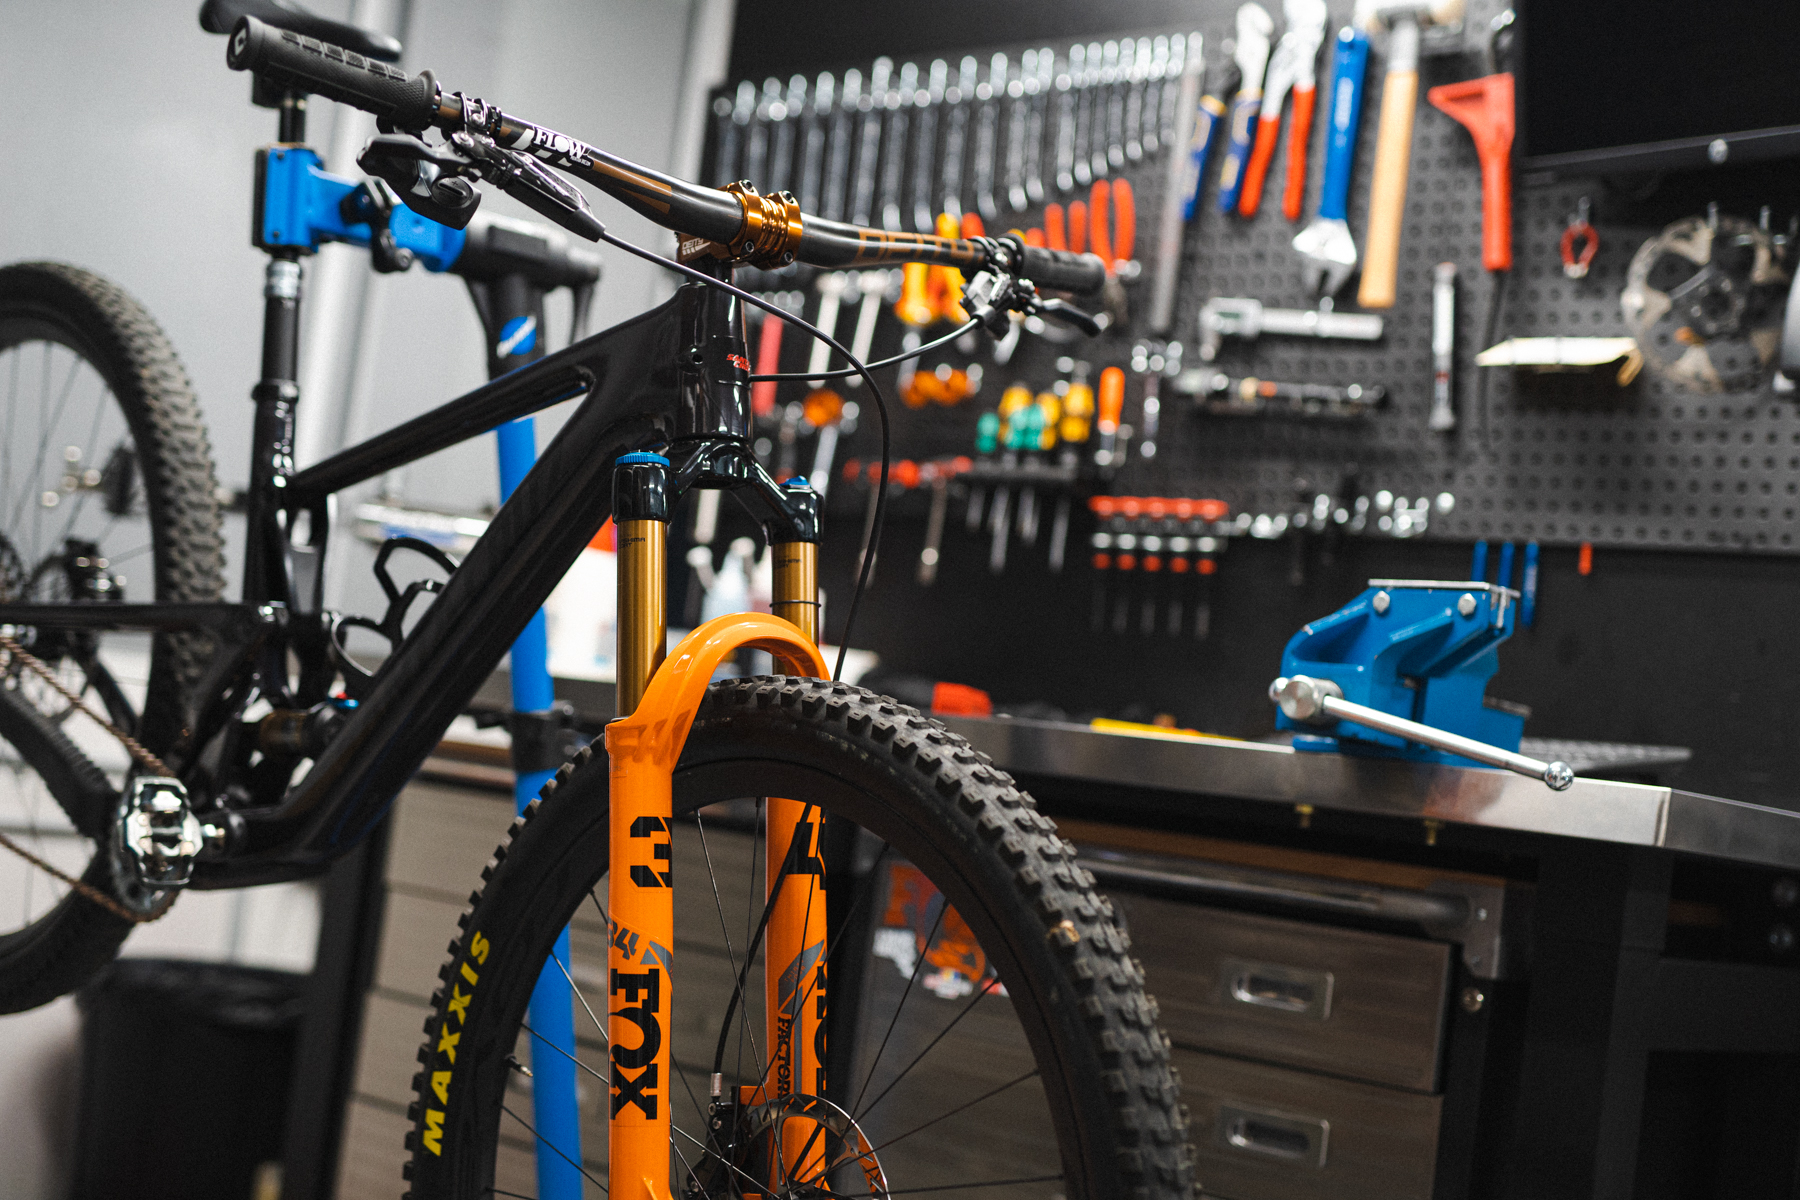
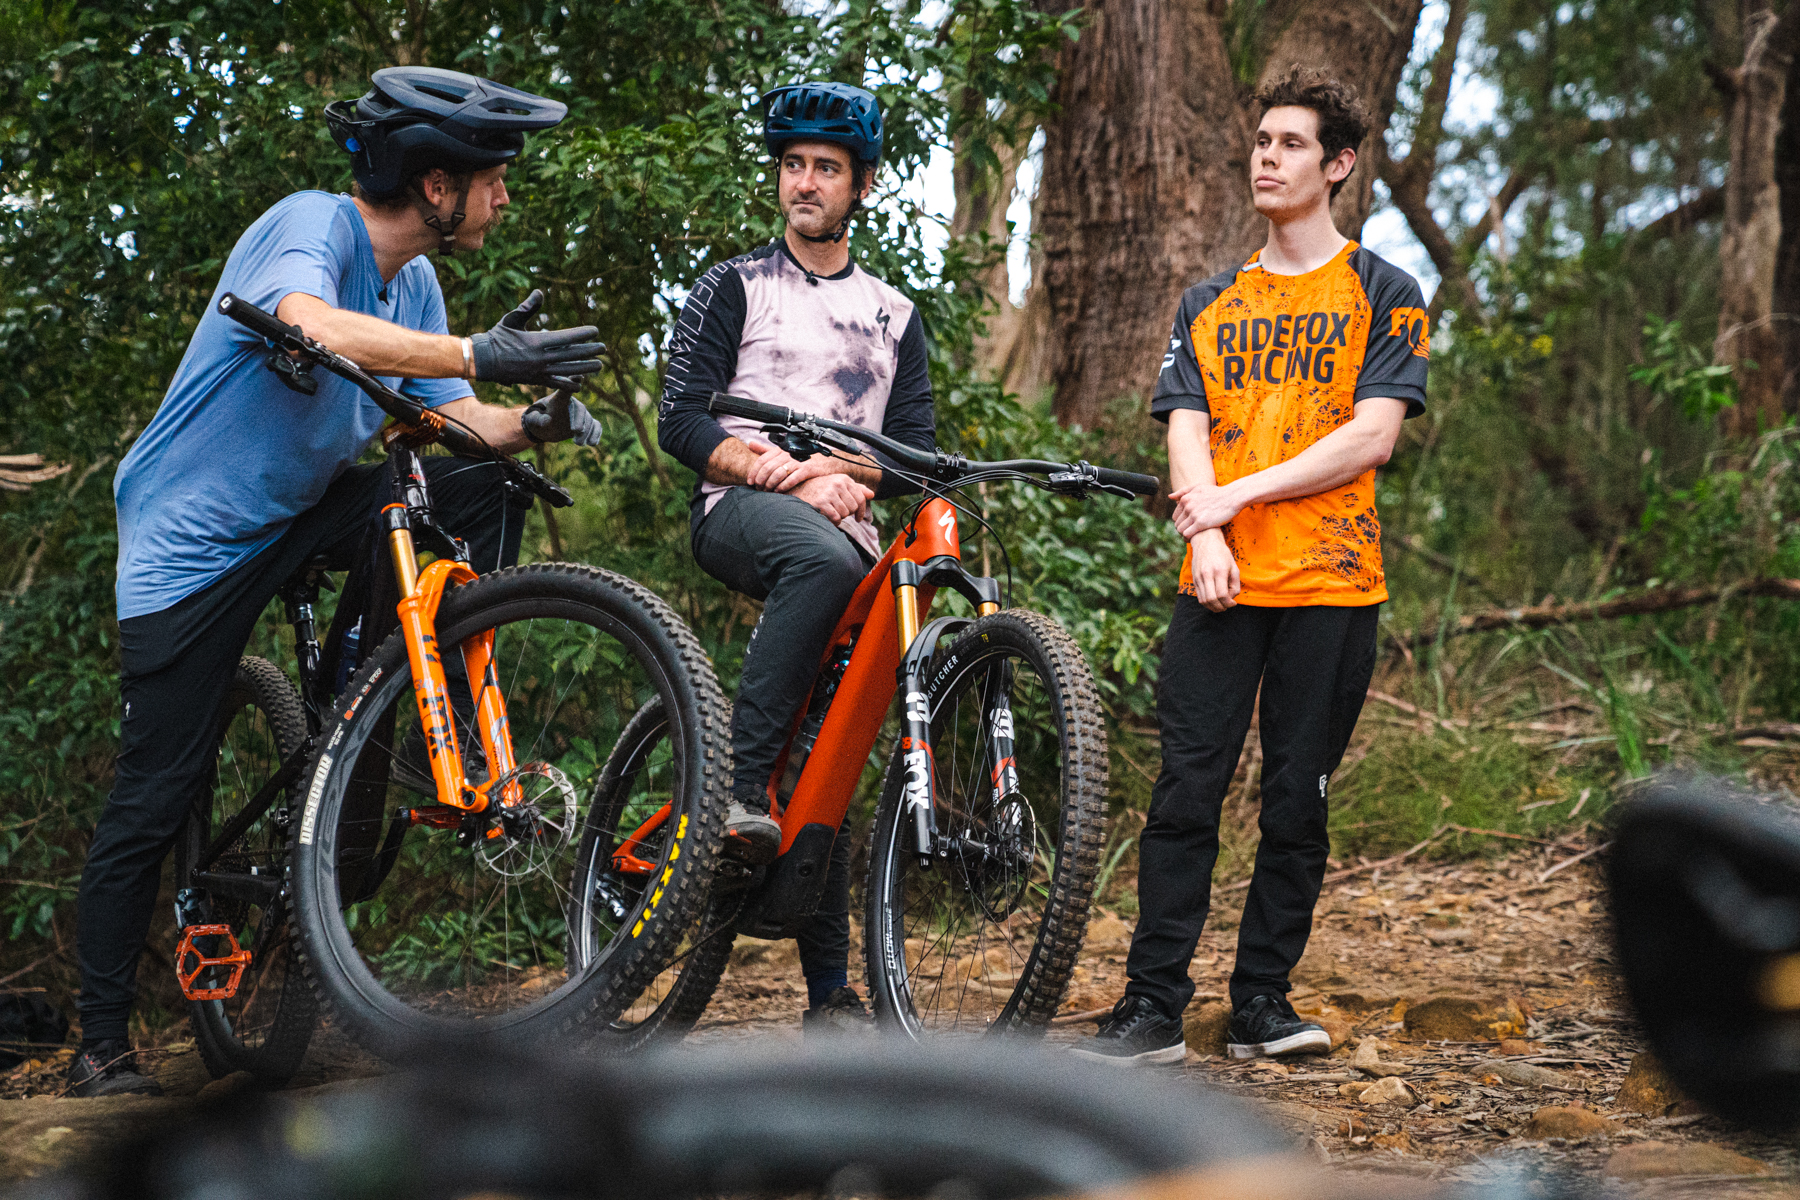
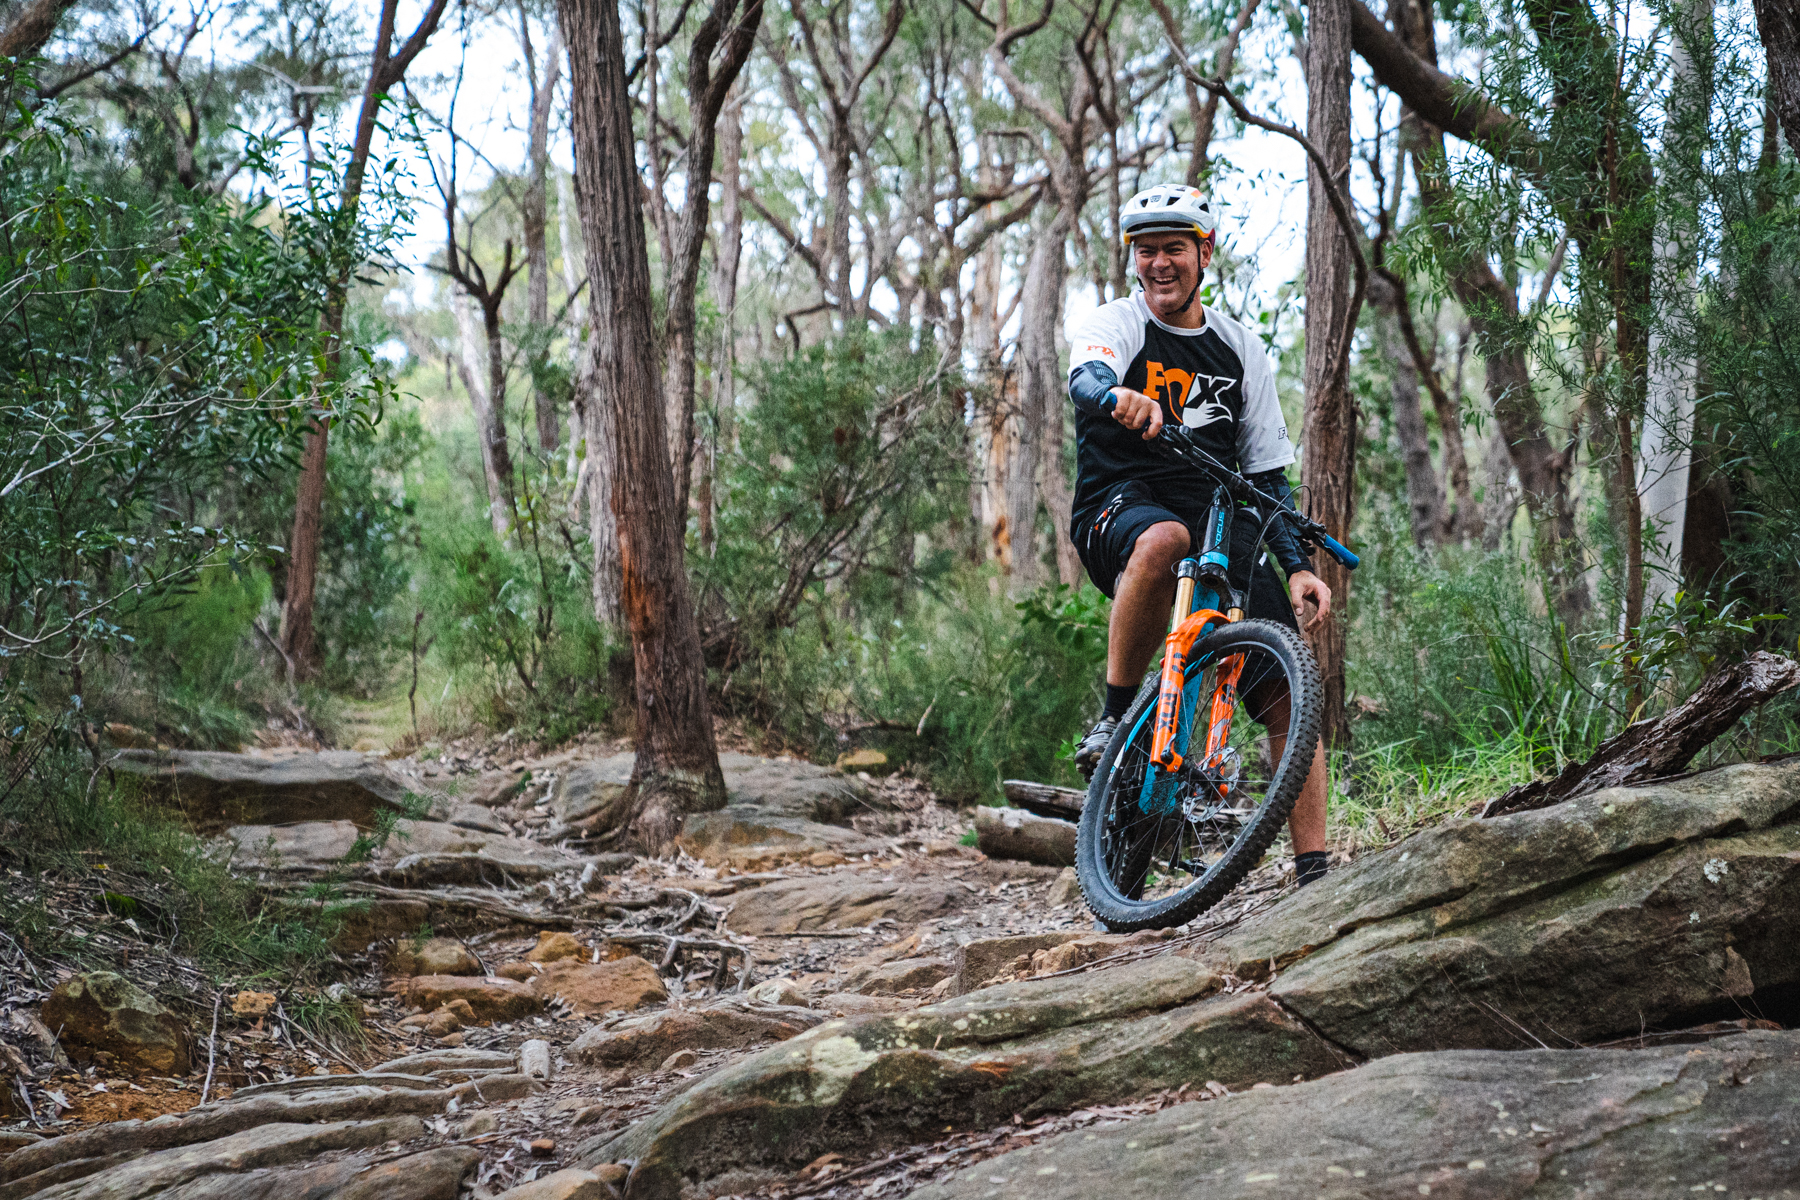
We’ll admit that we haven’t always been model students when it comes to suspension servicing, and recently it became apparent that a few bikes in the Flow test fleet were in dire need of some TLC. But instead of sending those forks, shocks and dropper posts off in the post, we decided to pay a visit to the crew at Fox Factory Australia to check out their facility and meet the people behind the company. We were keen to see how they service suspension in-house, and find out whether we could learn a few tips and tricks ourselves. Following a morning tour of their impeccable workshop, we then went out for an afternoon ride on the Fox crew’s local trails to talk all things suspension setup and broaden our knowledge on the latest forks and shocks.
Join Flow and the Fox Factory crew in the workshop and out on the trails!


So if you spend an average of five hours a week riding your mountain bike, you’ll actually need to service your Fox fork and shock twice per year.
Fox Factory Australia
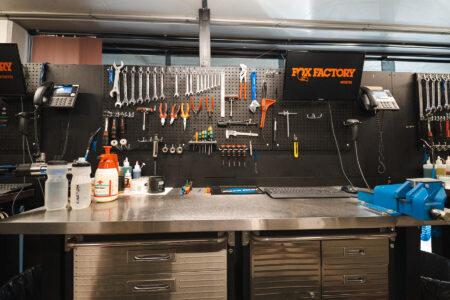
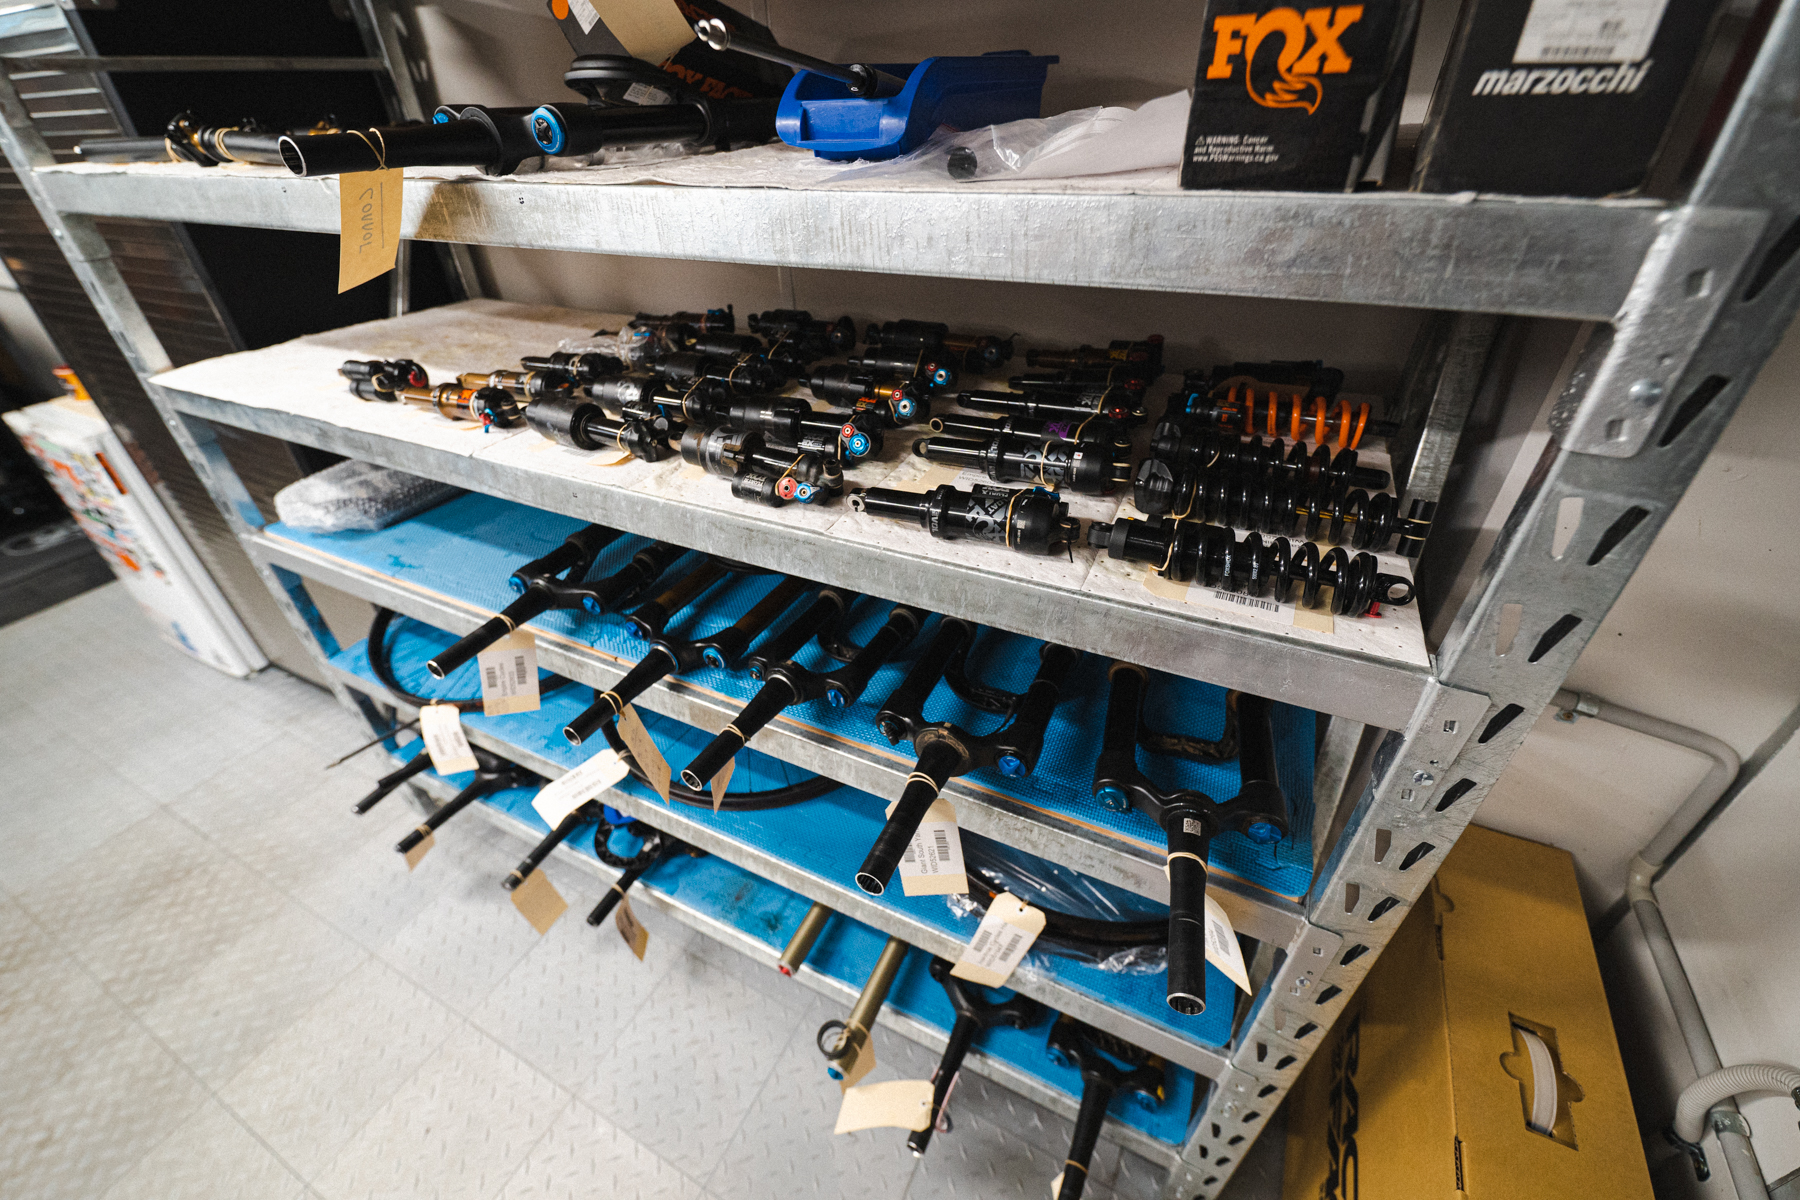
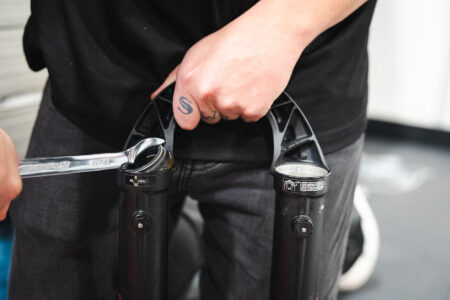
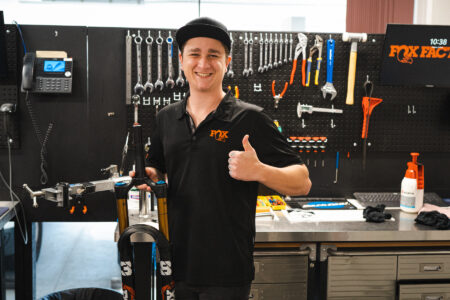
Based in the North Western suburbs of Sydney, Fox Factory Australia (previously Sola Sport) is the place where all the shiny new Fox, Marzocchi, Race Face and Easton product arrives before it gets sent out to dealers all around the country. Fox Factory Australia also handles warranty support for those brands, with a well-stocked workshop and three full-time mechanics carrying out routine servicing on forks, shocks and dropper posts.
While bike shops regularly send in product for servicing, riders can also deal with Fox directly if they prefer. If you’re capable of removing your fork or shock and putting it in a box, it’s then simply a case of booking your repair online via the Fox Factory Australia website. Pending how busy the workshop is, you’ll be looking at an average turnaround time of 3-5 working days.

That’s why routine servicing is so important — not just to avoid causing long-term damage, but also to ensure that your mountain bike is performing at the level it’s designed to.
How often should I be servicing my suspension?
According to Fox Racing Shox, you should be servicing your fork and shock every 125 hours of ride time, or around once per year. If you break it down, this equates to roughly a 2.4 hour ride per week. So if you spend an average of five hours a week riding your mountain bike, you’ll actually need to service your Fox fork and shock twice per year. That same interval goes for Fox Transfer dropper posts.
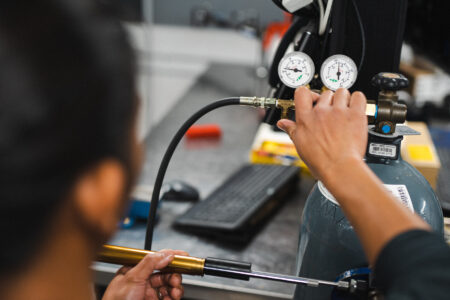
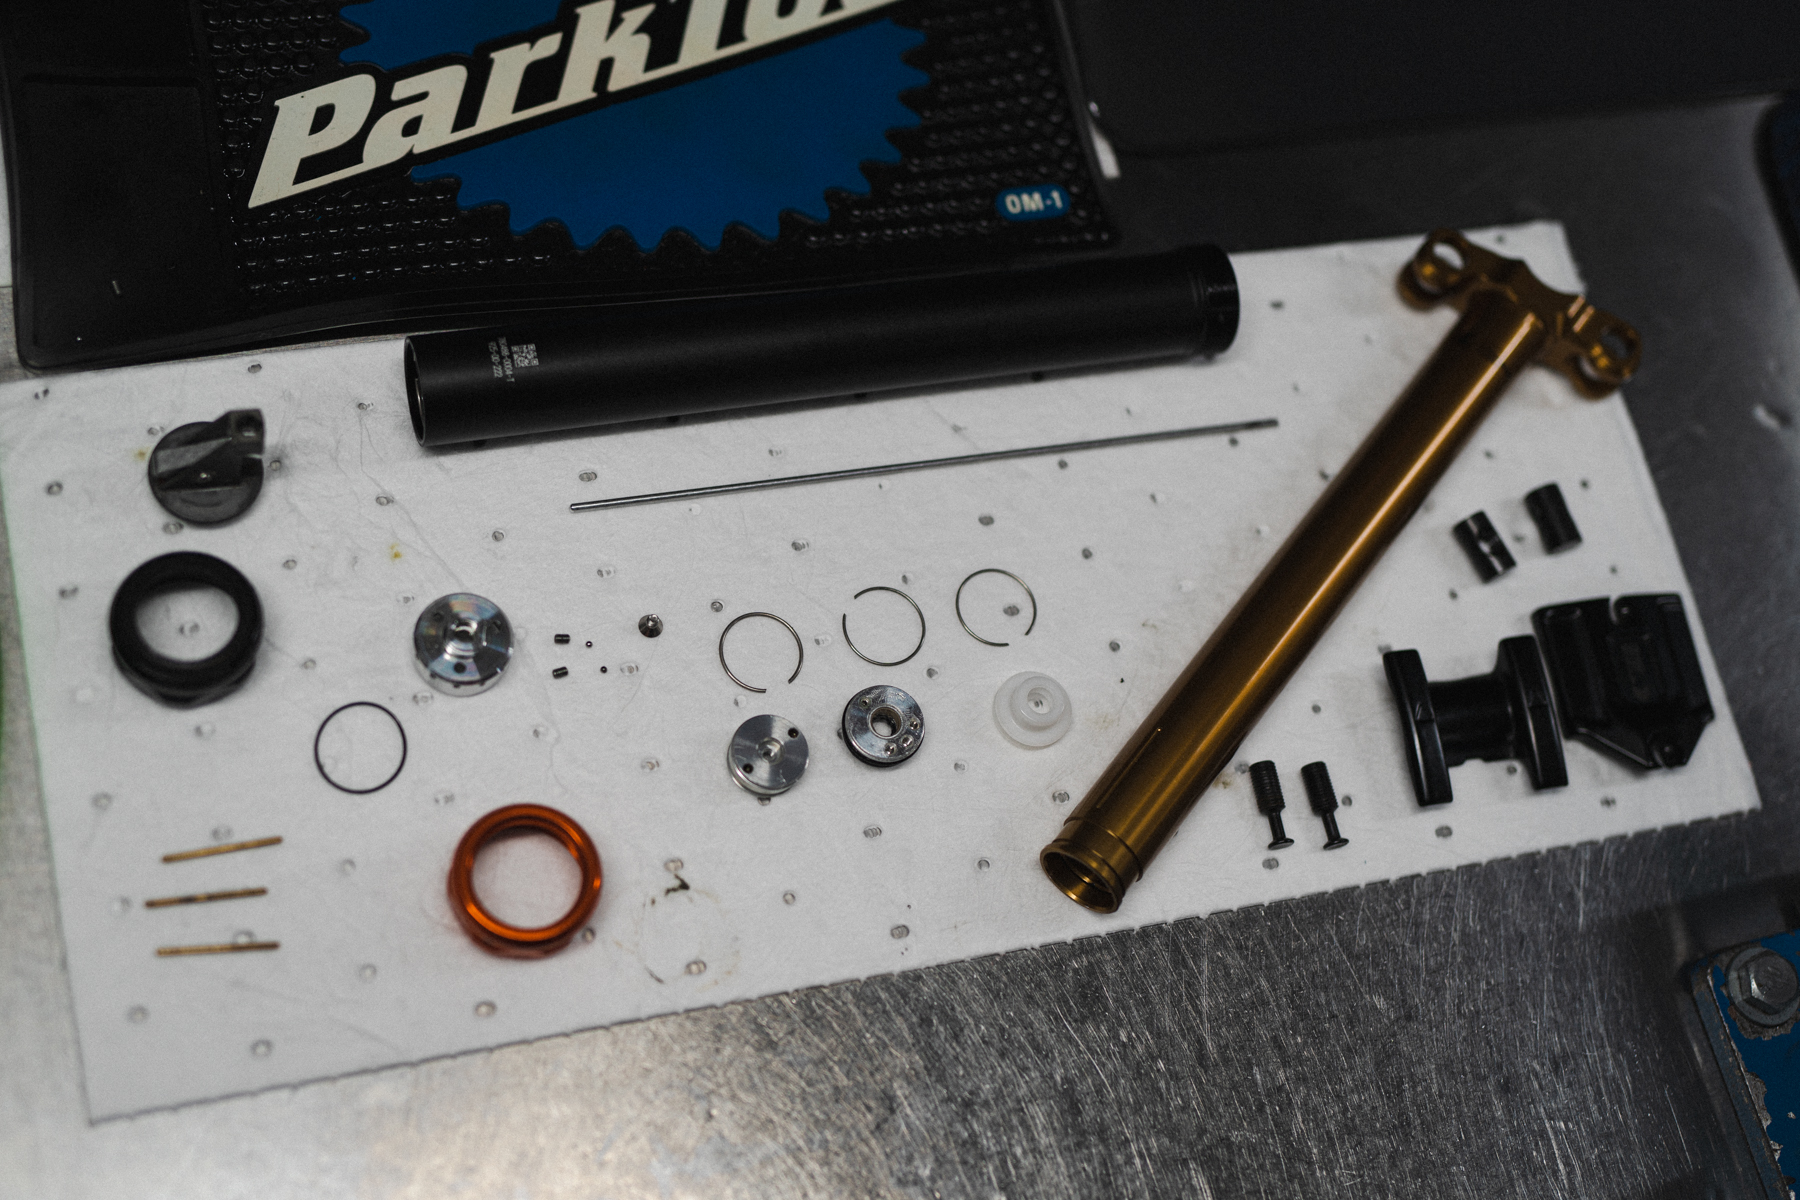
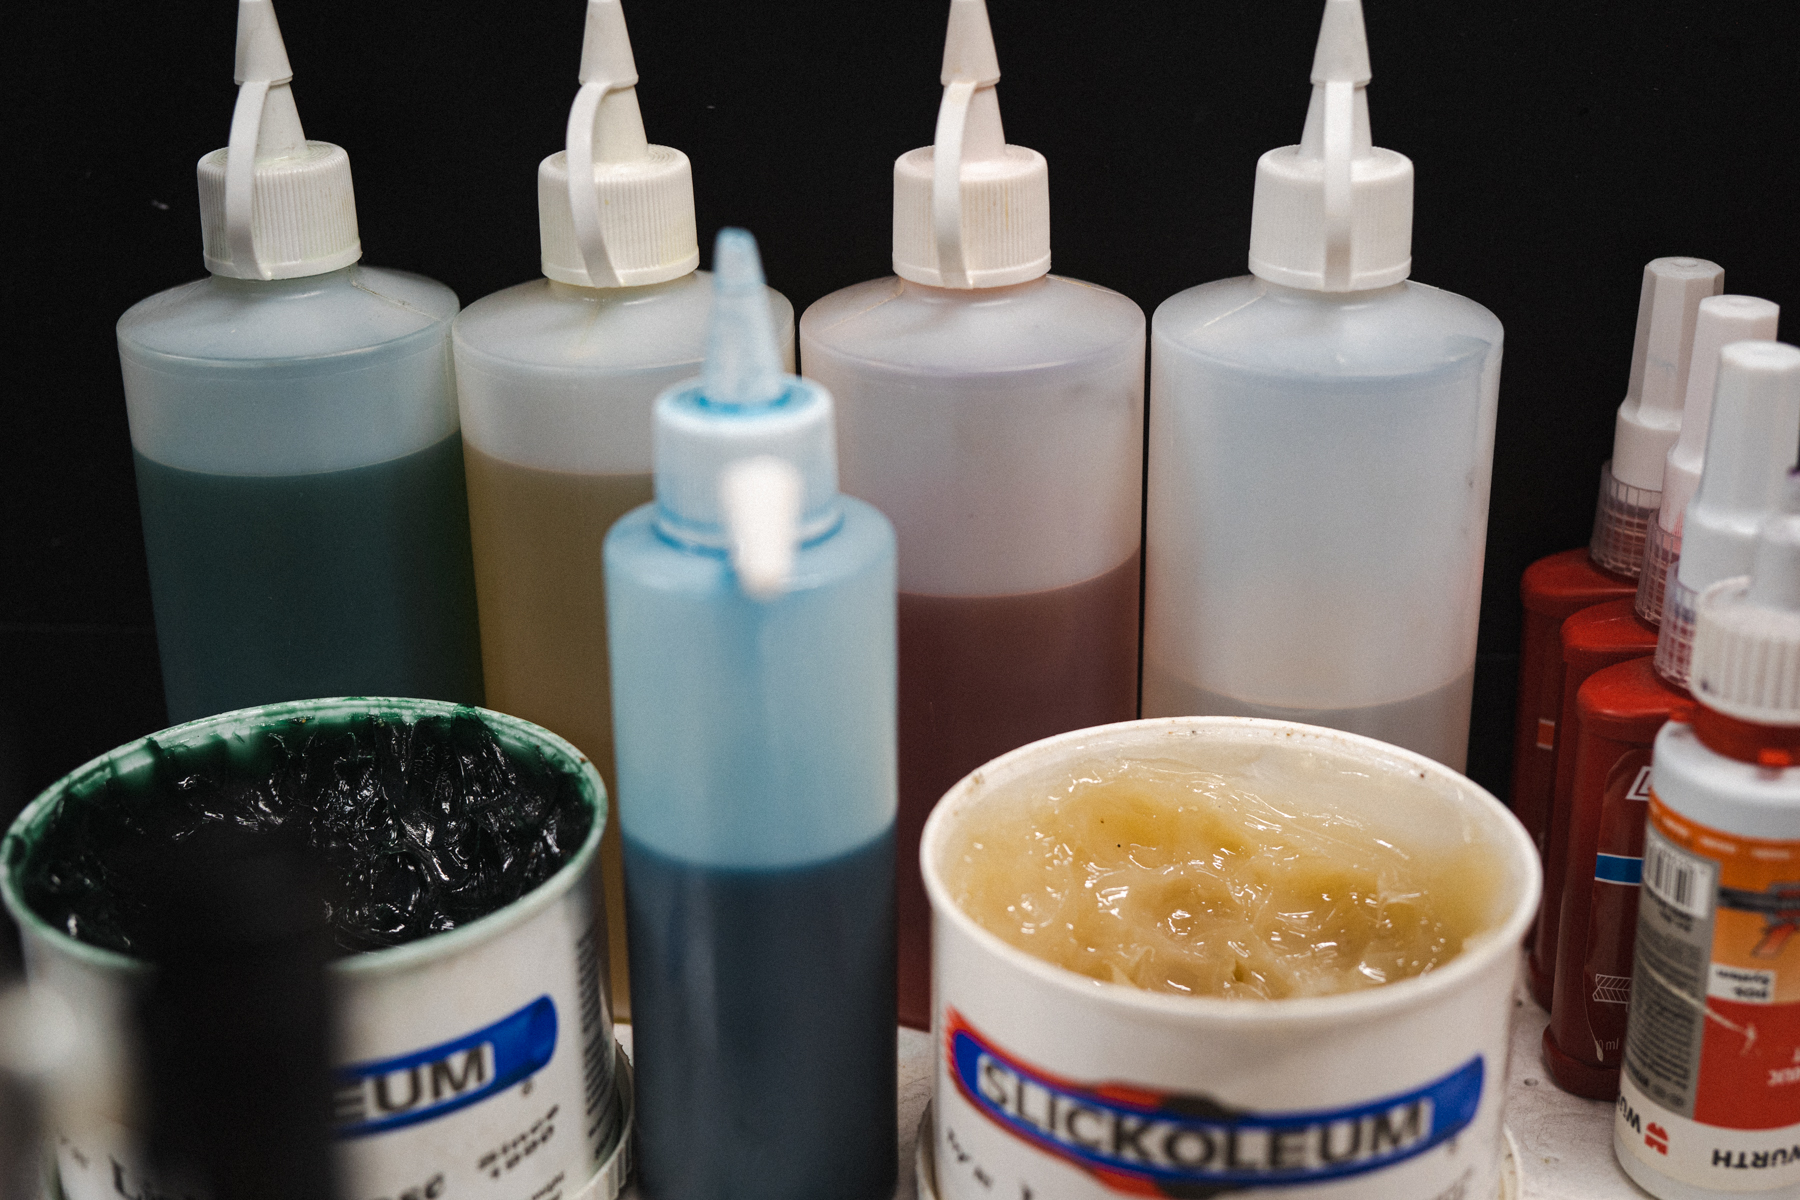
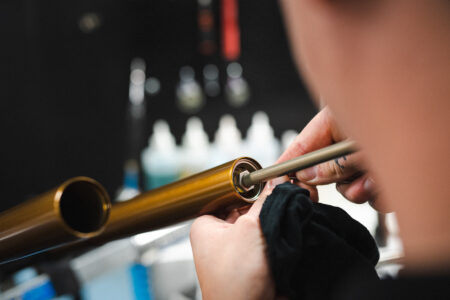
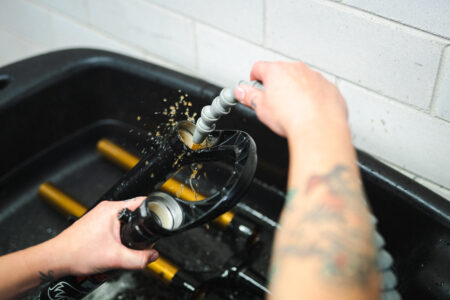
As well as replacing key wear items, like bushings and seals, routine servicing is also about replenishing the lubrication oil and grease. That’s because these fluids will naturally dissipate over time, which is exacerbated when you ride in dusty or muddy conditions. Should your suspension or dropper post end up being run dry, it can cause excessive wear on parts that will lead to irreversible damage, which is often expensive to repair.
The problem is that this deterioration in performance tends to happen very gradually over time, making it difficult for you to notice. That’s why routine servicing is so important — not just to avoid causing long-term damage, but also to ensure that your mountain bike is performing at the level it’s designed to.
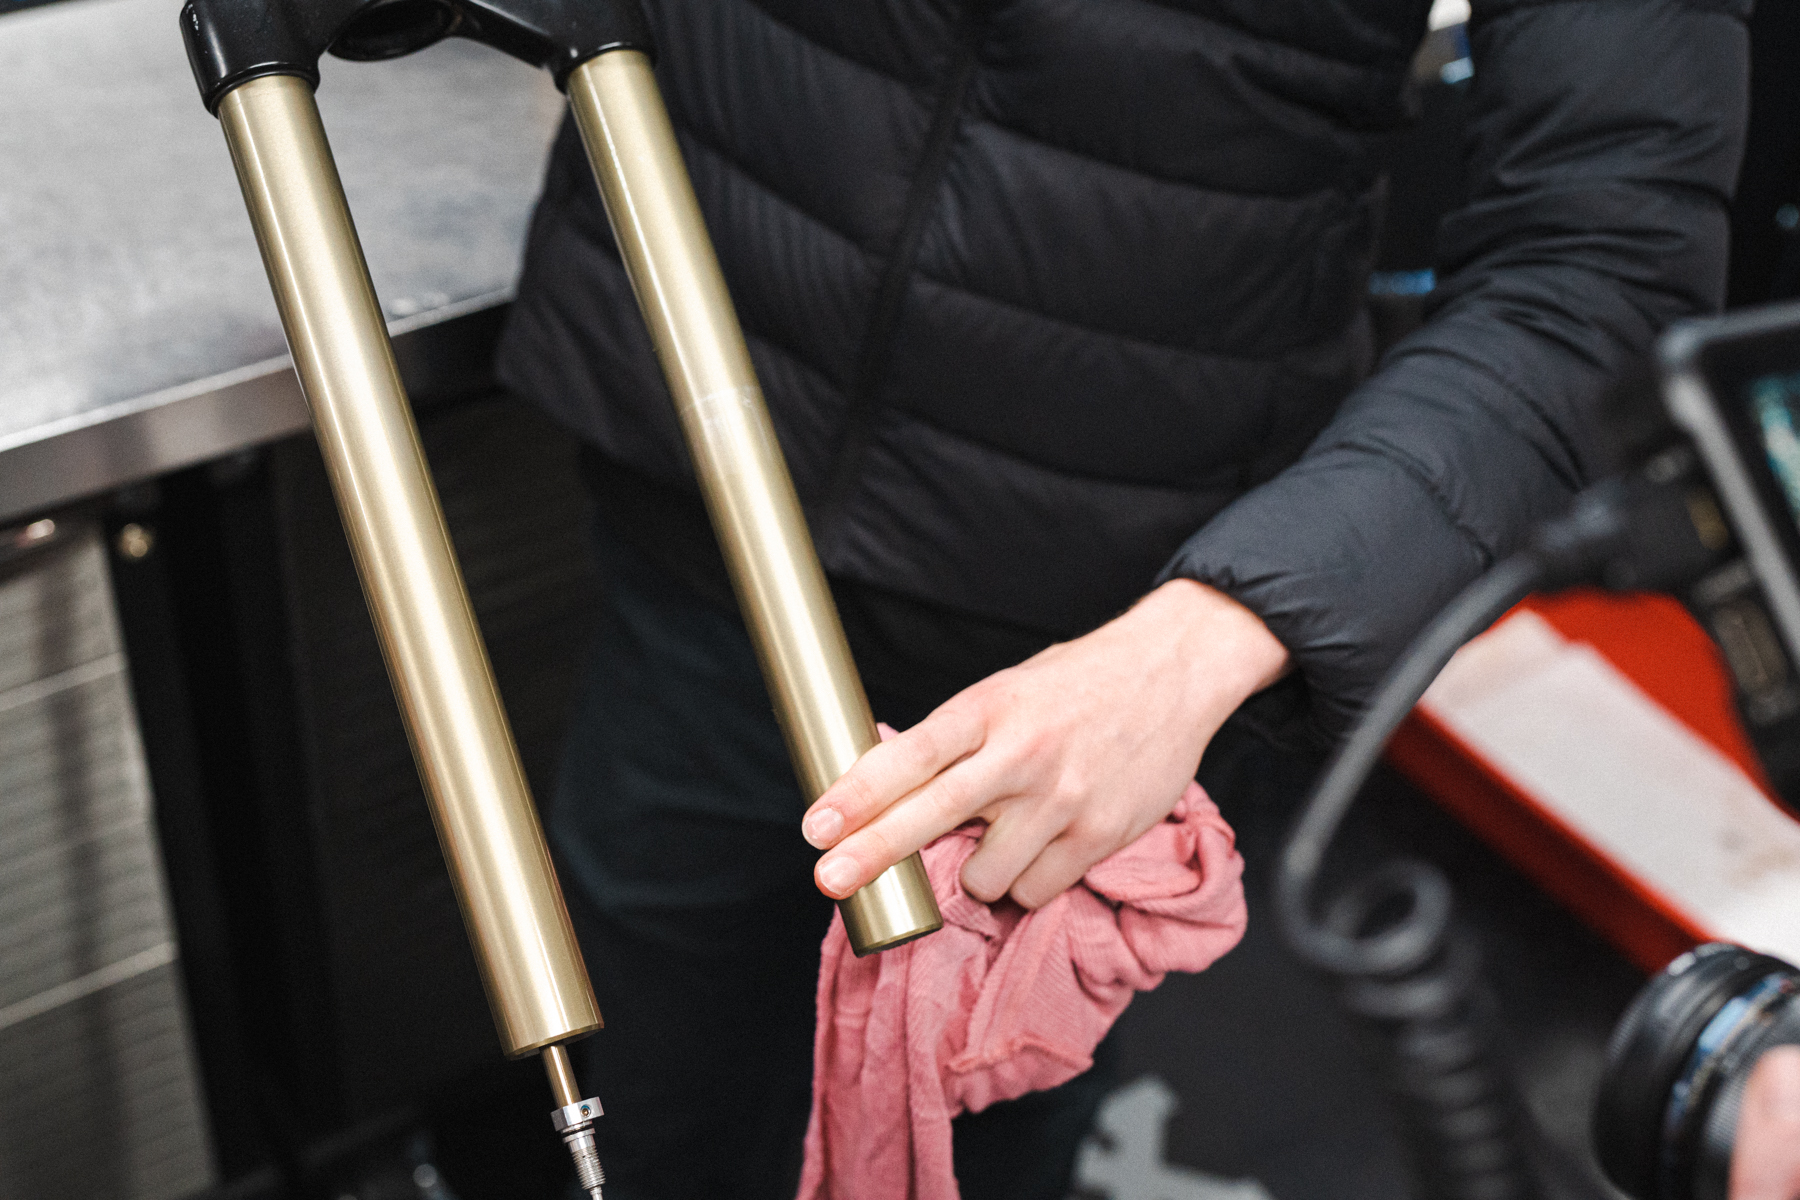
Indeed after getting our bikes out onto the trail after they were treated to the full day-spa treatment at the Fox workshop, the difference in suppleness from the suspension, and the slick return of the dropper post was night and day!
Suspension setup
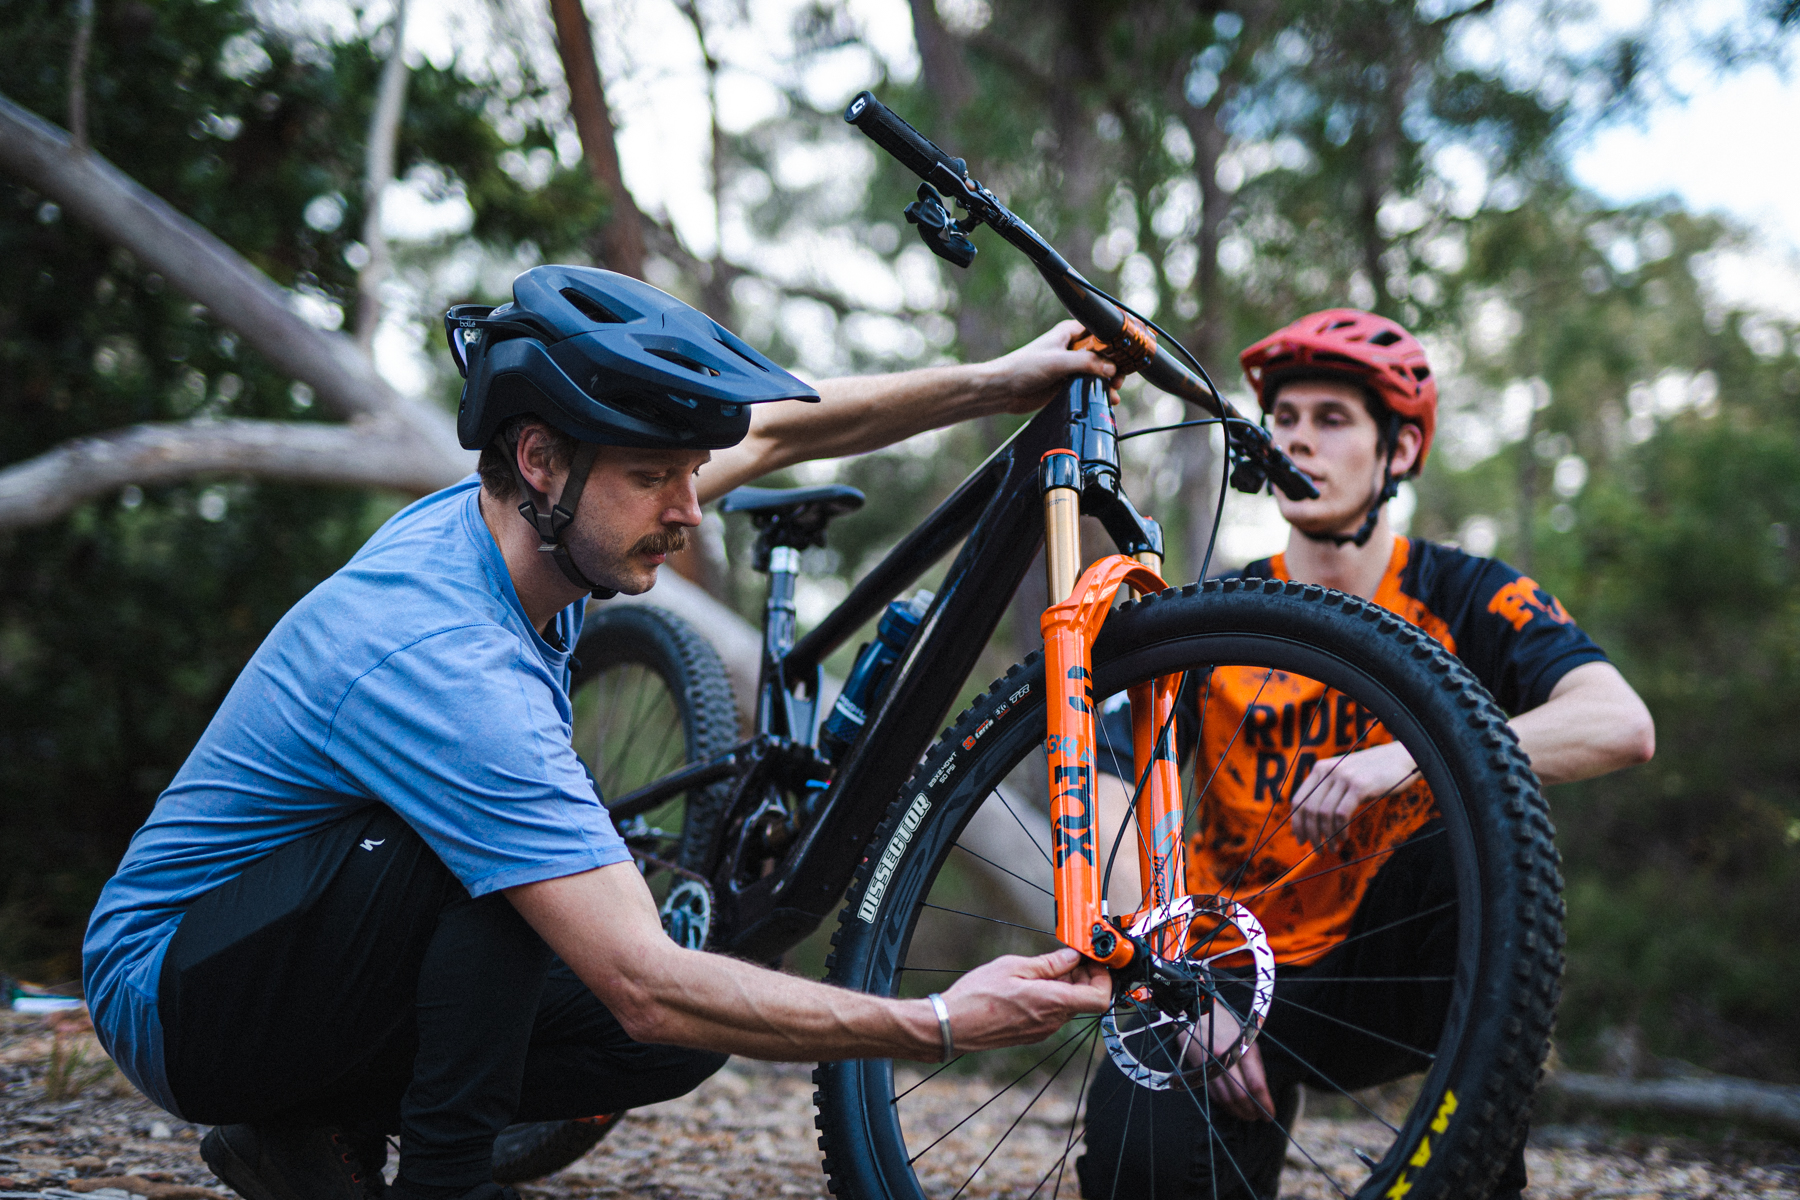
While we were out on the local test trails with the crew from Fox, we spent a bit of time dialling in suspension pressures and playing around with damping adjustments. Finn Houlahan, the Workshop Supervisor at Fox Factory Australia (and also a very fast enduro racer and all-round friendly dude), gave us some of his tips on how best to set up your fork and shock.
Pressure & Sag
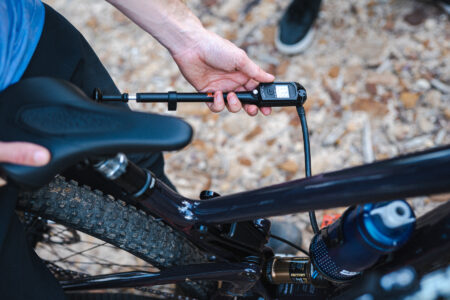
For full suspension bikes, you’re aiming to achieve around 25-30% sag for the rear shock. That’s with you sitting on the saddle in a stationary position, wearing all your usual riding gear (and pack if you use one). Each bike and suspension design is a little different, so it’s worth checking with the manufacturer on the exact percentage recommendation.
If there’s too much sag, you’ll want to add air pressure. If there’s not enough sag, you’ll want to release pressure. Whenever you change pressures, be sure to cycle the shock through 50% of its travel a few times, in order to allow the air pressures to equalise between the positive and negative air chambers. Then check the sag again until you hit the right percentage.
For the fork, you’re aiming for 15-20% sag. However, it may be difficult to get an accurate reading if your bike has a particularly slack head angle. Thankfully all Fox forks have a sticker on the lowers with a handy setup chart, which gives recommendations for air pressure and rebound settings based on a rider’s weight. These recommended pressures are a great place to start, before adding or releasing pressure as needed.


You’re looking to balance the feel of the rebound damping with the fork, so that the suspension is returning at a similar rate front and rear.

Low-Speed Rebound
Once your sag and air pressures are dialled in, rebound damping is your next port of call. Low-speed rebound damping affects how fast the suspension returns after a low-speed impact, which tends to be slower movements caused by the rider when pedalling, moving around the cockpit, or say coming out of a smooth corner. It generally controls the earlier part of the travel, which is why it’s sometimes called ‘beginning stroke rebound’.
For a Fox fork, it’s worth following that setup guide on the lowers, which recommends a certain number of clicks for rebound damping based on your chosen air pressure. These clicks are counted from fully closed, which means you’ll need to wind the red rebound dial in clockwise until it stops at the slowest setting, then wind the dial back out anti-clockwise, counting the number of clicks as you go.
Many bike manufacturers will also provide recommended pressure and rebound settings for the rear shock too, so again it’s worth checking in with your brand to see where you should be starting at. If you’re unsure, try starting in the middle of the range and see how quickly the suspension extends when you’re bouncing around in the carpark. You’re looking to balance the feel of the rebound damping with the fork, so that the suspension is returning at a similar rate front and rear.
High-Speed Rebound
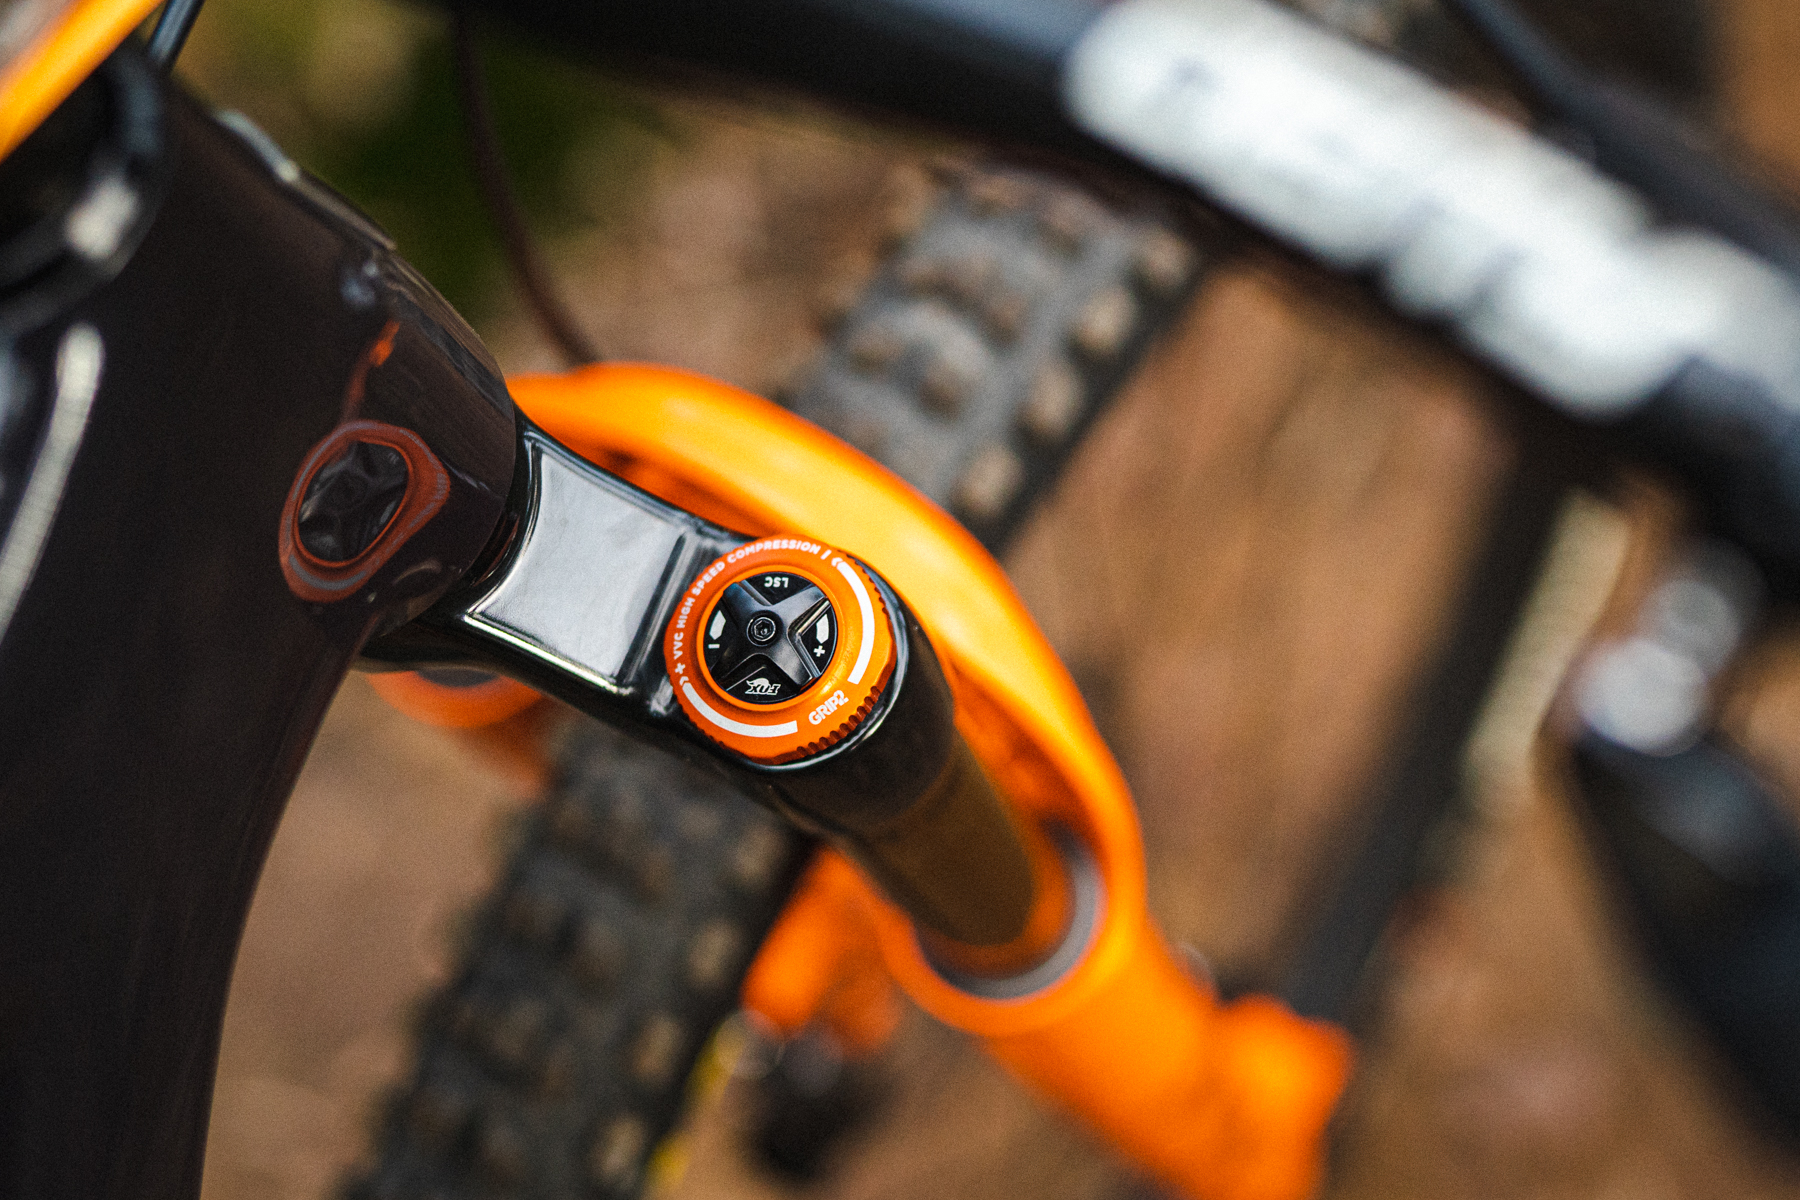
Not all forks and shocks offer externally adjustable high-speed rebound damping. However, Fox forks with the GRIP2 damper (like the 34 and 38 shown here), and shocks like the Float X2, do feature separate high-speed adjusters.
Just as it sounds, high-speed rebound damping is affecting how fast the suspension returns after a high-speed impact. Think heavier drops to flat, or hitting harsh, square-edge rocks at high speed. In these situations, you want the suspension to extend fast enough to recover in time for the next hit, so the suspension feels supple and lively. However, you don’t want it to be so fast that it feels like you’re getting bucked off the bike. In this case, slowing down the high-speed rebound will allow the suspension to feel more supported and planted.
Again, Fox provides a recommended starting point for high-speed rebound damping based on the air pressure you’re running inside the fork. As you’ll see from the setup chart, the heavier you are and the more air pressure you have, the slower you’ll want the rebound damping.
It’s possible to use the carpark squish test to get a feel for high-speed rebound damping, but you’ll want to compress the suspension with a hard and fast push to get it moving deeper into the travel. It’s also worth spending some time on the trail ‘bracketing’, which we’ll get onto in just a bit.
Compression Damping
After dialling in rebound, it’s time to look towards the compression adjusters. Increasing compression damping helps the suspension to absorb more impact energy to add control on bigger hits, making your bike feel stiffer, more supportive, and lifting the ride height. Decreasing compression damping will allow the suspension to compress more easily, which can allow it to feel more supple and comfortable.
Most forks and shocks will have a single low-speed compression adjuster, though the GRIP2 forks and Float X2 shock come with a separate high-speed adjuster too. It’s worth noting that with both compression and rebound adjustments, the term ‘high-speed’ and ‘low-speed’ isn’t referring to how fast you’re riding, but rather the shaft speed of the fork and shock themselves. You can be riding slow and still encounter a high enough speed impact (like hitting a harsh square-edge rock) that engages the high-speed damping circuit.
Fox provides online tuning recommendations for both the low and high-speed compression damping on many of its forks and shocks, and these are good places to start. Wind the compression adjusters in clockwise until they close at full slow, then wind them out clockwise, counting the number of clicks until you get to the recommended number. From here it’s time for some on-trail experimentation.

Bracketing – what’s it all about?
Bouncing around in the carpark will often get you a good feel for sag and basic damping adjustments, but it’s on the trail where the fun really starts.
With Finn guiding us on his local test trails, we picked a short section of singletrack littered with a good variety of features including some fast and flowy corners, slow rock slab crawlers, and a choppy descent with plenty of roots and square-edge hits. The section was short enough to repeat many times over, which would allow us to try out some bracketing. This involves choosing one specific damping adjustment, and dialling it two clicks in a specific direction to isolate the change in suspension behaviour.
To start off, we tried speeding up the low-speed rebound damping two clicks, before riding the same section of trail again. The idea is to get a feel for what the adjuster is doing, and determining if the change is positive. By going two clicks at a time, you get a more definitive impression of that adjustment, making it easier to hone in on the ideal setup. If it felt better, try the same section of trail with another two clicks in that same direction. Does it feel worse? Go back one click and repeat.
Once you’re in a good position with the low-speed rebound adjustment, try the same bracketing process with the high-speed rebound, focusing on bigger impacts. From here, you can then move on to compression damping, starting with the low-speed adjuster before finishing with high-speed. Again, focus on one single adjustment at a time, as it’s all too easy to get confused if you start twiddling all of those dials together. And if you do end up in a pickle, keep note of your original baseline settings so that you can return to those at any time before starting the bracketing process over.


Video – Murray Farrell / Creek Run Media
Photos – Flow and Dien Vo