Chains and cassettes are not cheap these days, and so we are committed to making them last as long as humanly possible. This means diving deep into friction facts, watts and drivetrain efficiency. While using a good drip on lube and staying on top of cleaning can do wonders, independent testing has shown time and time again, the monarch perched at the top of the hill when it comes to efficiency and extending the life of wear parts is immersion waxing.
For those new to chain waxing, this is when you immerse a clean chain into essentially a pot of melted paraffin wax, with additives to further reduce friction. But don’t go dipping your chains in melted candles, you’ll end up with a gunky, waxy mess.
Our friends over at Zero Friction Cycling are the experts in chain torture testing — to the tune of over 300,000km of cumulative testing — and six of the top ten performers in its cumulative wear assessment were hot wax immersion. When done correctly, chain waxing can make your drivetrain parts last three to five times longer, depending on riding conditions. Because the lubricant itself solidifies, it doesn’t pick up as much grit and it’s also clean to the touch.
Better still, when it does come time to clean, all you need is hot water.
However, it does take a bit of effort and time to strip, prep and wax your chain properly — lots of folks who do this have a few chains on the go at once and do them all at the same time to maximise their workflow.
Once you get the hang of it, the process isn’t all that daunting and can actually save you time — and a lot of money — in the long run.
What do you need to wax your chain?
Beyond the wax itself, you’ll need a few extra things to achieve a silky smooth drivetrain;
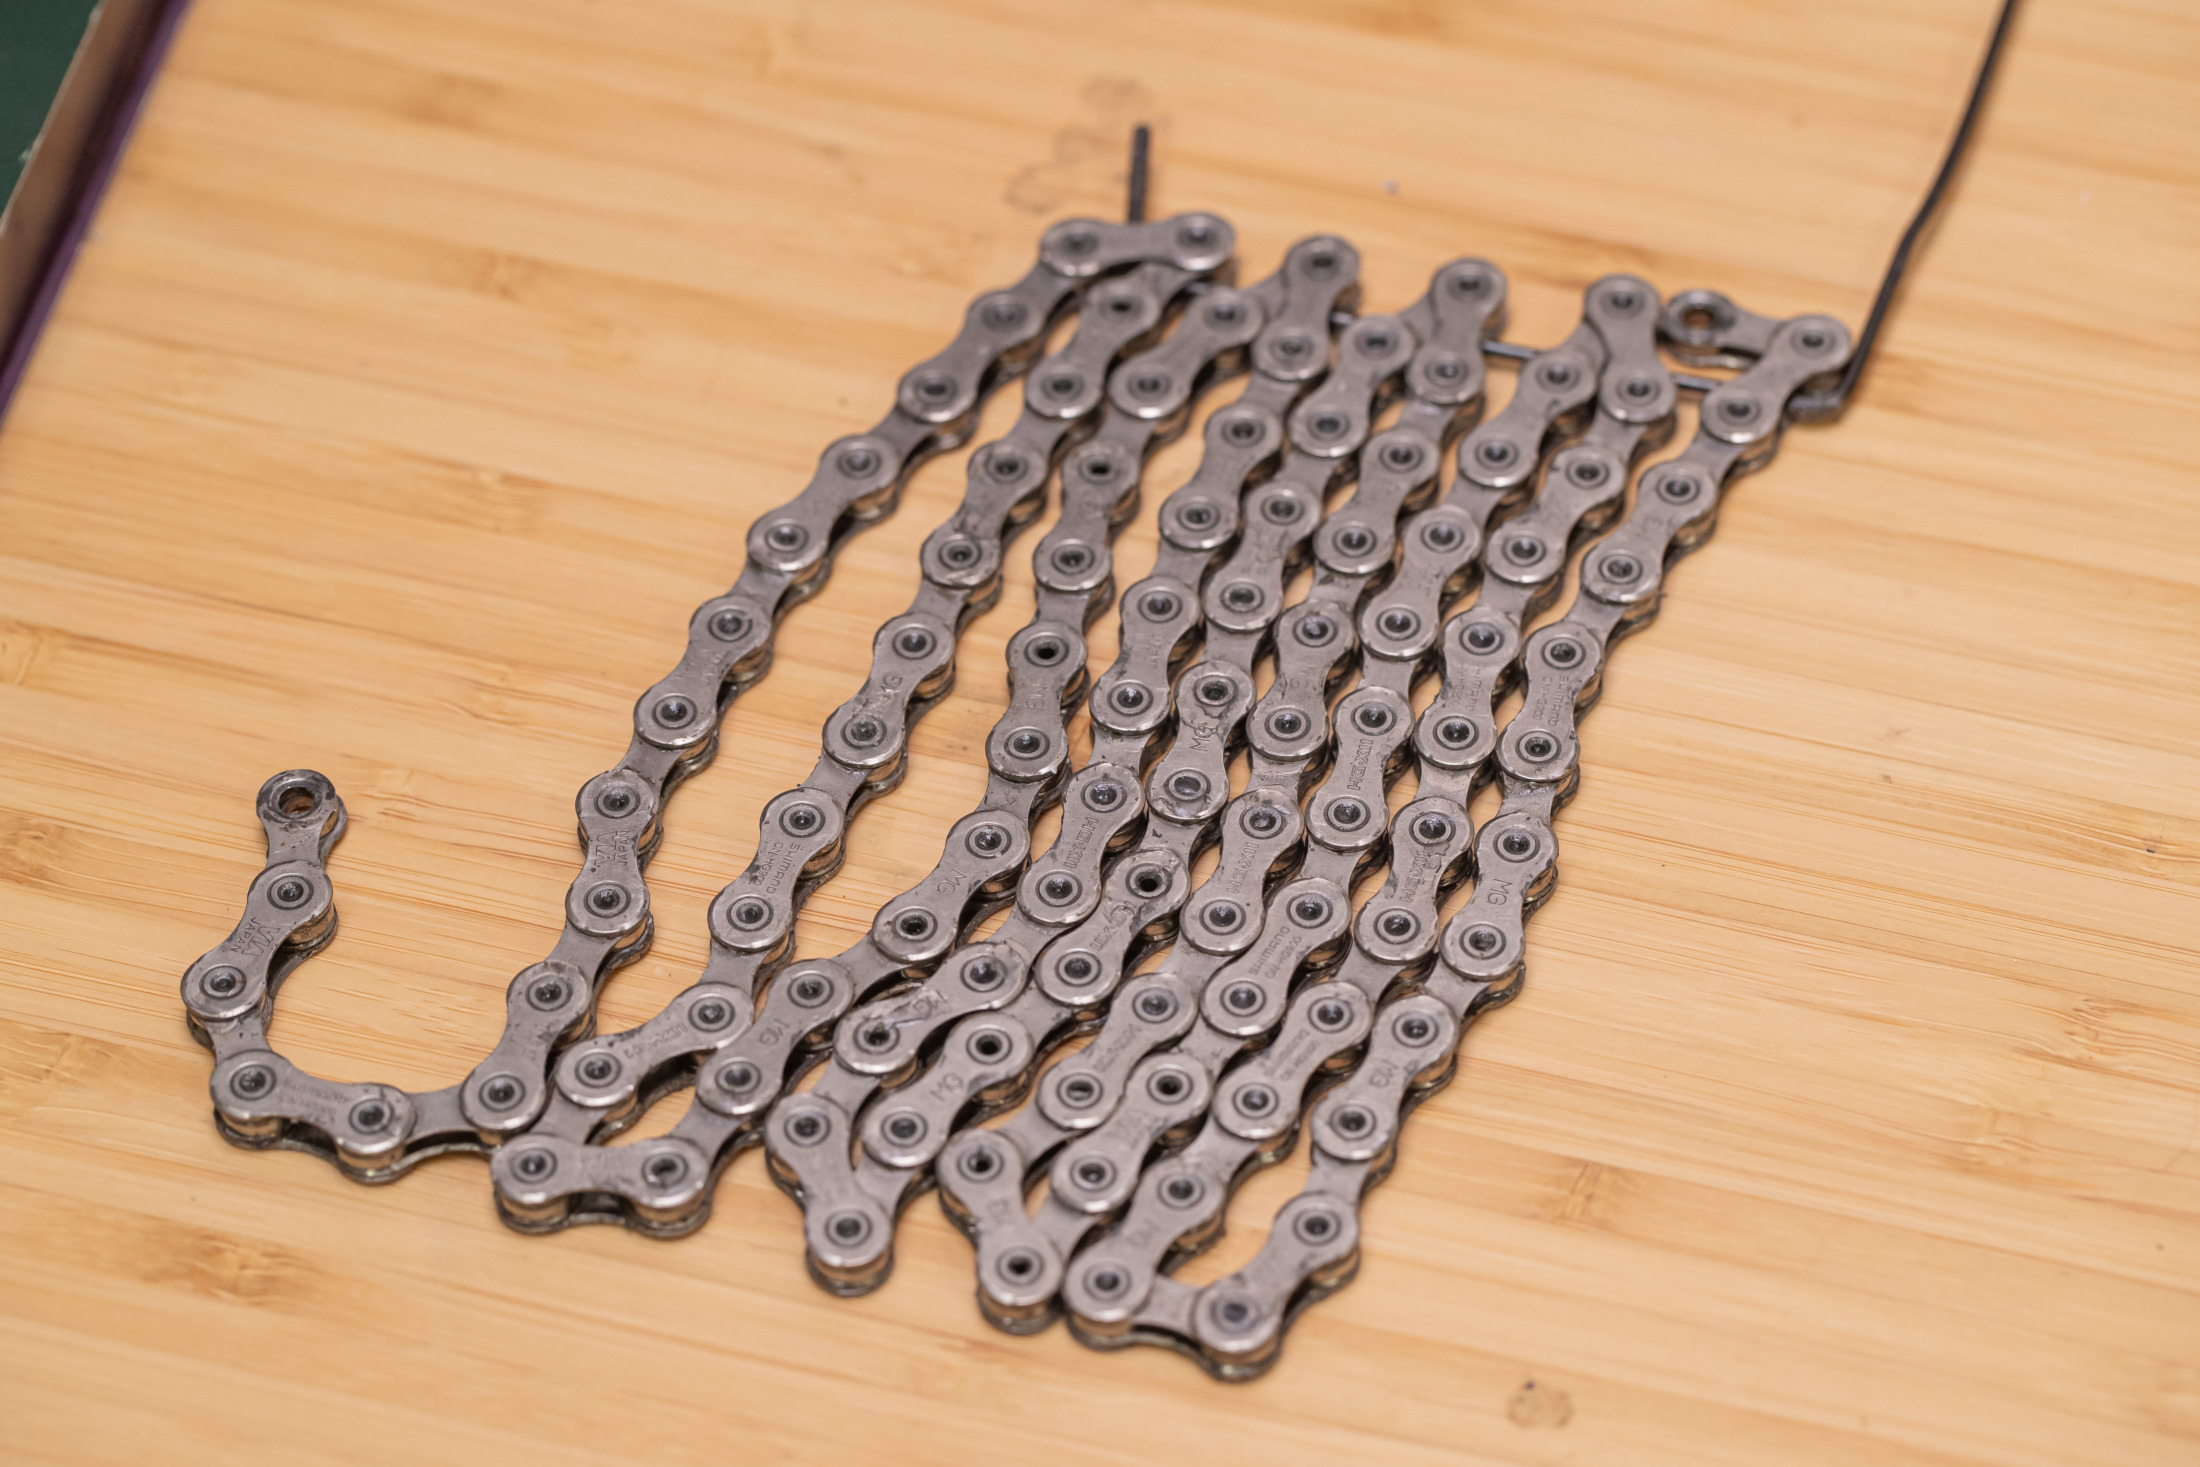
- A brand new chain or a healthy chain. If it’s not fresh out of the packet, use a chain checker or ruler — a chain shouldn’t be more than 12 1/16in / 306mm across 24 pins.
- A quick-link or new joining pin and the appropriate quick-link pliers or chain breaker.
- A small crockpot/slow cooker — literally the cheapest one you can find
- Oven mitts or thick rags.
- A piece of stiff wire or old spoke which will fit between your chain plates.
- White spirits/Mineral turpentine and methylated spirits. I decant these to re-use as much as possible.
- Nitrile gloves. Latex gloves will only protect against water-based solutions, so they will be useless with white spirits and mineral turps.
Prepping your chain for waxing
Before you apply the wax, you’ll need to get all of the factory grease and/or old chain lube off and flush out the space between the pins and rollers — as this is where you want the wax to penetrate. The idea here is to create a nearly surgical clean surface, free from contamination, for the wax to adhere.
With a new chain, soak it in white spirits or mineral turpentine. Chuck your chain into a jar and pour in the solvent; let it soak for 10-15min and then shake it like a Polaroid picture for two minutes. The liquid in the jar should be pretty nasty when you’re finished, but this may not be the end of it, and you may need to repeat the process a few times with fresh turps.

Pull the chain out and run it through a clean towel or rag. When you can do this, and no grease or dirt is left behind, you’re ready to move on.
We recommend following this up with a bath of methylated spirits. Mineral turps and white spirits can leave behind a residue that can prevent the wax from properly bonding to the chain. Shake the second jar filled with methylated spirits for another two minutes, pull it out and leave to thoroughly dry.
When you’re done, be sure to dispose of these chemicals properly; please don’t pour them down the sink.
If you’re not keen on waiting, a hair dryer or air compressor can speed up the process.
If you are re-waxing a chain, simply place it in a course metal strainer and pour hot boiled water over it until it looks clean. Be careful as the chain will be extremely hot. Ensure the chain is completely dry before going to the next step.
Melting the wax and getting your chain ready for bath time
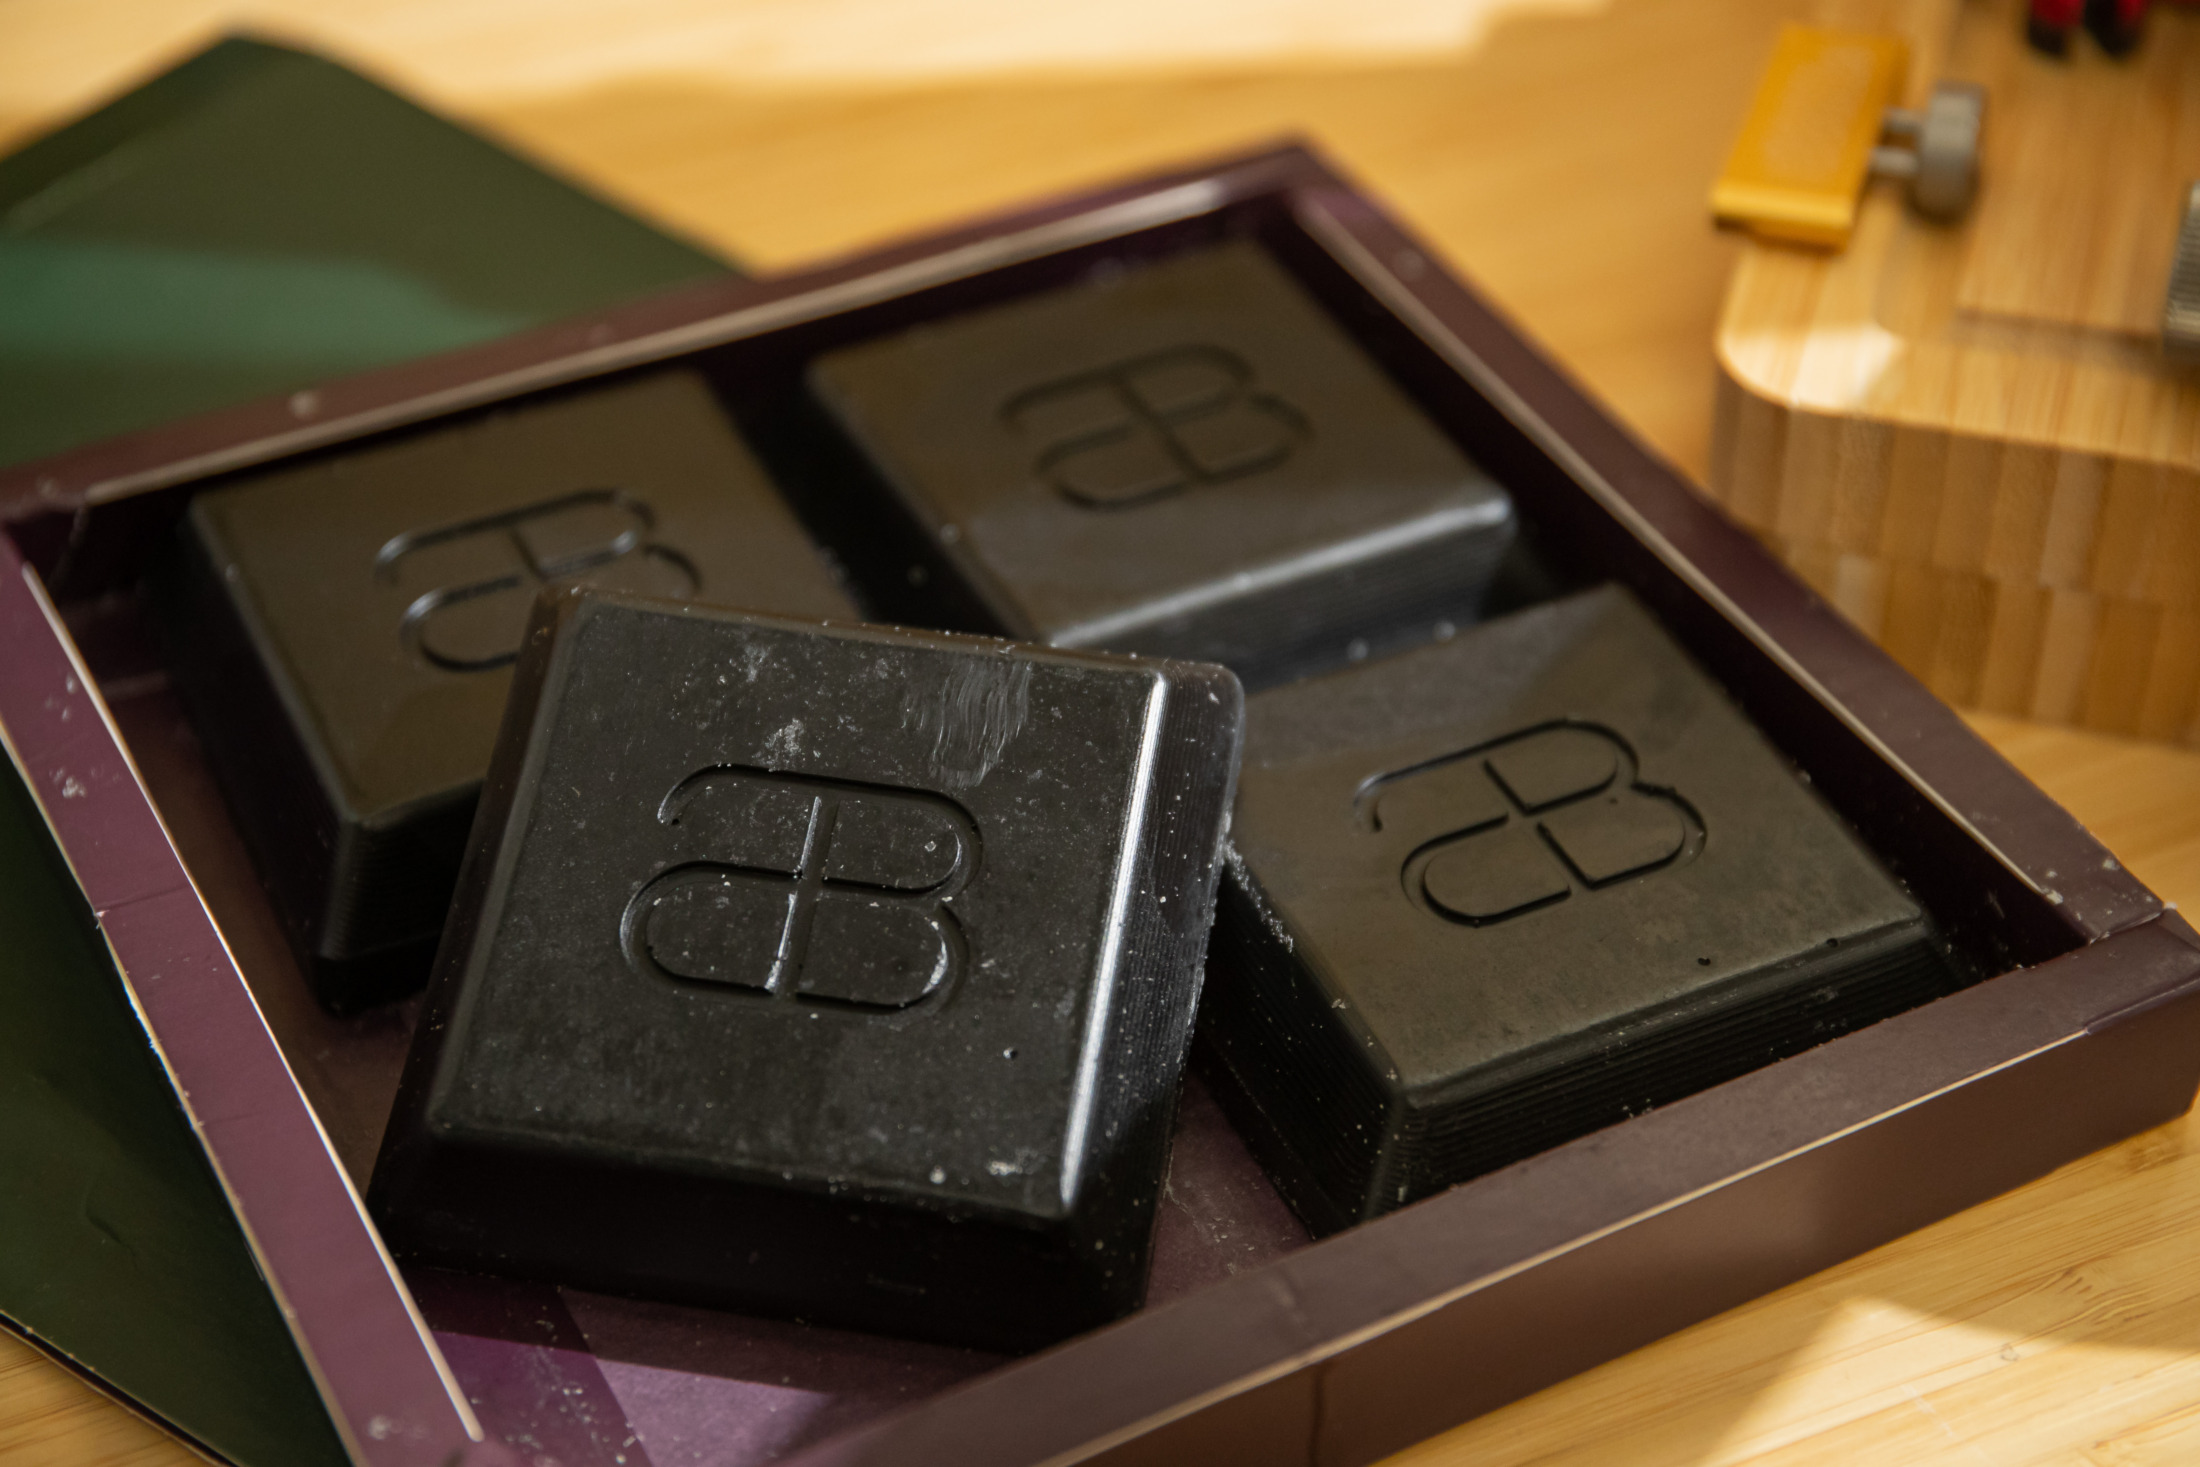
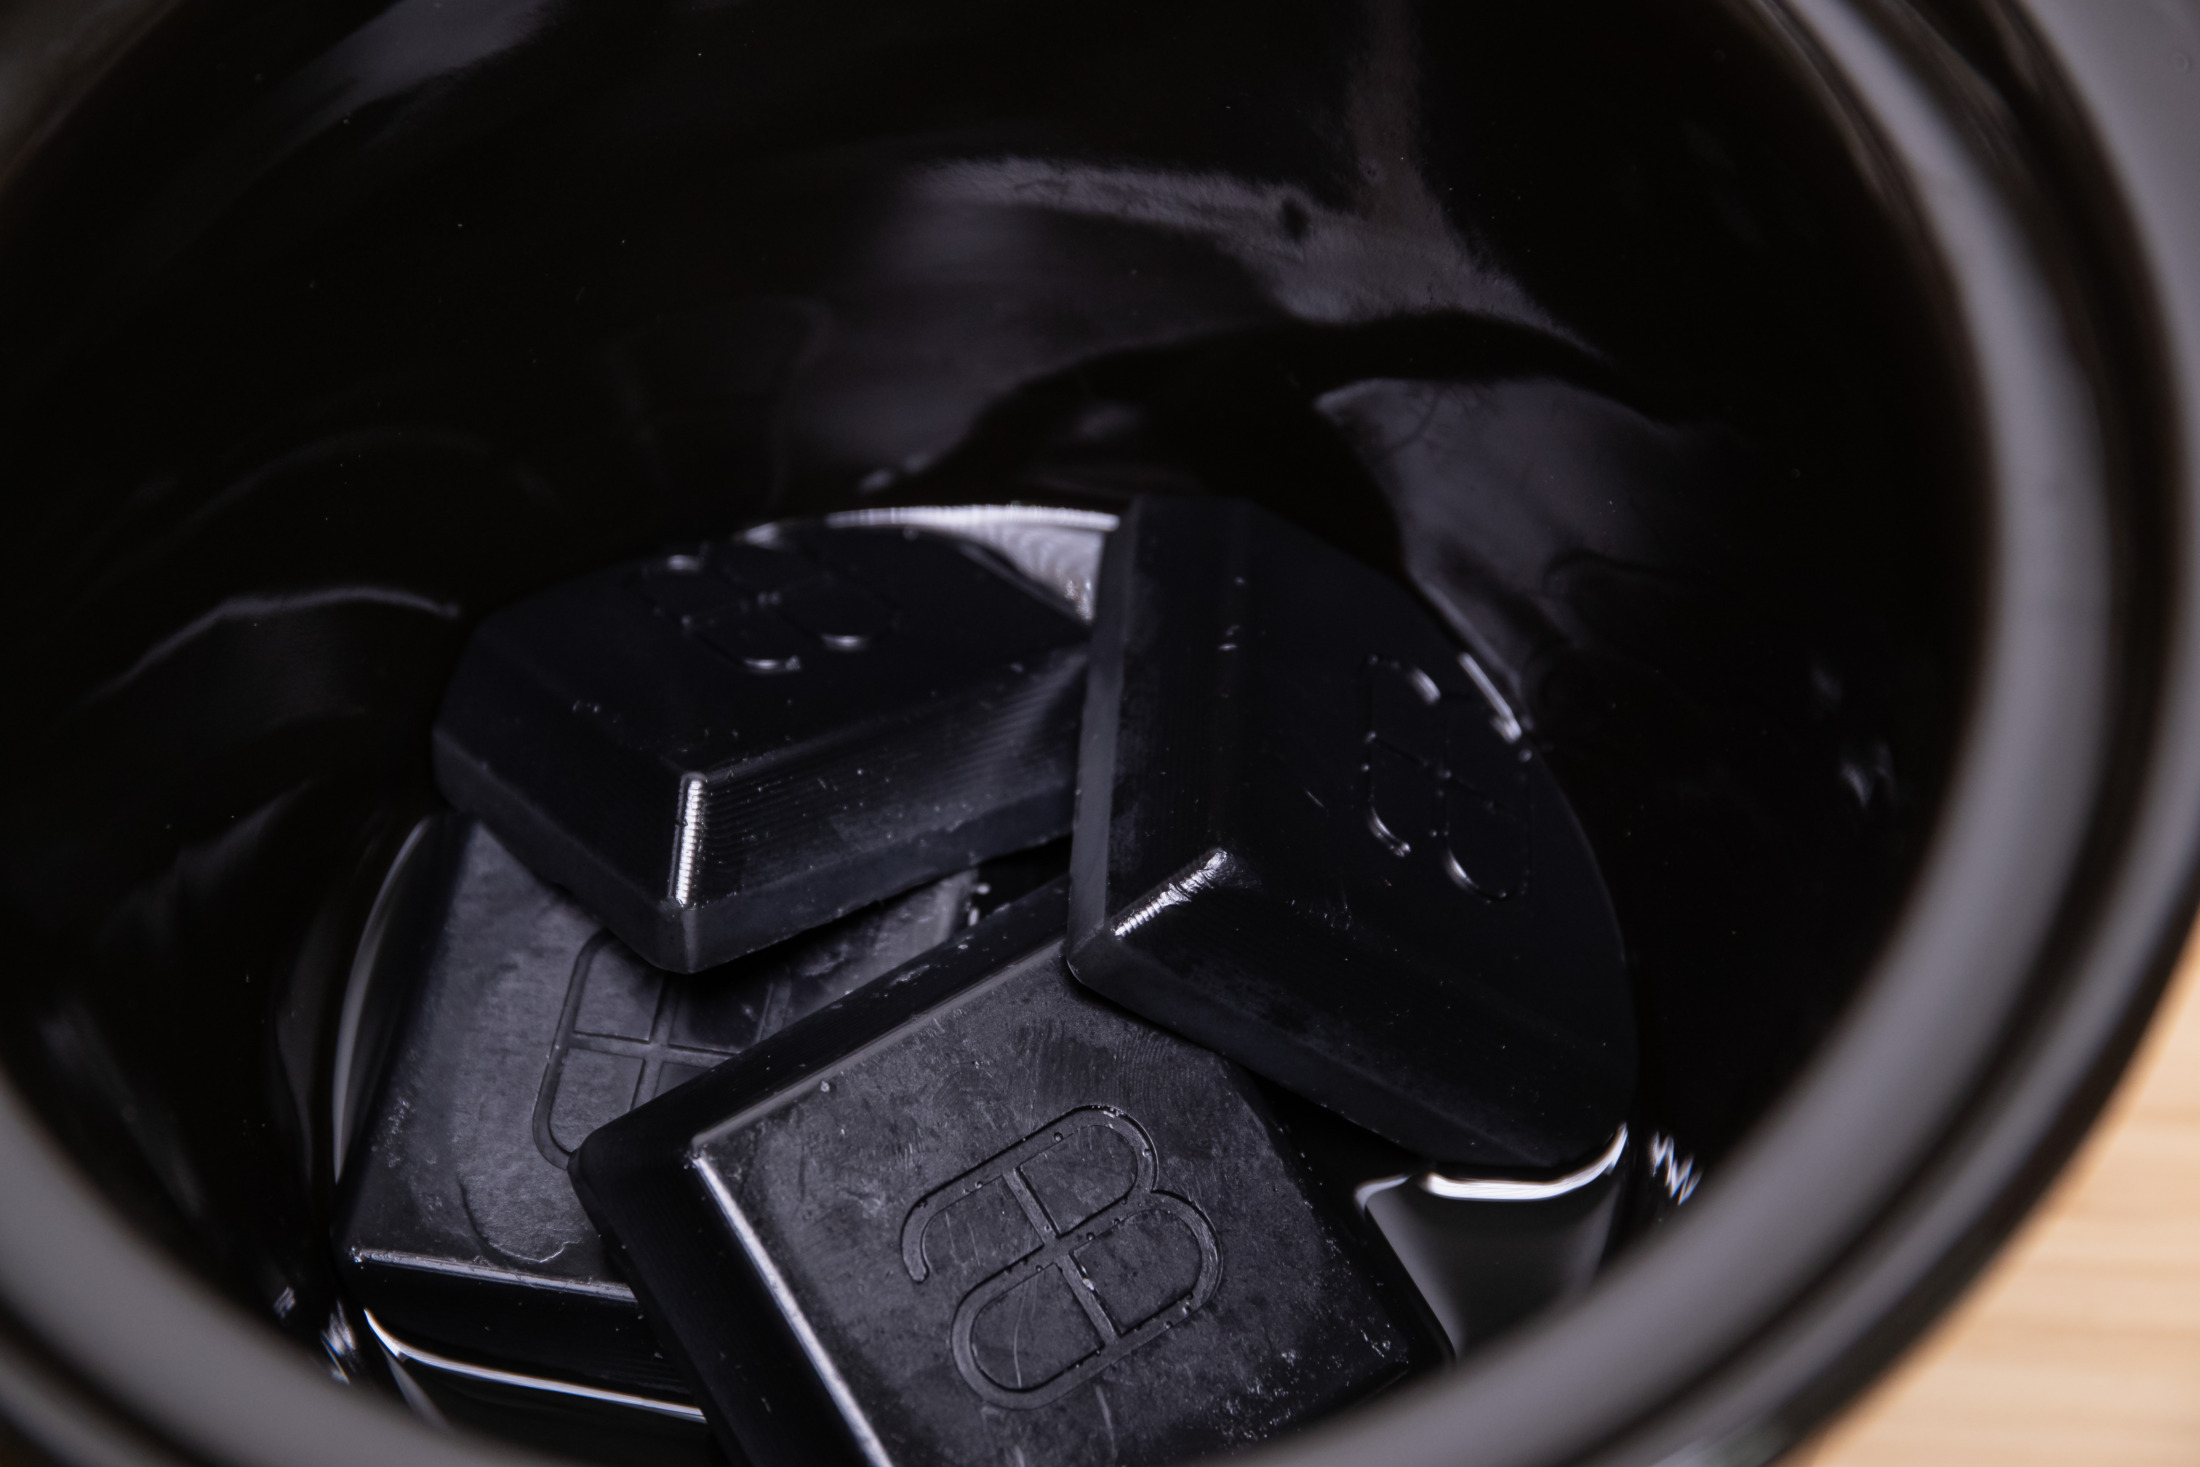
Put the blocks of wax into the clean crockpot and put the lid on. In our basic cooker on high, it takes about 15-20 minutes to melt the wax fully, or 30-40 minutes on low.
While you wait for the wax to melt, bend the spoke into a J shape so it can carry the chain — this is also a great time to clean the rest of your bike. We recommend not hooking the very last rollers as they can be dislodged. You want to be able to mobilise every link when the chain is immersed in the liquid wax.


Waxing your chain
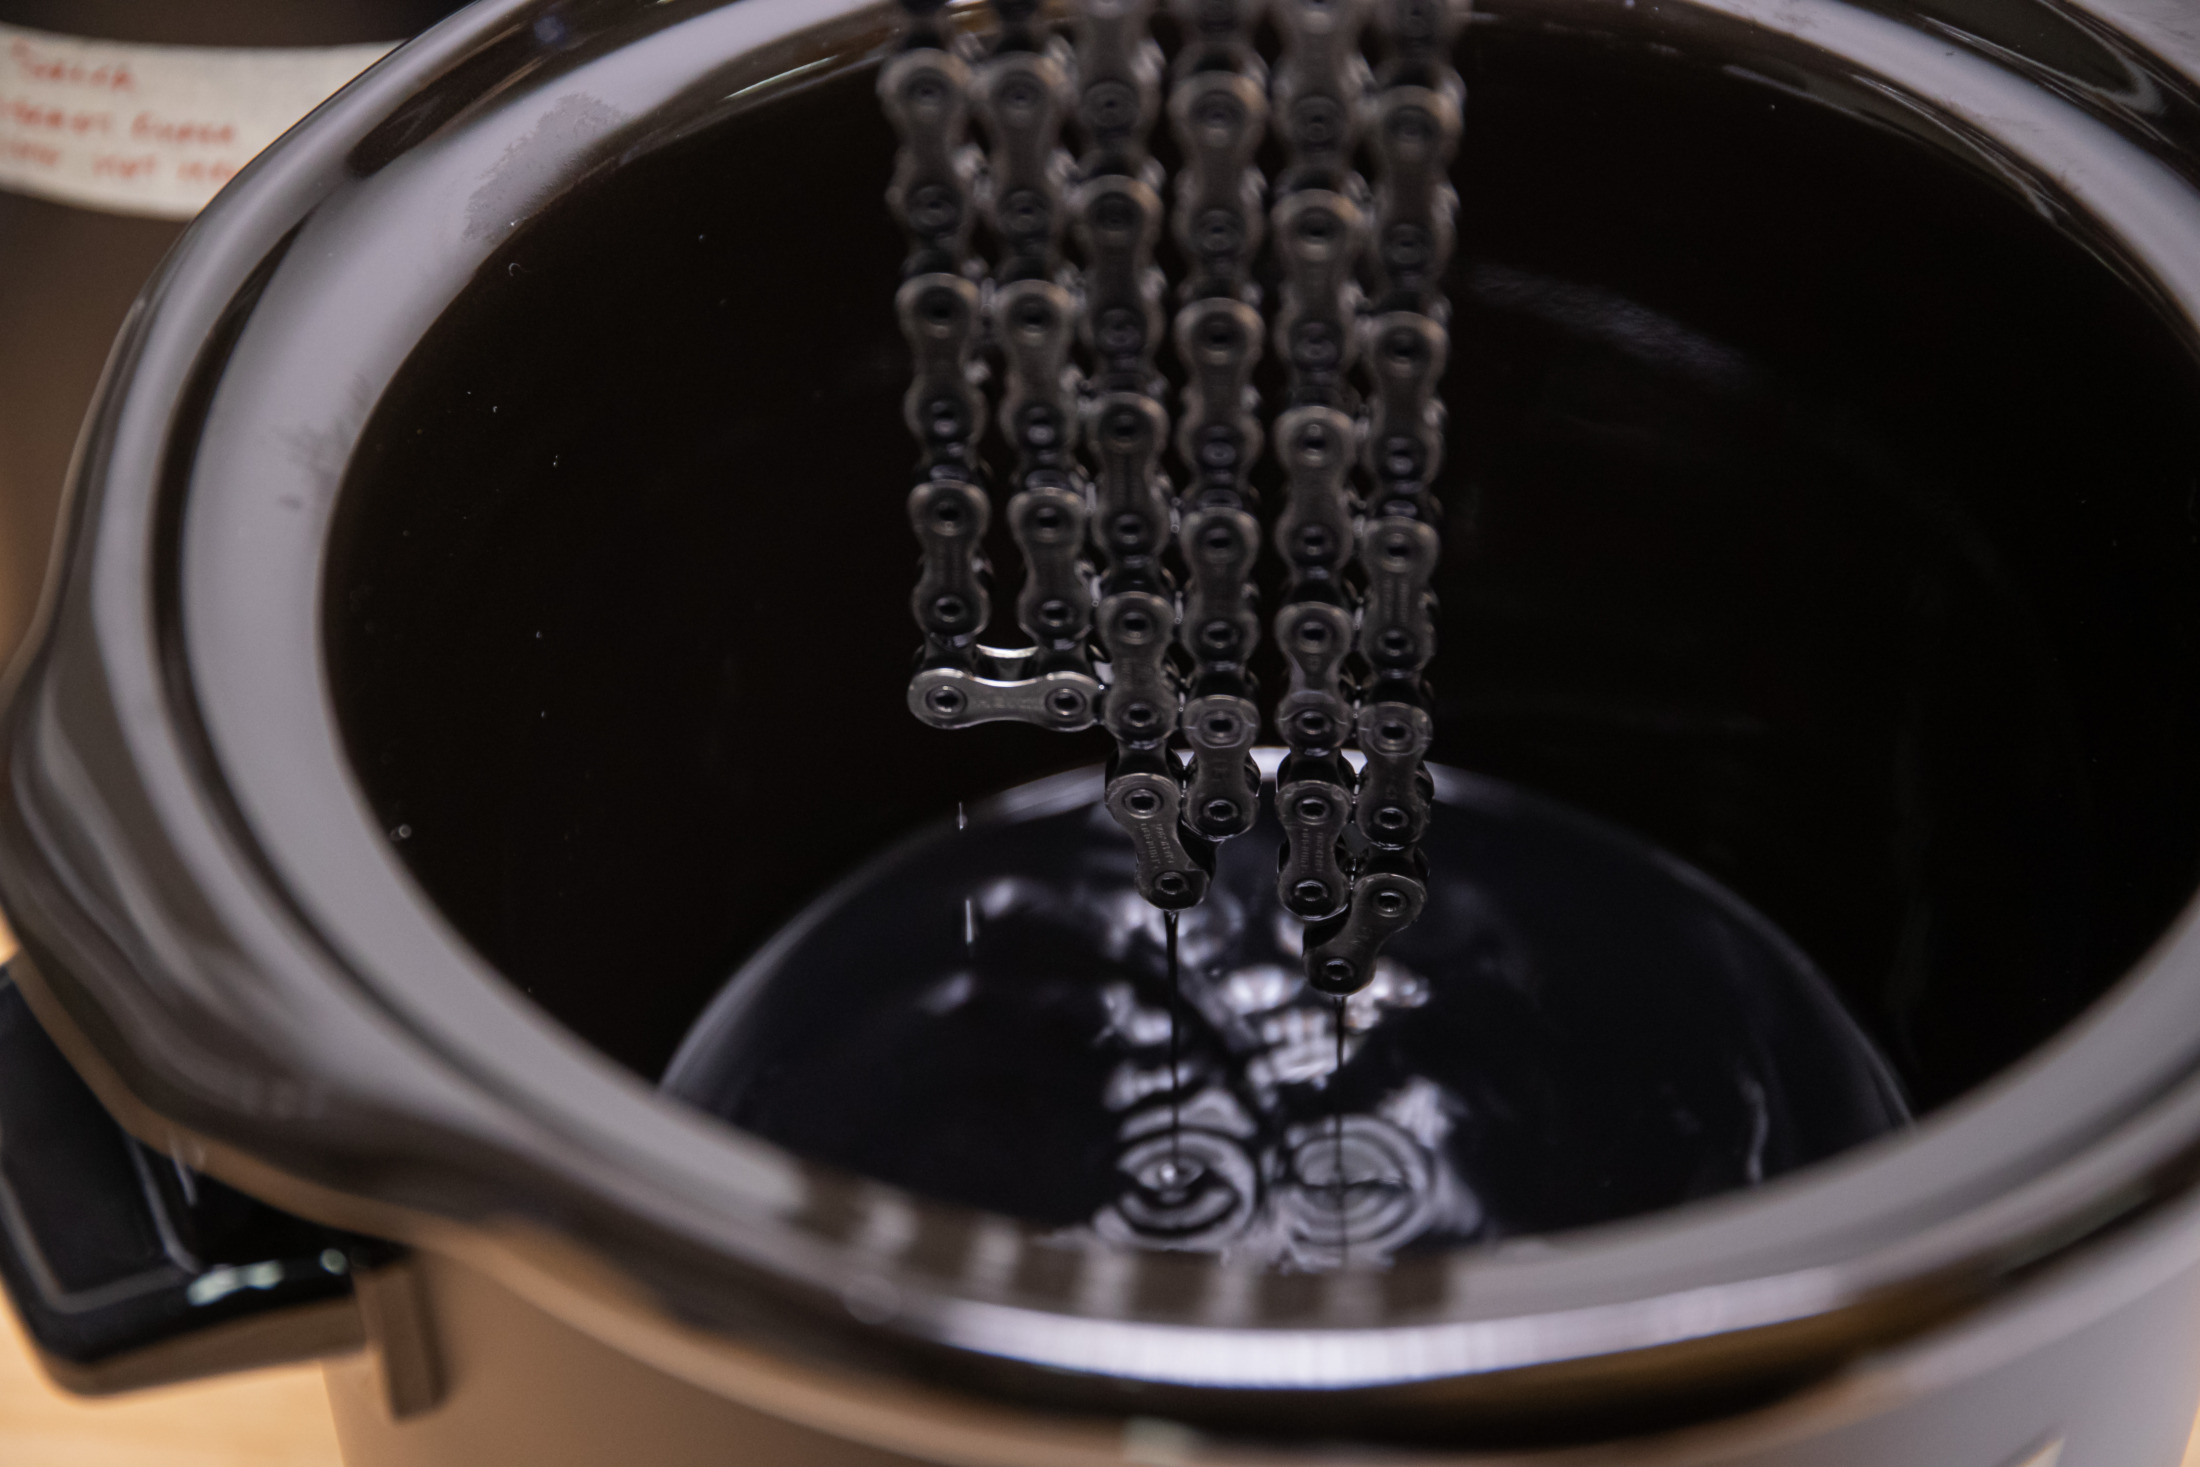
Once the wax is fully melted, turn the cooker off, carefully remove the crockpot so it’s no longer on the heating element, and immerse your chain.
The aim is to get the chain to a temperature hot enough to melt the wax to get a good coating inside the moving parts.
Remove the chain once the hot melt cools to its melting point. It varies depending on your setup, but you will know it’s about right as the surface of the wax begins to solidify. Swish the chain around again to break up the film and slowly put it out.

You know you’ve done well if, when the chain is fully extracted, there are just a few or no drips.
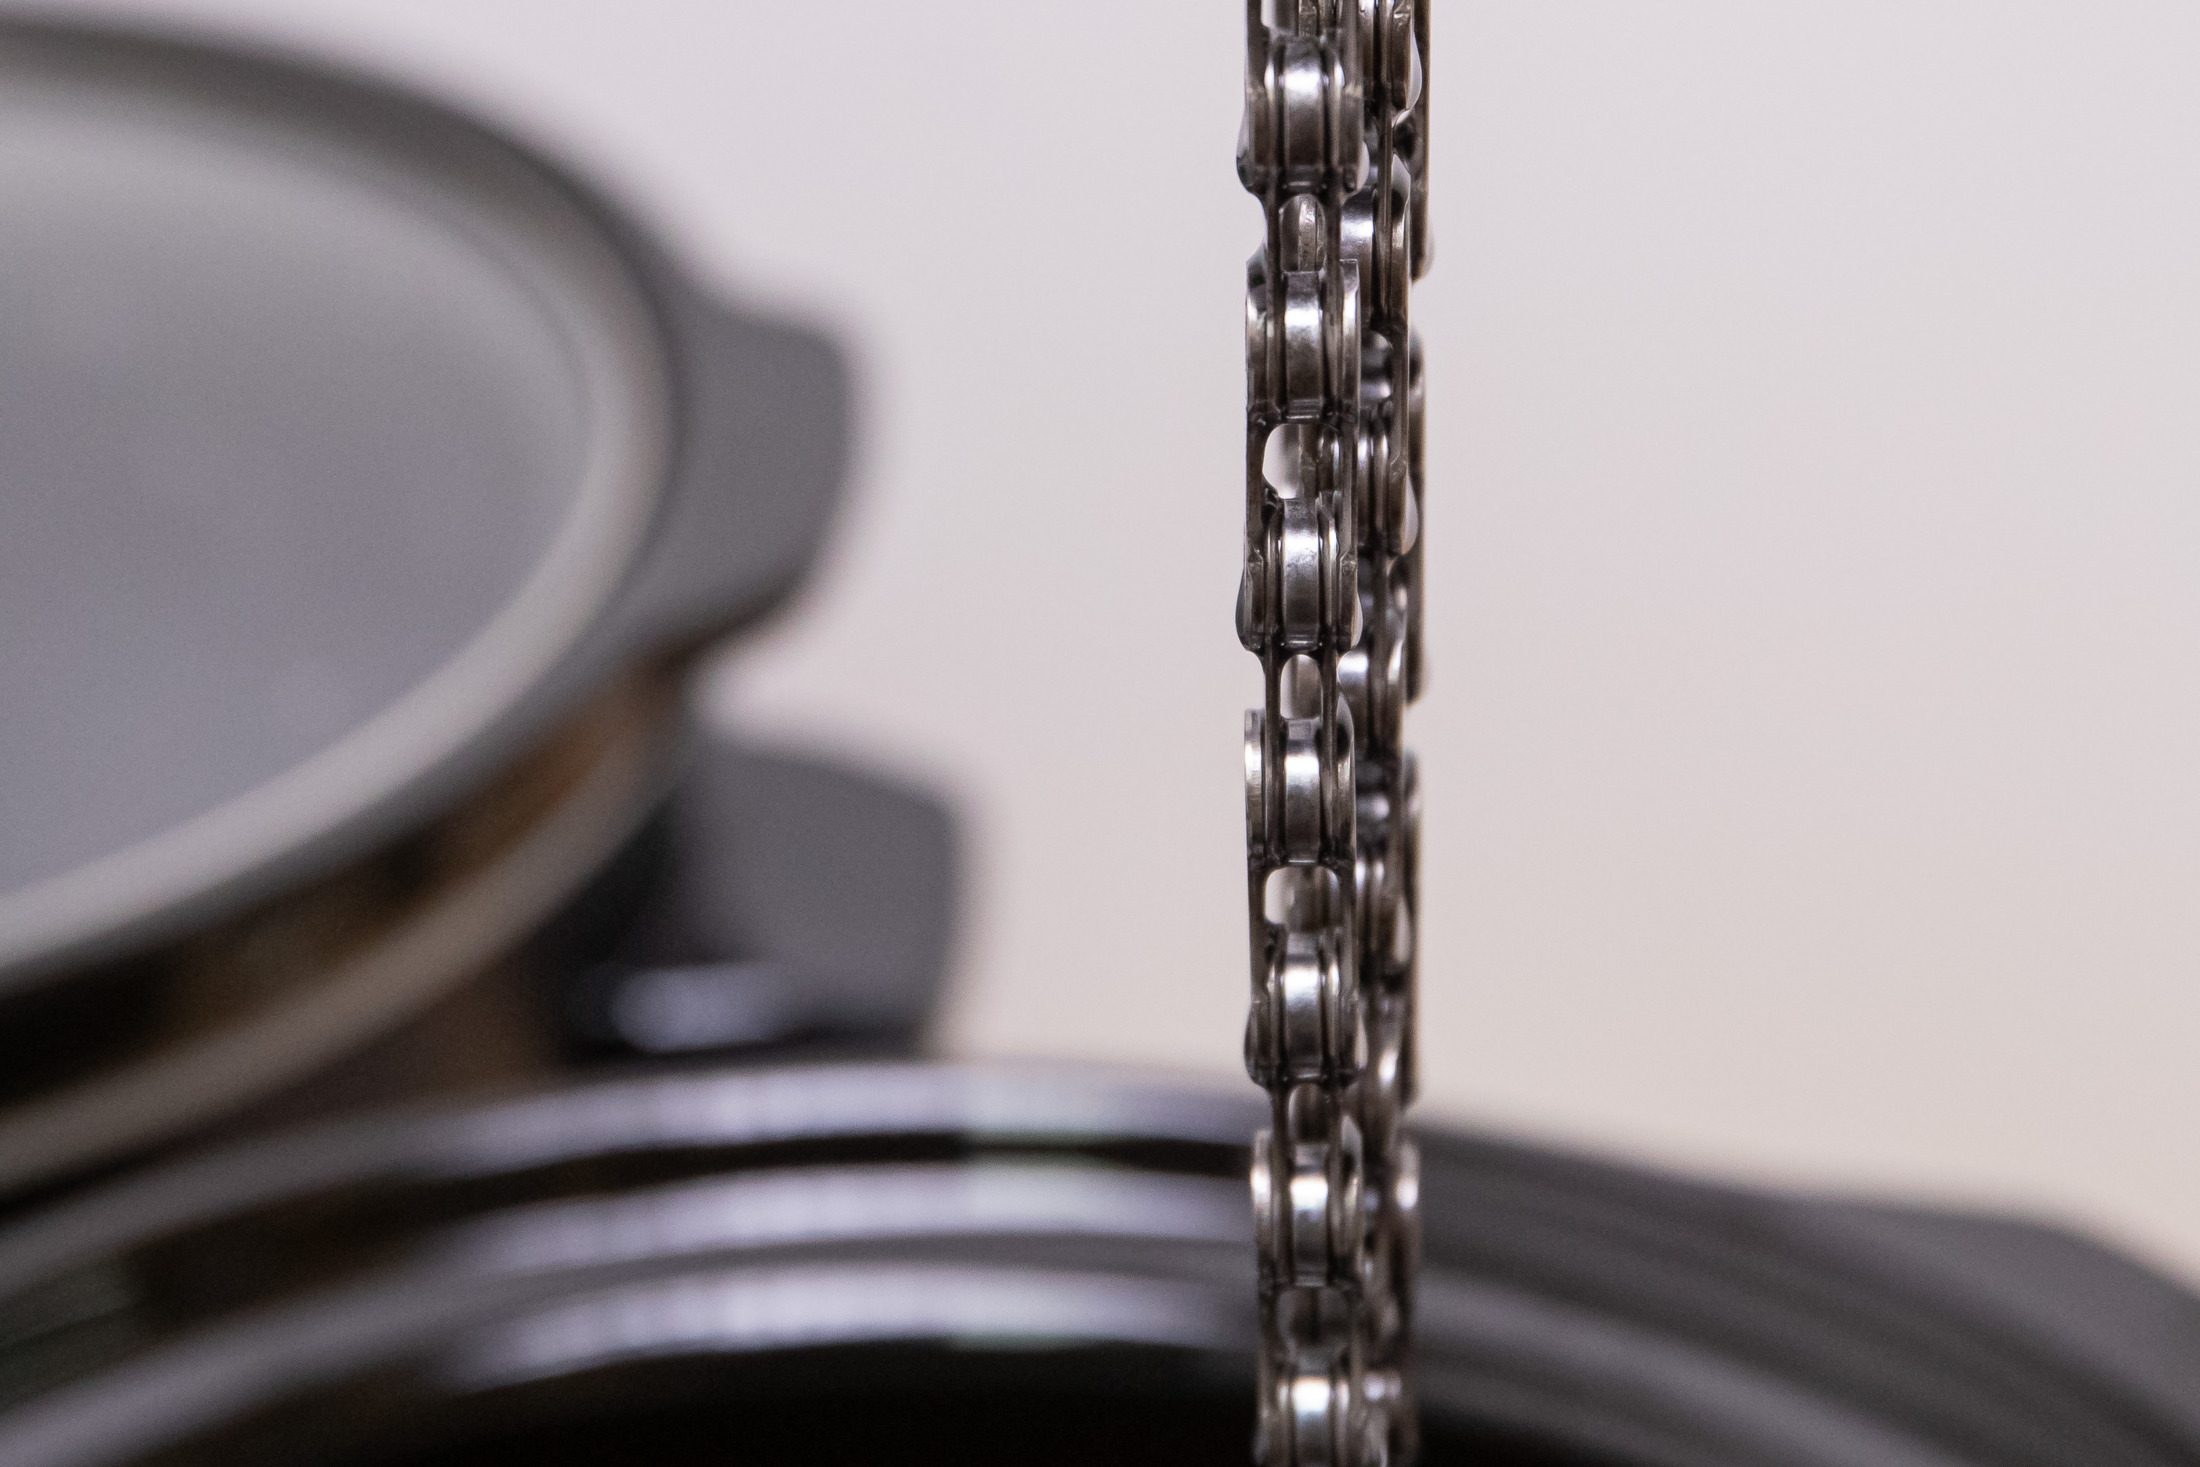
There should be small pools of wax on the lower side of each plate and a very thin film over your chain. You should also be able to see the wax between the plates and rollers.
Hang the chain above the crockpot to cool, and once it’s ready, it will be stiff from the dried wax and you’ll need to free up each link. Put a clean catch rag underneath the chain and run it over your fingers or a small rolling pin to articulate each link to break the hardened wax.

Wax that flakes off can be put back into your crockpot for the next session. Depending on the colour of the wax, it can stain and make quite a mess, so we’d recommend gloves, a shop apron and covering any surfaces you don’t want to be coated in soft wax.
If you are running a used drivetrain, don’t forget to give it a proper degrease and clean before reinstalling your freshly waxed chain. If you don’t, you’ll ruin a lot of the hard work you’ve just completed.
Getting the most out of your wax
If this is your first time using wax, congratulations! Notice how quiet your chain is? Now that you’ve made it, here are a few things to be aware of.
When you first install your chain it will still be a bit stiff, and the gears may skip. Don’t touch that barrel adjuster, it just needs five minutes for the wax to bed in. Because there is no oil, your chain may develop surface rust as the outside wax layer wears off. You can minimise this by wiping down your chain with a dry rag if it gets wet. But because it’s not oil based, you can use the same cleaning brush over the rest of the bike, and it won’t leave a greasy residue.

You know it’s time to re-wax when your chain sounds dry and noisy or if you ride in the wet. But typically, we achieve 250-300km before needing a re-wax, sooner if its been very muddy or dusty. If you can’t do a full wax but your chain is starting to get a bit noisy, you can also top up with certain wax based lubes like absoluteBlack Graphine or Tru Tension Tungston All Weather.
If you decide to go down the route of waxing your chain, we recommend running at least two chains. Ultimately, waxing your chain is to maximise the lifespan of your drivetrain, we know a few folks who have had chains last north of 10,000km.
This will have the added benefit of only needing re-waxing once you have cycled through all your chains.
Finally, spreading the wear across multiple chains will drastically improve the longevity of your cassette too.
Words and Photos: Gallant Lee / @gallantlee