Upgrading your bike can be a fun and addictive process, whether it be performance-driven or just to make your pride a job look better. Many of us have, at some point, been down this rabbit warren, and deciding when to stop is almost as tricky as deciding where to start.
When looking at upgrades for your bike, you can sometimes find great deals on second-hand components. For items such as stems, bars, pedals, and even wheels you can find barely used to new components at a great price. Buying second-hand is a great place to start for comfort items such as your touch-points. You may need to try a few different versions before you find the right combination.

You may also be able to reduce the cost of your upgrades by selling your original components once you have installed the new ones, particularly if they are new or barely used. There is a strong second-hand market online, with many Facebook groups dedicated to this.
Working out why you are upgrading before you start is key, if your decision is performance-based then make sure your new components will actually deliver a benefit — for instance, you could be looking to shave weight off your bike, or to level up the sensitivity of your suspension. Research the components you are considering to get an idea of how they perform and if they are any good. Brands have highly effective marketing departments, so reading reviews and talking to others who have the product you are considering is a great idea.
Here, we will cover the eight most common and effective upgrades for your mountain bike, along with some tips on what to look for and where to start.


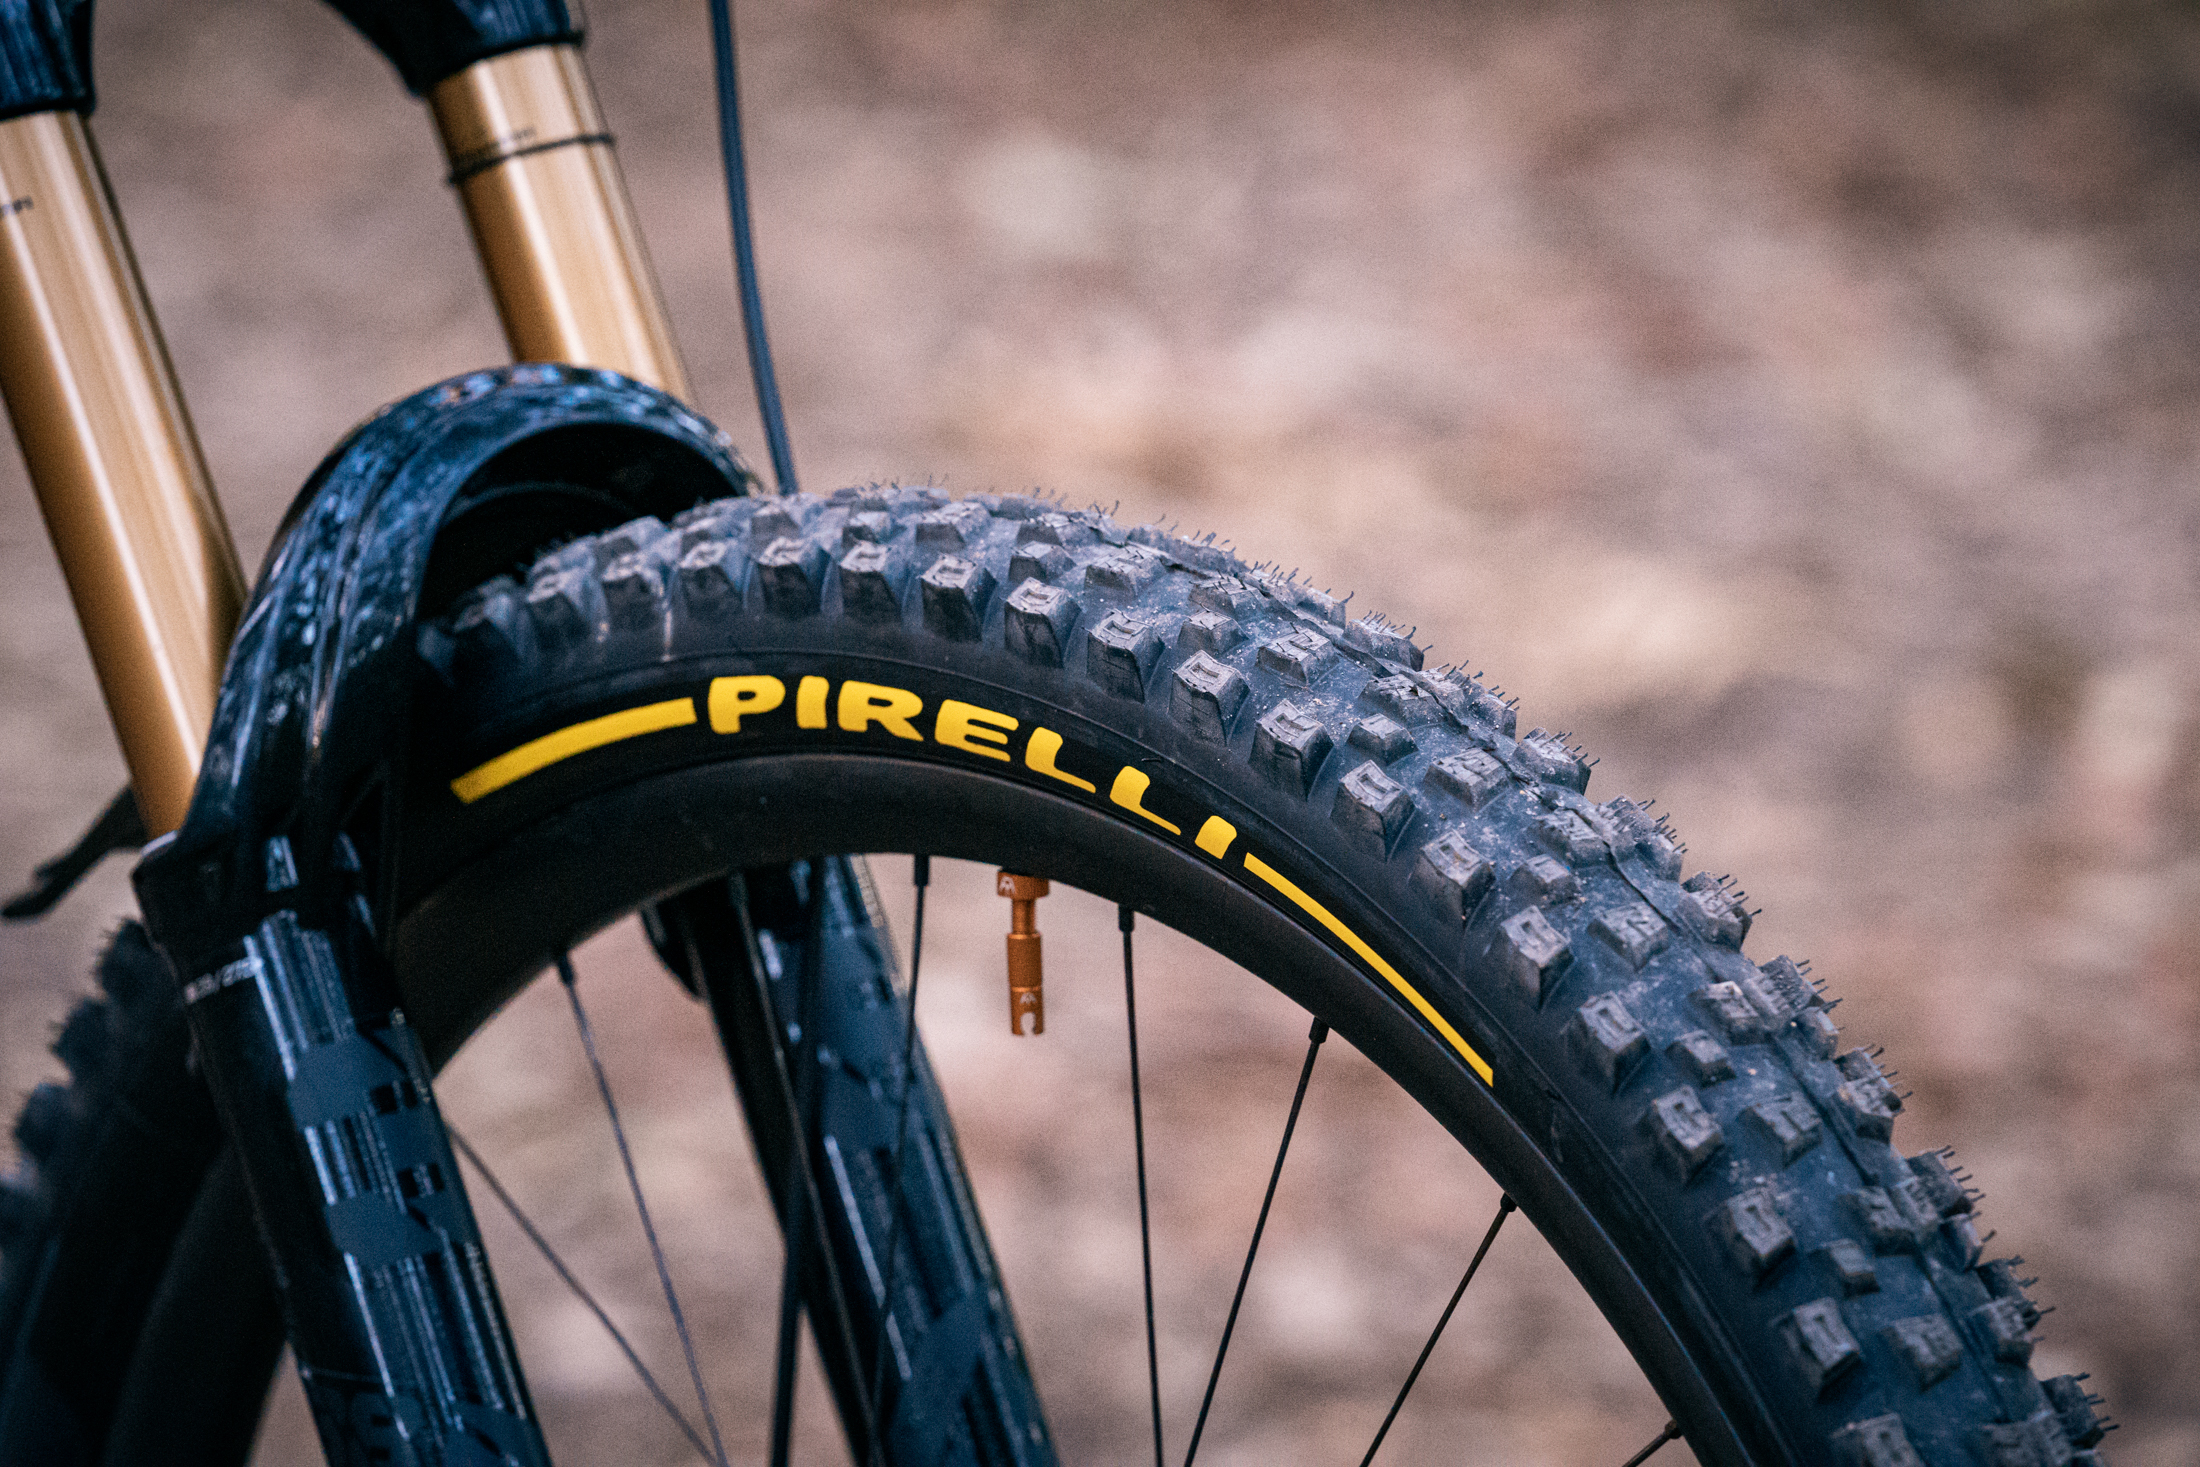
Tyres | Get your bike some fresh kicks
Tyres are the easiest and most common upgrade riders will make to their bike. Product managers have gotten much better at speccing tyres up to the task of the type of riding a particular bike is designed to excel. However, that does not necessarily mean they will be well suited to where you ride. A set of tyres can transform the way your bike handles and also save you a lot of time battling with tyre plugs on the side of the trail.

If your bike came with tubes, or you’ve been holding off setting your tyres up tubeless, this should be at the top of your to-do list. This will allow you to run lower tyre pressure, which improves comfort and grip, and will massively reduce how many punctures you get. Most mountain bikes come with tubeless-ready wheels and tyres these days, however you may need to tape the rims with tubeless tape, pick up a set of valves and liquid sealant. If you’re not confident to do this yourself you local bike shop will be able to help you out.

For most riders, waiting until the OEM tyres have worn out is a good idea, unless you have that one tyre combo that you cannot ride without, it’s an easy way to save money for bigger upgrades. You might even find a new favourite tyre by testing out something new.
When it does come time to swap out your bike shoes, ask folks from the local MTB club or a nearby shop, what tyres work well in your area. You may want something with a bit more protection if sharp rocks are littered around the local trails, or perhaps you can get away with a beefy tread and sticky rubber but a lighter casing. Also, factor in the width; wider tyres can offer more grip and comfort, while a narrower casing provides more precision and control.


Related:
- Continental Tyre Review | Argotal, Kryptotal & Xynotal Tyres
- Review | The Flow team taste-test 8 different tyres from the Schwalbe MTB tyre range
- Specialized Tyre Review | Butcher, Eliminator & Purgatory T7/T9 Tyres
Touchpoints | Comfort rules the day
Grips, pedals and saddles are some of the most subjective components attached to any bike. Everybody has a different shape and sized body, so finding what works best for you can significantly improve your ride quality and enjoyment.
This is a key area that a lot of brands will skimp on. They know that riders have personal preferences, so spec’ing the latest $600 AUD 3D printed saddle that only a select few will keep does not make sense and adds unnecessary cost.
If you are new to riding, then it is best to try out some friend’s bikes and see what their touchpoints are like to create a bit of a baseline. While not too expensive to buy once, you don’t want to be constantly swapping out saddles and grips too often if they are uncomfortable.
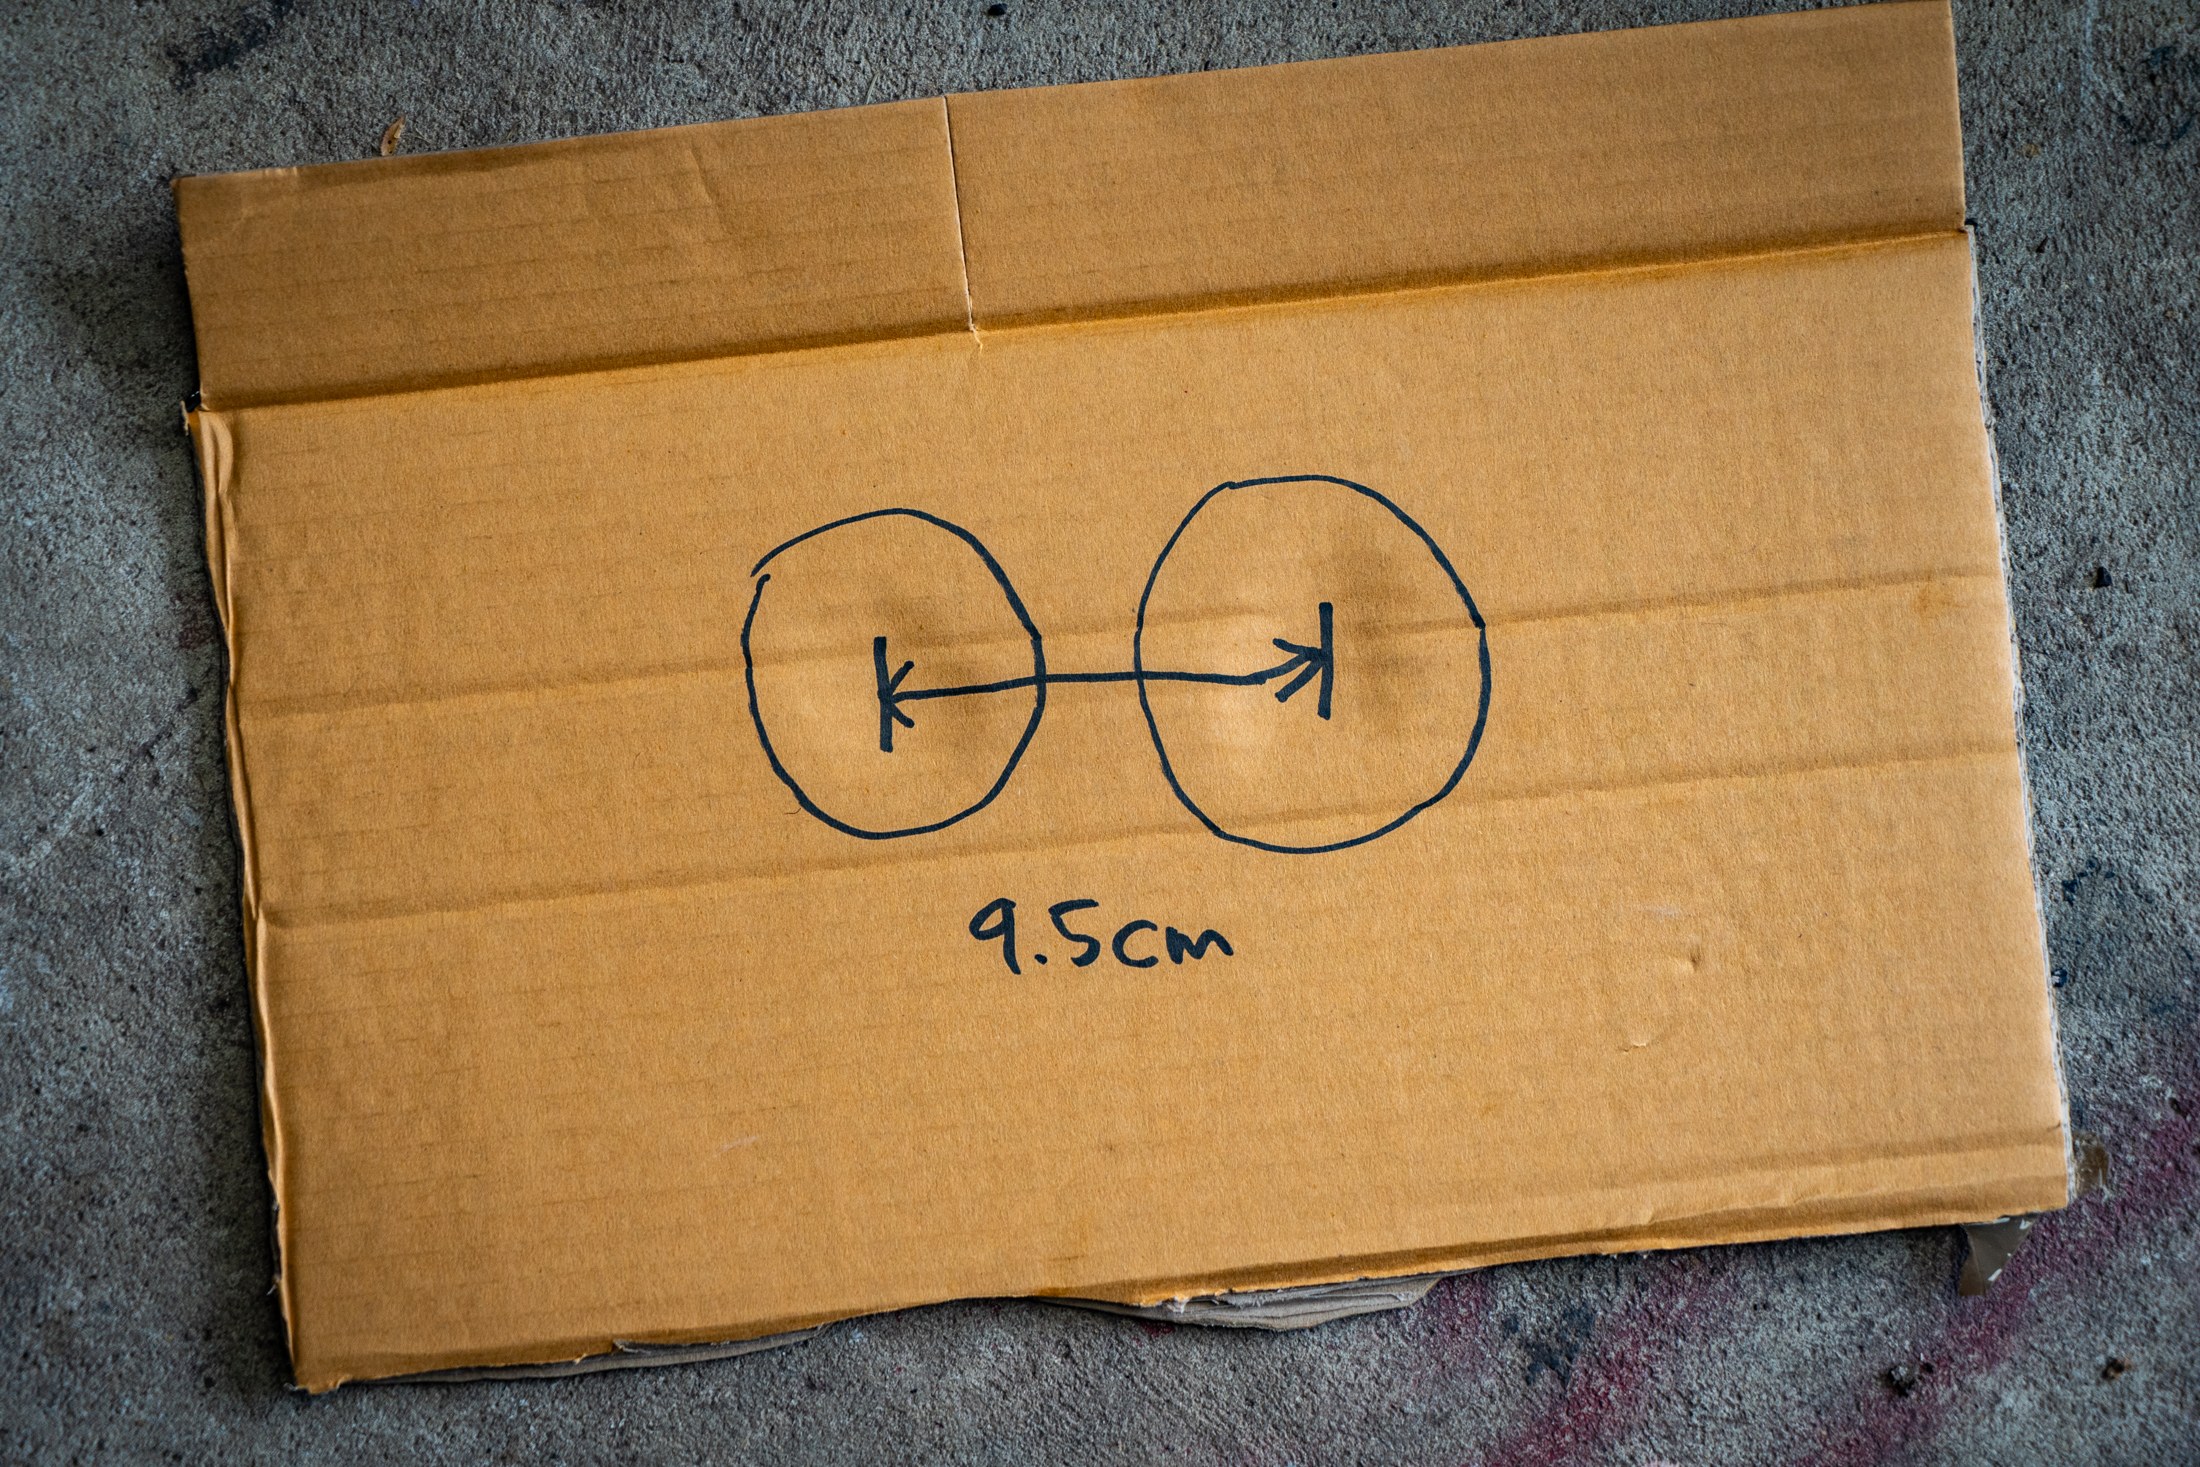
Saddles are the hardest to choose in-store or online, thankfully, some shops will have a demo fleet where you can check one out for an afternoon. Short of that, many brands will have a calculator or selection guide that can at least help to point you in the right direction. At the very least, you’ll want to know the width you need, which is determined by the distance between your sit bones.
Shops and bike fitters will have all manner of memory foam and pressure mapping tech to sort you out, however, you can DIY this measurement by sitting on a piece of cardboard.
But again, testing out other people’s setups is a great way to figure out what works for you — or what doesn’t.
On that same note, a good set of padded shorts will also make a bit of difference in your comfort on the bike. Many baggie shorts will come with inner shorts that have a basic chamois, however a good set of bib shorts with a high-quality chamois is a night and day difference after may hours in the saddle.
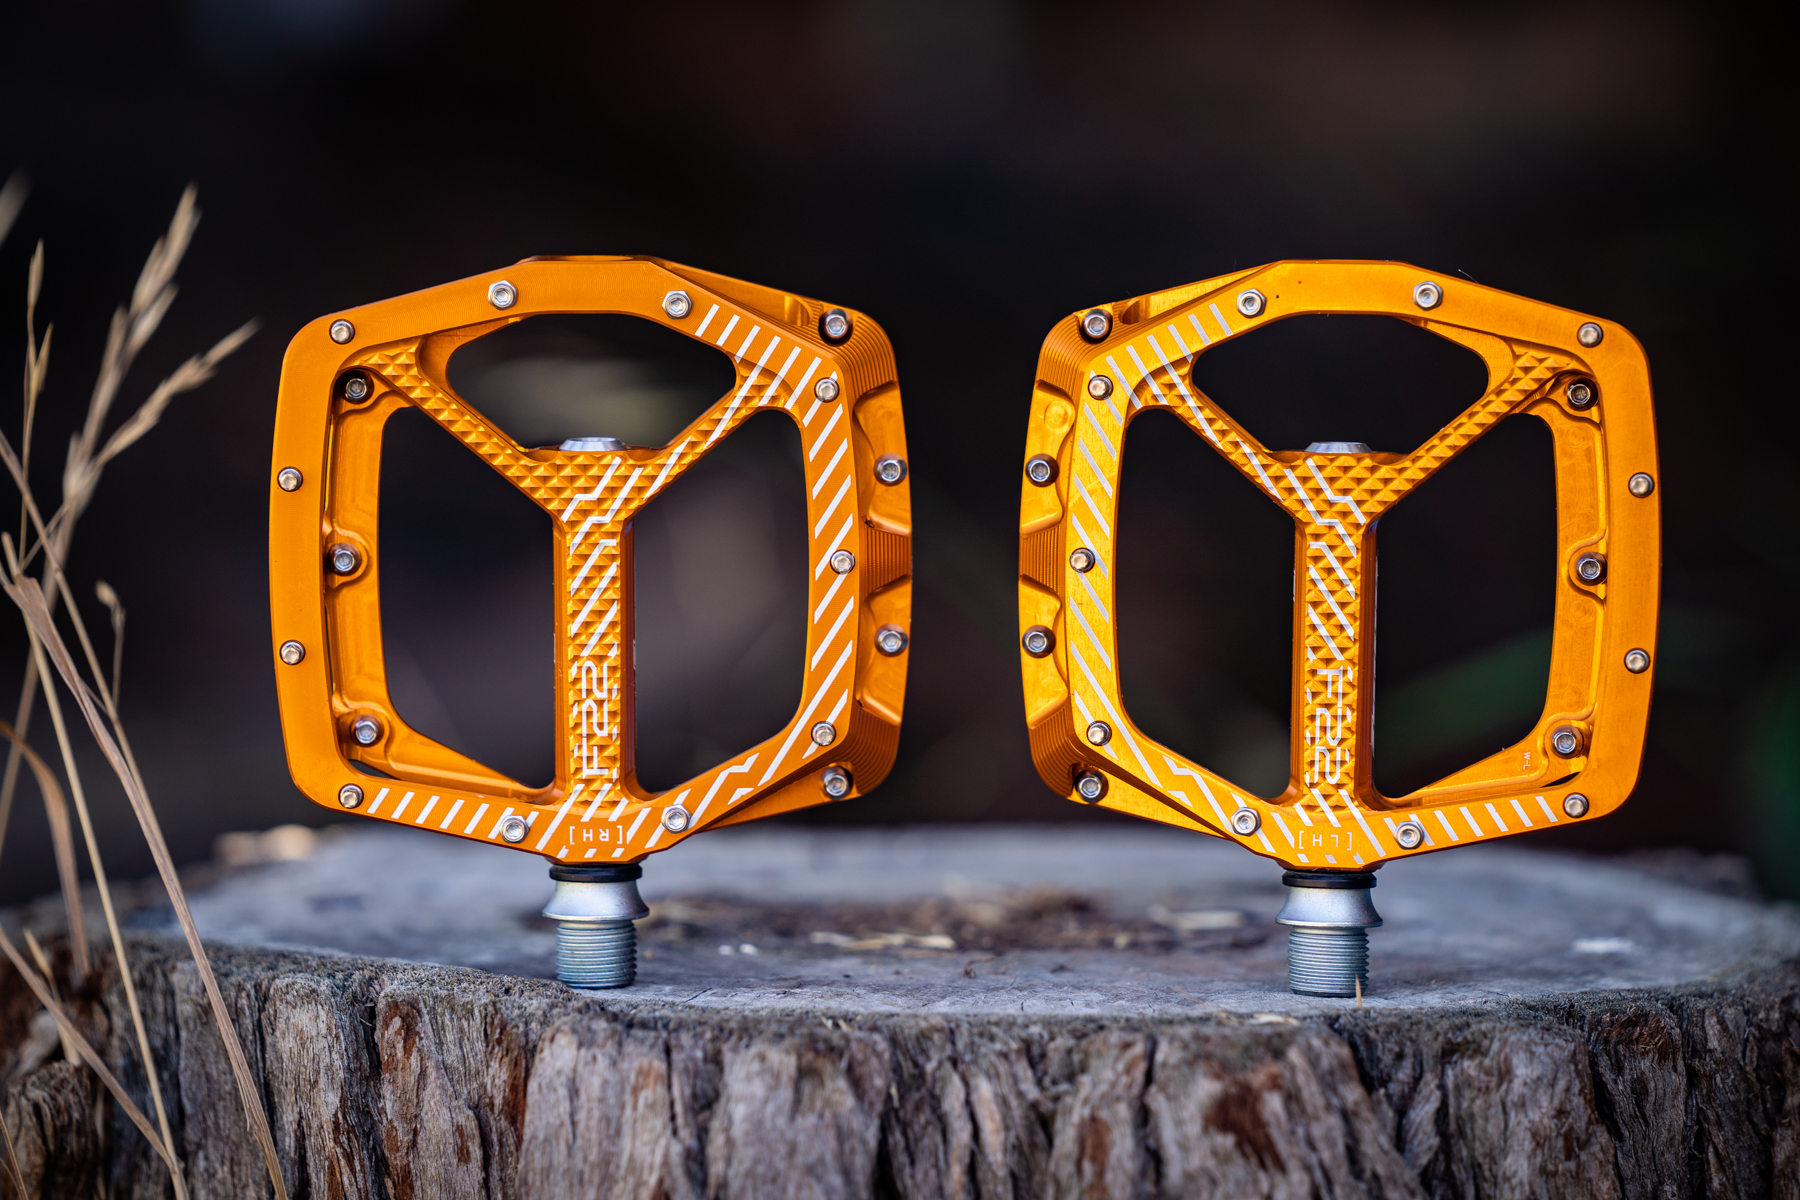
Pedals are, again, very subjective; however, your shoe choice is an often-overlooked part of the equation. Working out if you have wide or narrow feet is essential. Some brands are known for building shoes around a high or low volume last, and other brands like Shimano might offer a wide version of a particular shoe.
When it comes to the pedal itself, a key element here is working out what most of your riding will be like or what sort of terrain you will be on. This can help narrow down the size and style of pedal you may need. For example, if you spend hours in the saddle on smooth trails with lots of climbing, a large-bodied trail to a DH-style pedal may not be your best option. Or if you ride steep technical terrain with lots of jumps, the extra support from the larger pedals might be worth the excess weight.


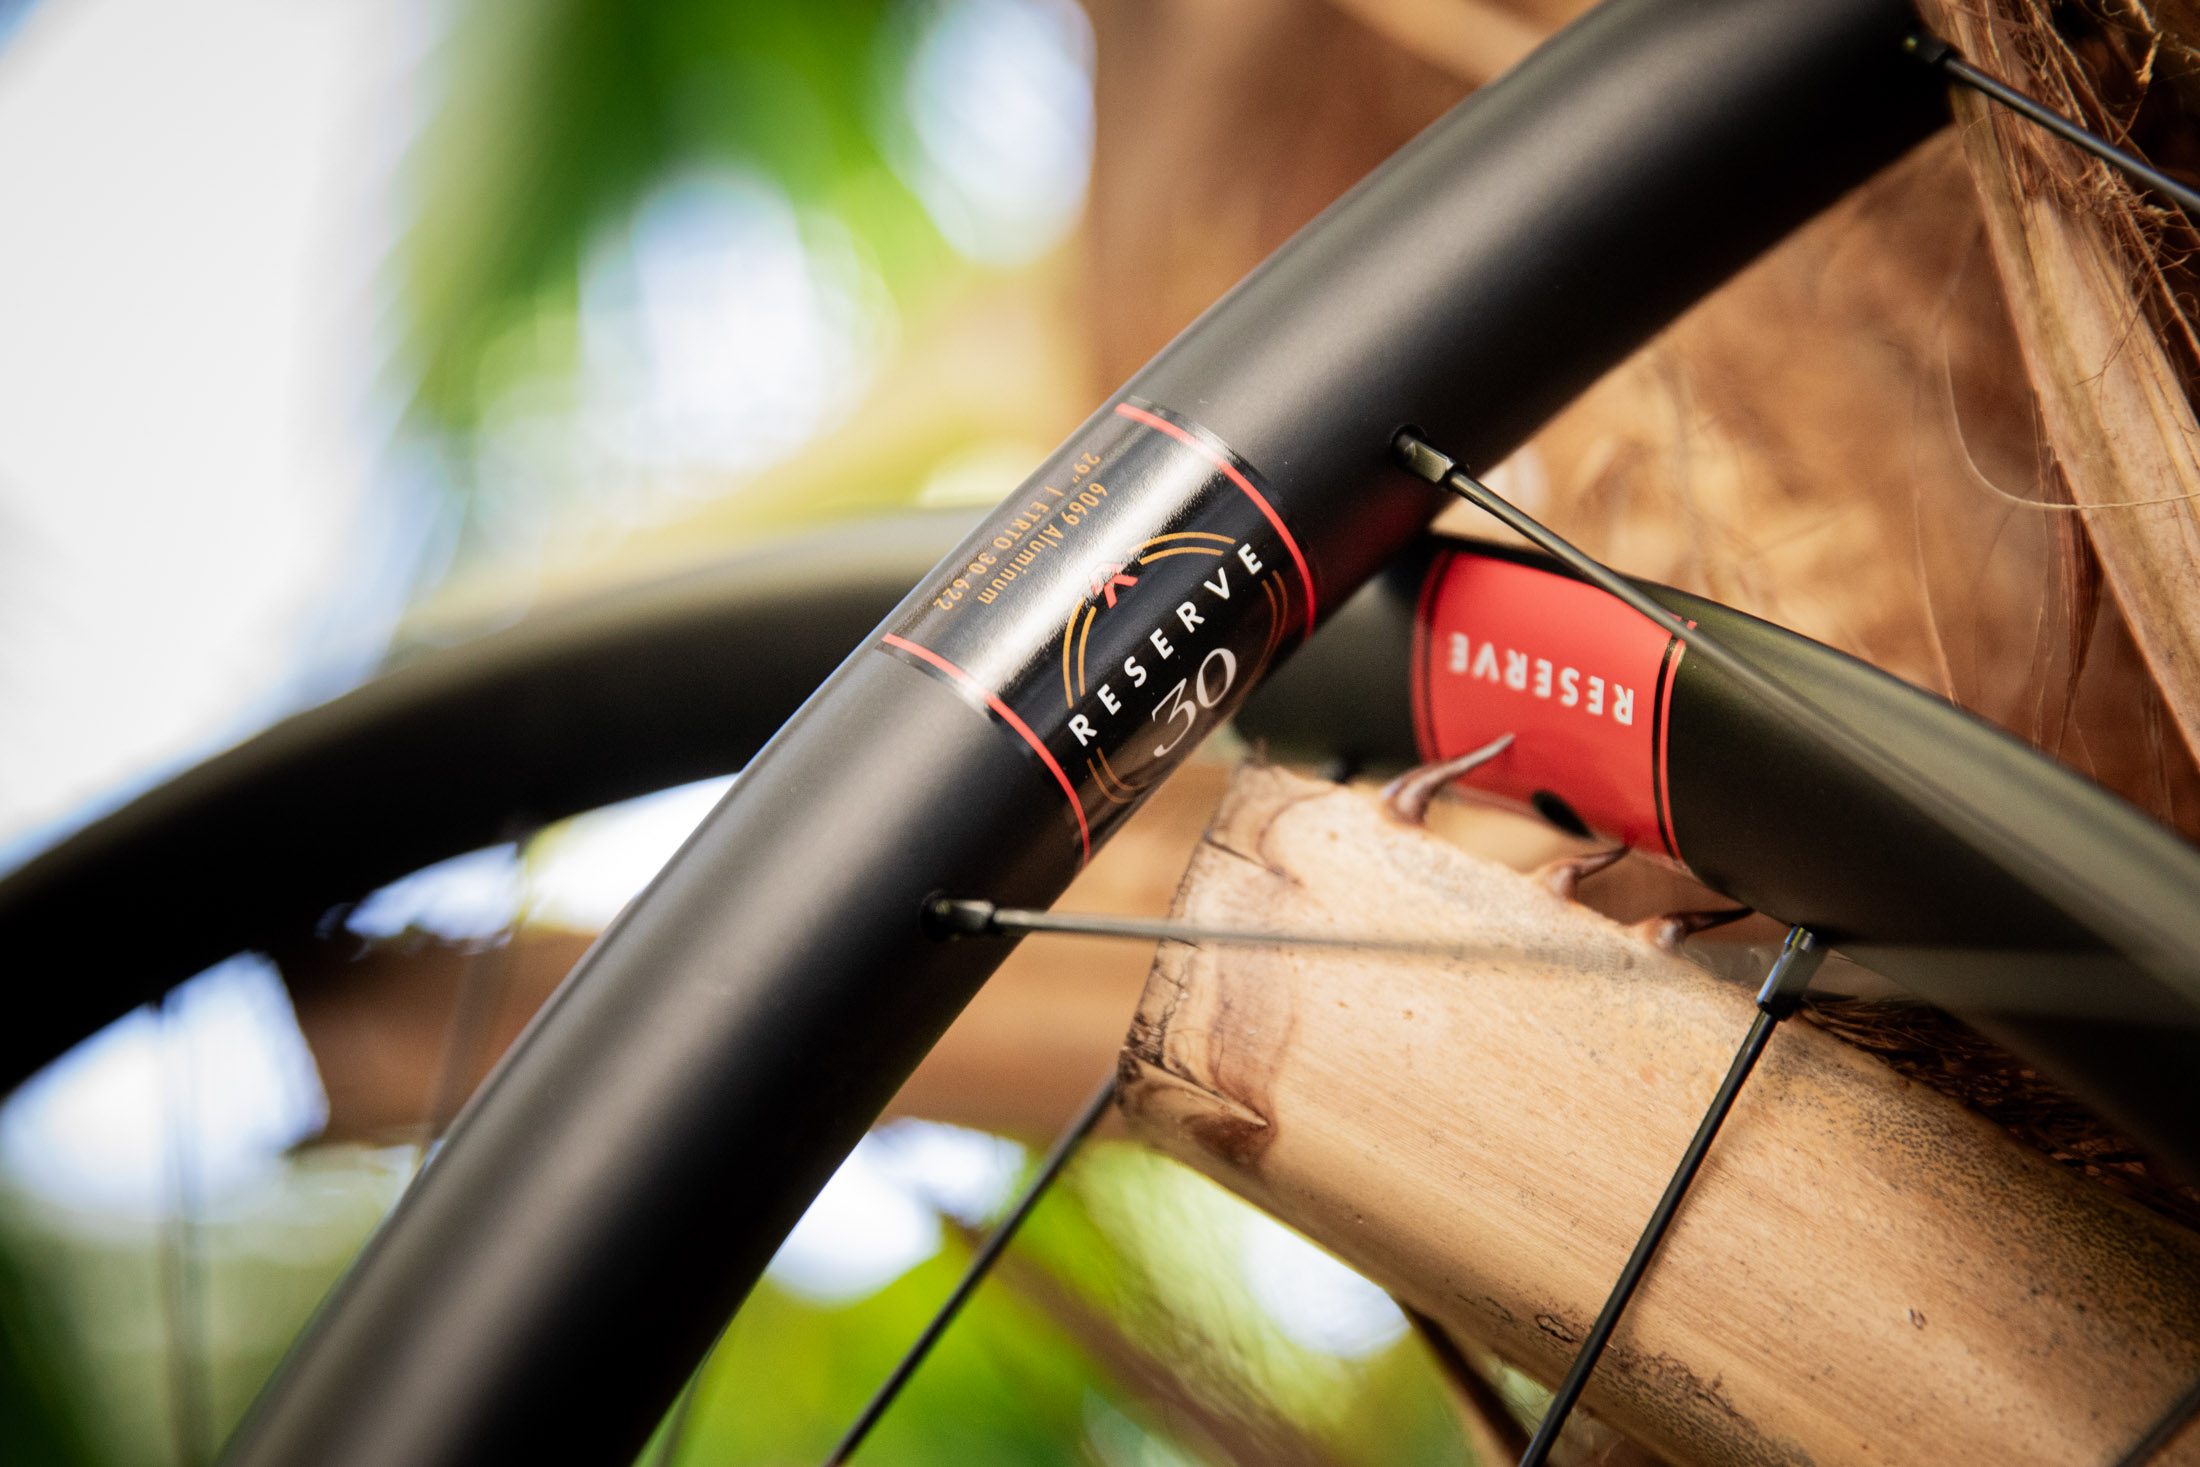
Wheels | An expensive upgrade, but big performance potential
Wheels can be an expensive upgrade but also one of the most rewarding components to change. A lot of brands will stock their own branded rims on a bike with some entry-level hubs, even on higher-end models.
These wheels will usually be heavy, and the hubs will be slower to engage. Upgrading to a stronger, lighter wheelset with a faster, engaging hub can make the bike feel drastically different on the trail.
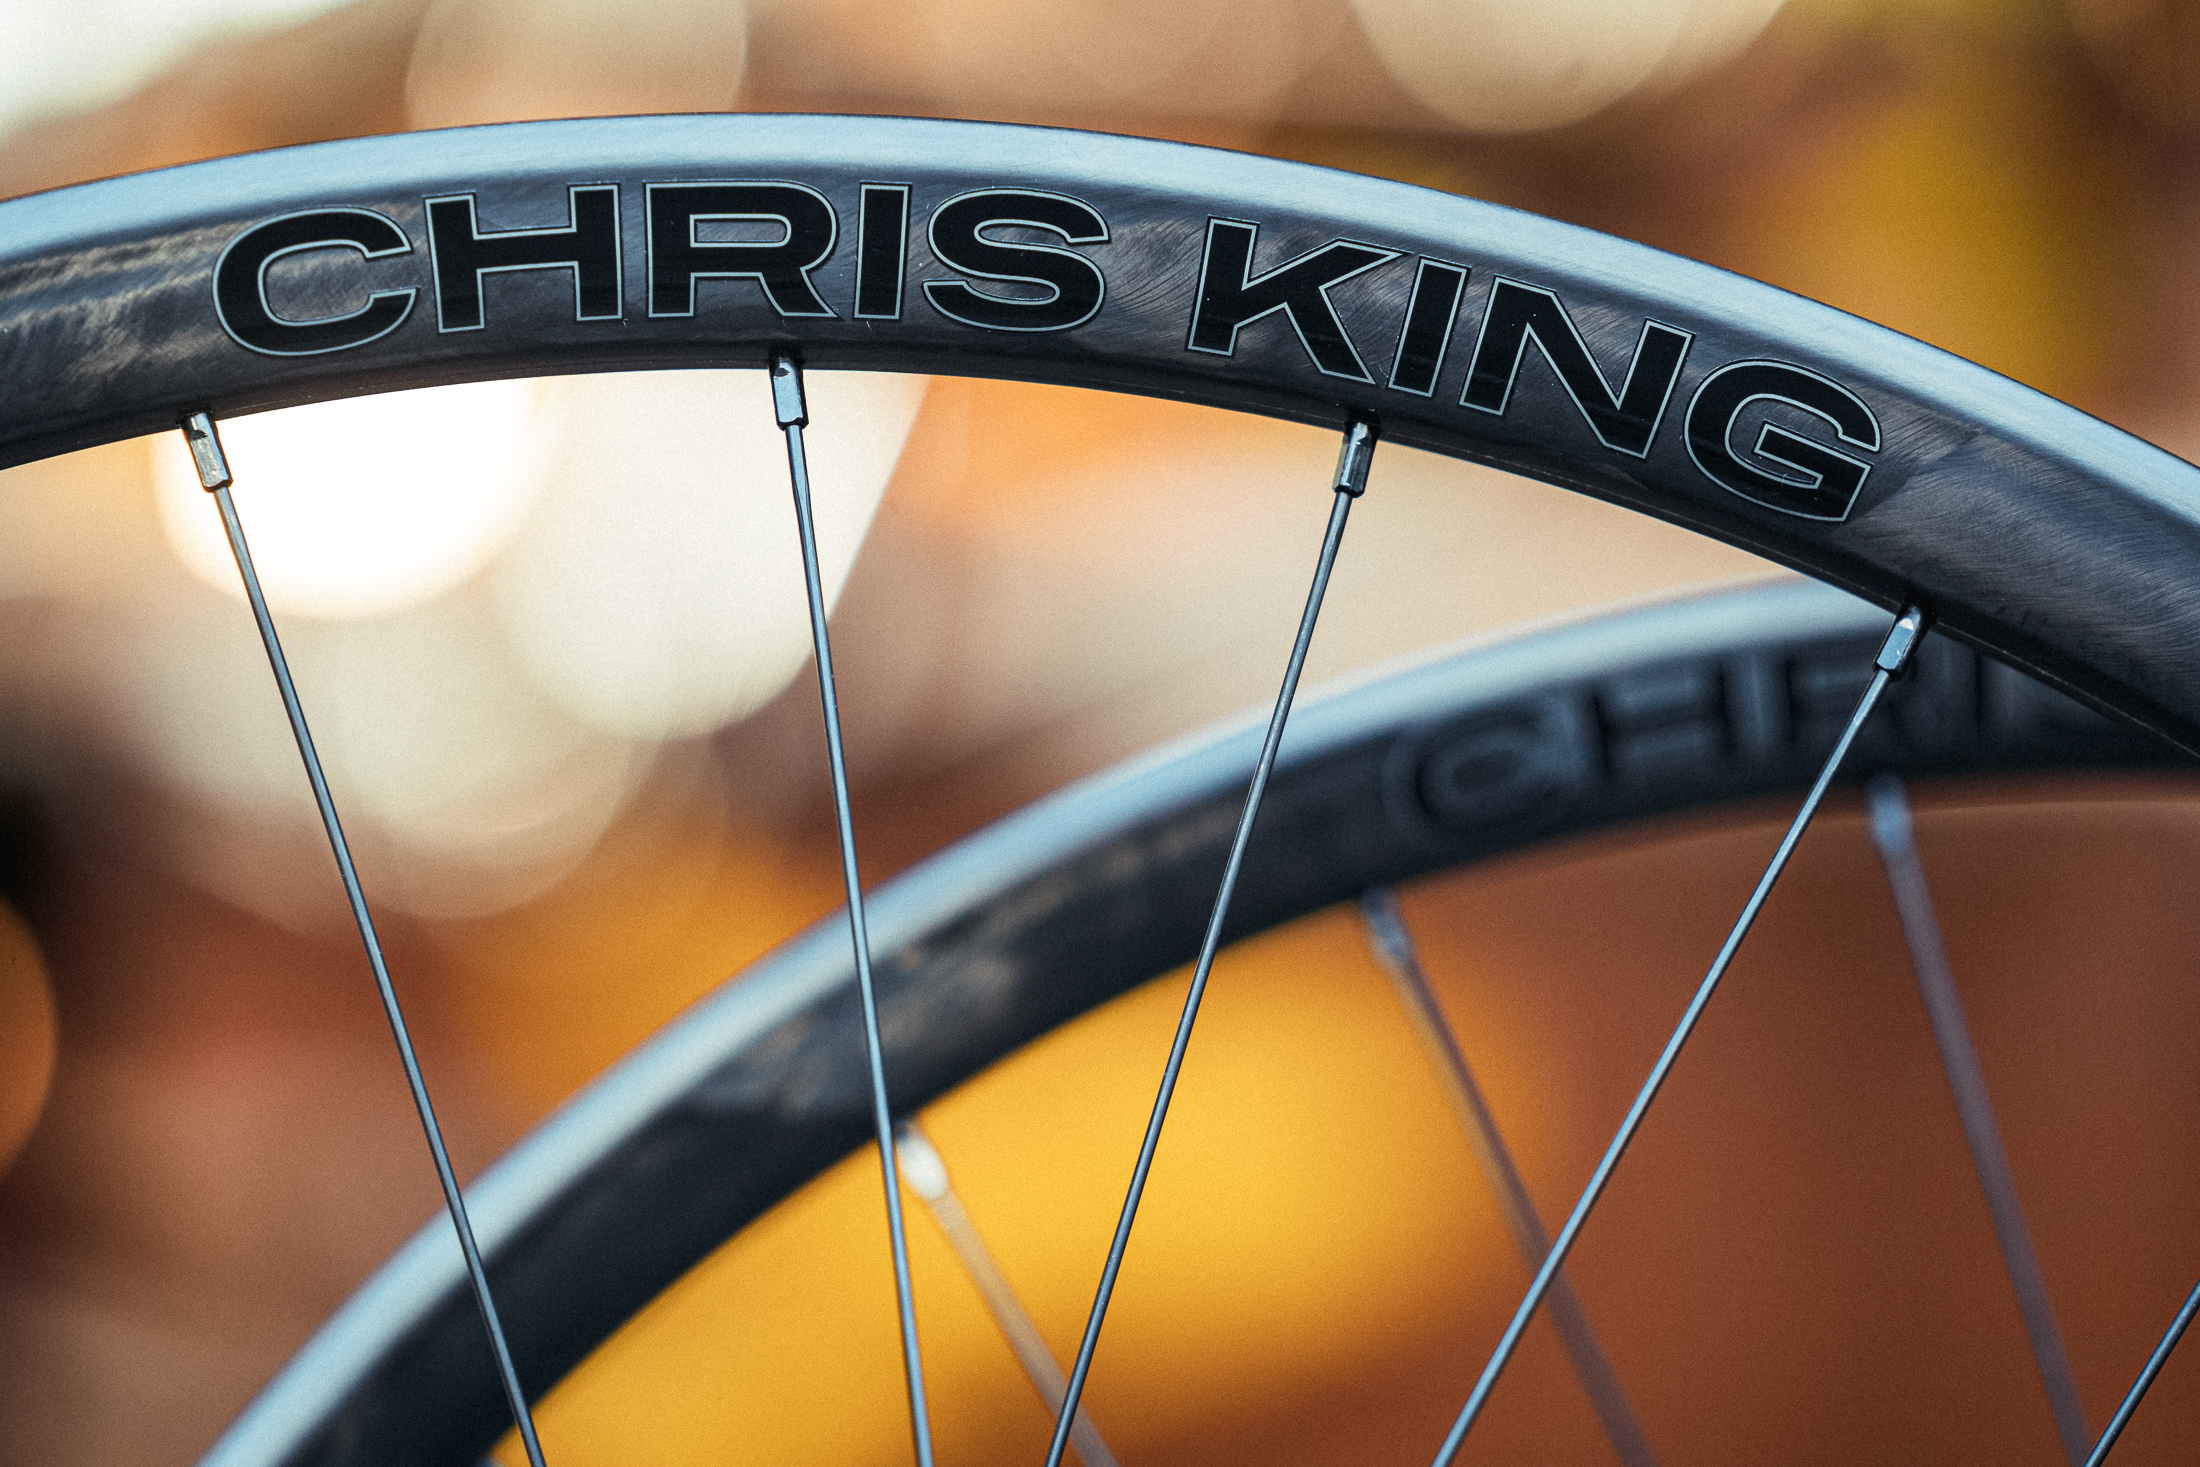
That’s not to say that all house brand wheels leave something to be desired; Bontrager, Roval, Syncros, Giant, and many others all make hoops that folks will seek out as an upgrade.
The key here is selecting the right balance between cost and performance. Carbon rims can cost you thousands, are usually lighter and offer superior vibration-damping characteristics. An increasing number are offering lifetime warranties and even crash replacement, however, plastic fantastic wheels may still be beyond your budget.
A decent set of alloy wheels from a reputable brand could save you a lot of money and hassles. DT Swiss for example has a range of well-built strong and light wheels that will last a long time. Reserve have also come out with an alloy version of its trail wheels. Both are great options with reliable hubs that will save you thousands compared to their carbon relatives.
Rim protection | Why wouldn’t you protect your investment?
Here at Flow, we are tyre insert evangelists. There is nary a test bike that is not fit with rim protection in the rear wheel before it takes its maiden singletrack voyage. While the only surefire way to prevent rim and tyre damage is to leave your bikes hanging in the shed, the reduction in the number of pinch flats and dings we have experienced, especially on rocky trails, has informed our decision.
There are all manner of inserts out there, but we recommend one that extends out over the tyre bead, offering sidewall support and putting high-density foam between that square edge and your rim. The knock-on from this is that they also allow you to run lower tyre pressure, and the sidewall support can improve handling characteristics. They do make changing tyres a bit more involved, but once you have the technique down, it’s no big deal.

Related:
Cockpit | Dial your front end, handling and fit
Upgrading or pimping out your cockpit is lots of fun, by swapping out the original components you can change your stem length and rise as well as the sweep, width and rise of your bars. You can also play around with colour combinations to match the rest of your bike or riding gear. The combinations are almost endless, but don’t be wooed by bright anodisation, chunky CNC work and bright logos.
What you can gain from changing or adjusting the components in your cockpit ranges from a more comfortable riding position to performance gains. If you are struggling with your riding position due to flexibility or muscle soreness, then increasing the height of your bars and even bringing them back closer to you could result in a more upright and comfortable position that allows you to ride for longer.

Alternatively, if you are struggling with front wheel traction, you may want to try dropping the height of your bars and even putting on a longer stem to help keep more weight forward when cornering or climbing.
This is another area where borrowing components or trying a mate’s bike can help you narrow your options. It’s also worth talking to your local bike shop, if you have a good relationship with them, you may be able to test spare bars or stems they have to dial in what rise, width and sweep works best for you.
Brakes | We need mooaaarr powaaaa
Brakes are an interesting one. While there is no doubt that the top-of-the-line brakes from each major manufacturer are superb and offer some excellent features and finite adjustments. But the quality of most entry-level brakes these days is surprisingly good.
While power is no longer lacking at the more budget-friendly end of the market, higher-end brakes add features like tool-free reach adjust and bike point adjustments as well as ergonomic improvements like lever shape and even mounting clamps that integrate with your shifters and dropper lever.
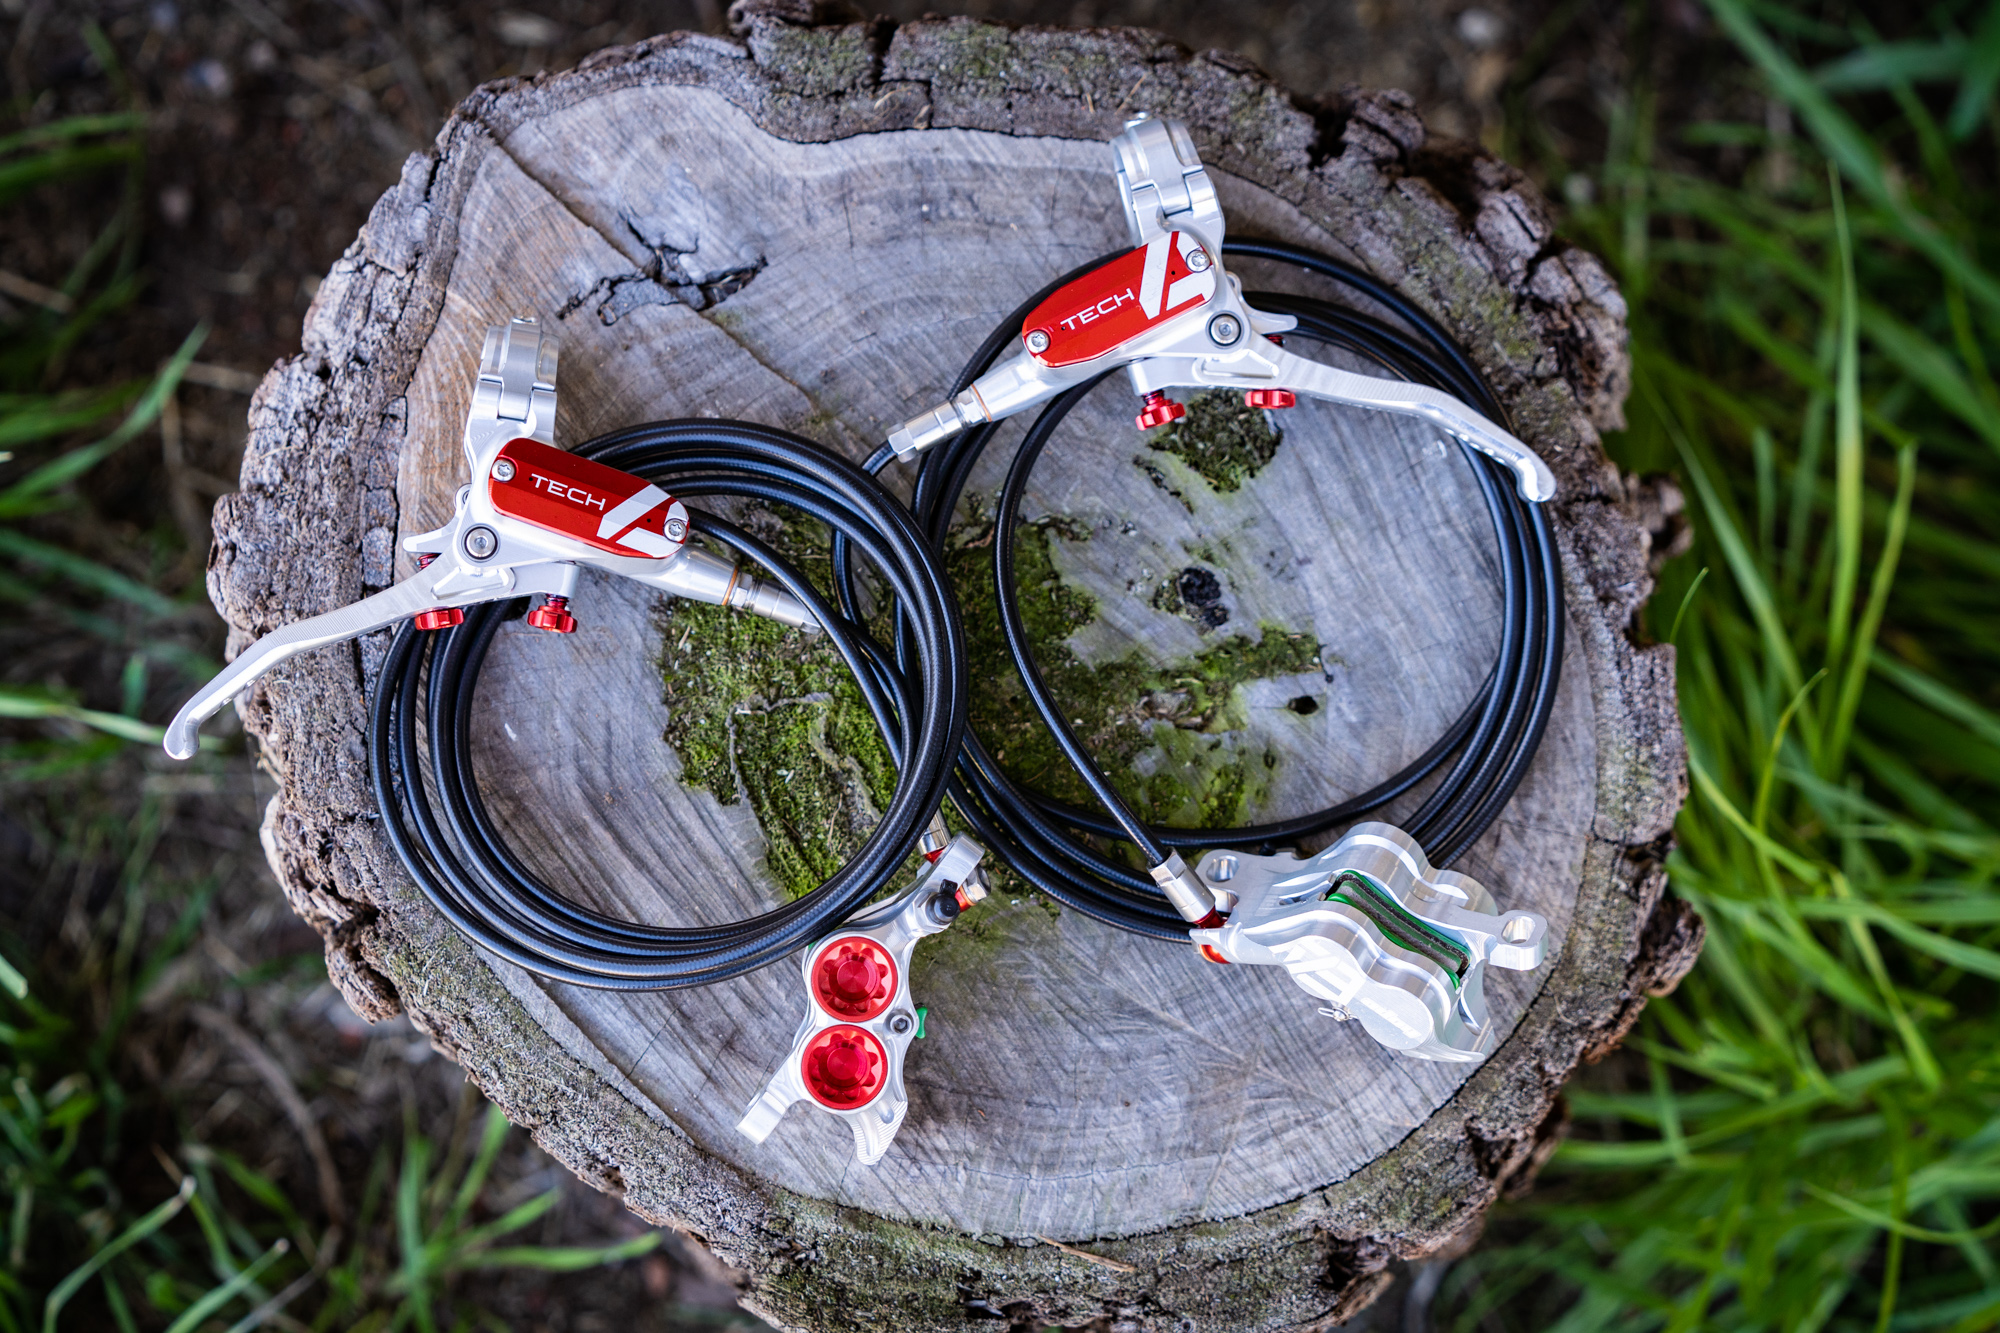
If you’re operating within the same brand, sometimes you can upgrade just the brake levers and keep your current callipers to save a bit of cash.
If you do find that your stock brakes do not offer enough power, you could increase your rotor size instead of swapping out the whole brake system. This is a much cheaper and easier way to upgrade your setup.
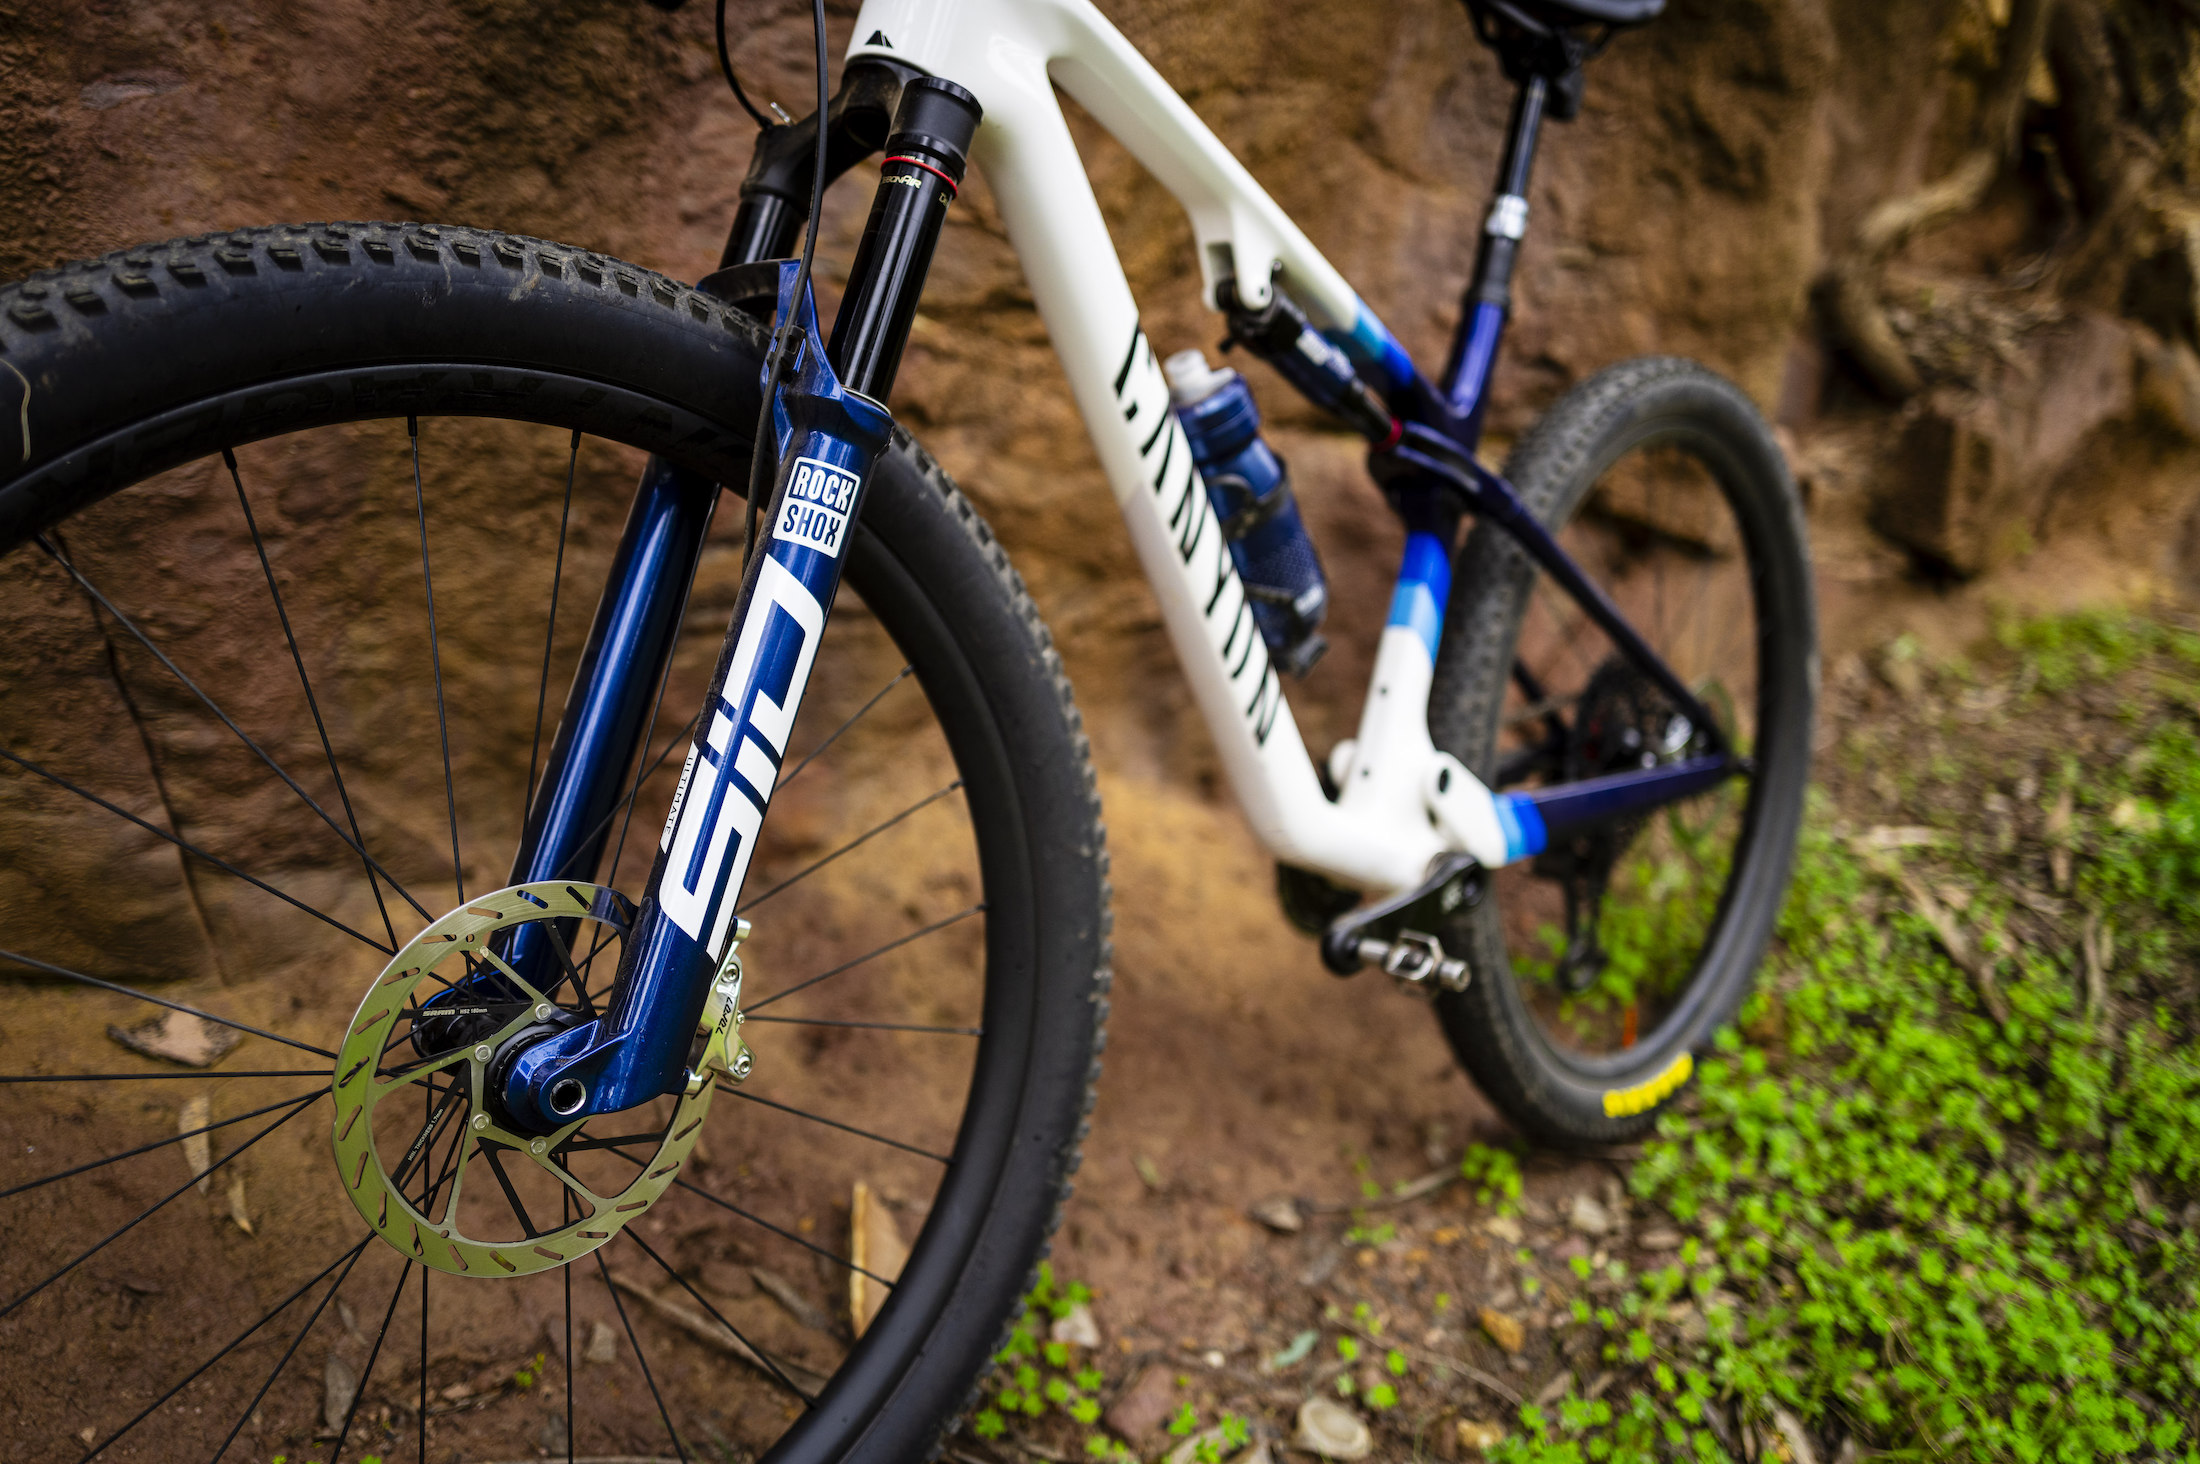
Suspension | The answer isn’t always Kashima
Just like a new wheelset, swapping out your suspension can completely change the handling of your bike. The only issue here is the cost, and your suspension is usually the most expensive component on your bike. Before you start throwing money at new components, make sure your suspension is set up properly. Also, don’t forget about the service intervals, and if it’s been a while, fresh oil, seals and foam rings can bring back a level of sensitivity and support you hadn’t realised you lost.
Related:
- Flow’s guide for setting up your Fox fork | Suspension Tuning Tips Pt.1
- Flow’s guide for setting up your Fox shock | Suspension Tuning Tips Pt.2
The second-hand market can be an excellent place to look for deals, and some riders will swap out brand-new forks or shocks for their preferred model, and you could get a great deal on unridden components.
With suspension, it is often worth considering the second-tier offering from the major brands; the Fox Performance Elite and Rockshox Select+ models can offer the same or similar levels of adjustments without the flashy bling of the Factory or Ultimate versions.

Before upgrading your suspension, you should think about why you are doing it and what you want to gain. If you ride more gravity-oriented tracks and your bike has a basic damper, such as a Fox GRIP or Rockshox Motion Control, and you are chasing more control, then upgrading to a GRIP2 or Charger 3 could help you find that control and confidence with the additional clickers.
The same goes for your shock, except there is the added option of changing the spring type from air to coil or vice versa. Of course, this will depend on your bike’s specific kinematic, as not every frame works with the linear nature of coil shock.
Another reason to upgrade your suspension could be to achieve a better balance between the front and back of the bike. Some brands choose to spec either a higher level or more adjustable shock or fork. This can sometimes leave the corresponding suspension component struggling to either keep up or match the performance of its counterpart. In these instances, upgrading the less adjustable or simpler component could be all that is needed to get the most out of the bike.
Dropper posts | How did we ever ride without them?
We have deliberately left dropper posts to last, as these are something that most people probably don’t need to swap out. HOWEVER, if your bike does not have one, it should be the first thing you put on it.
The best dropper for you will depend largely on your bike and the style of riding you do. On an XC bike, you don’t need much drop, but grams are important, so looking at a shorter two-position dropper like the Fox Transfer SL may be worth your while.
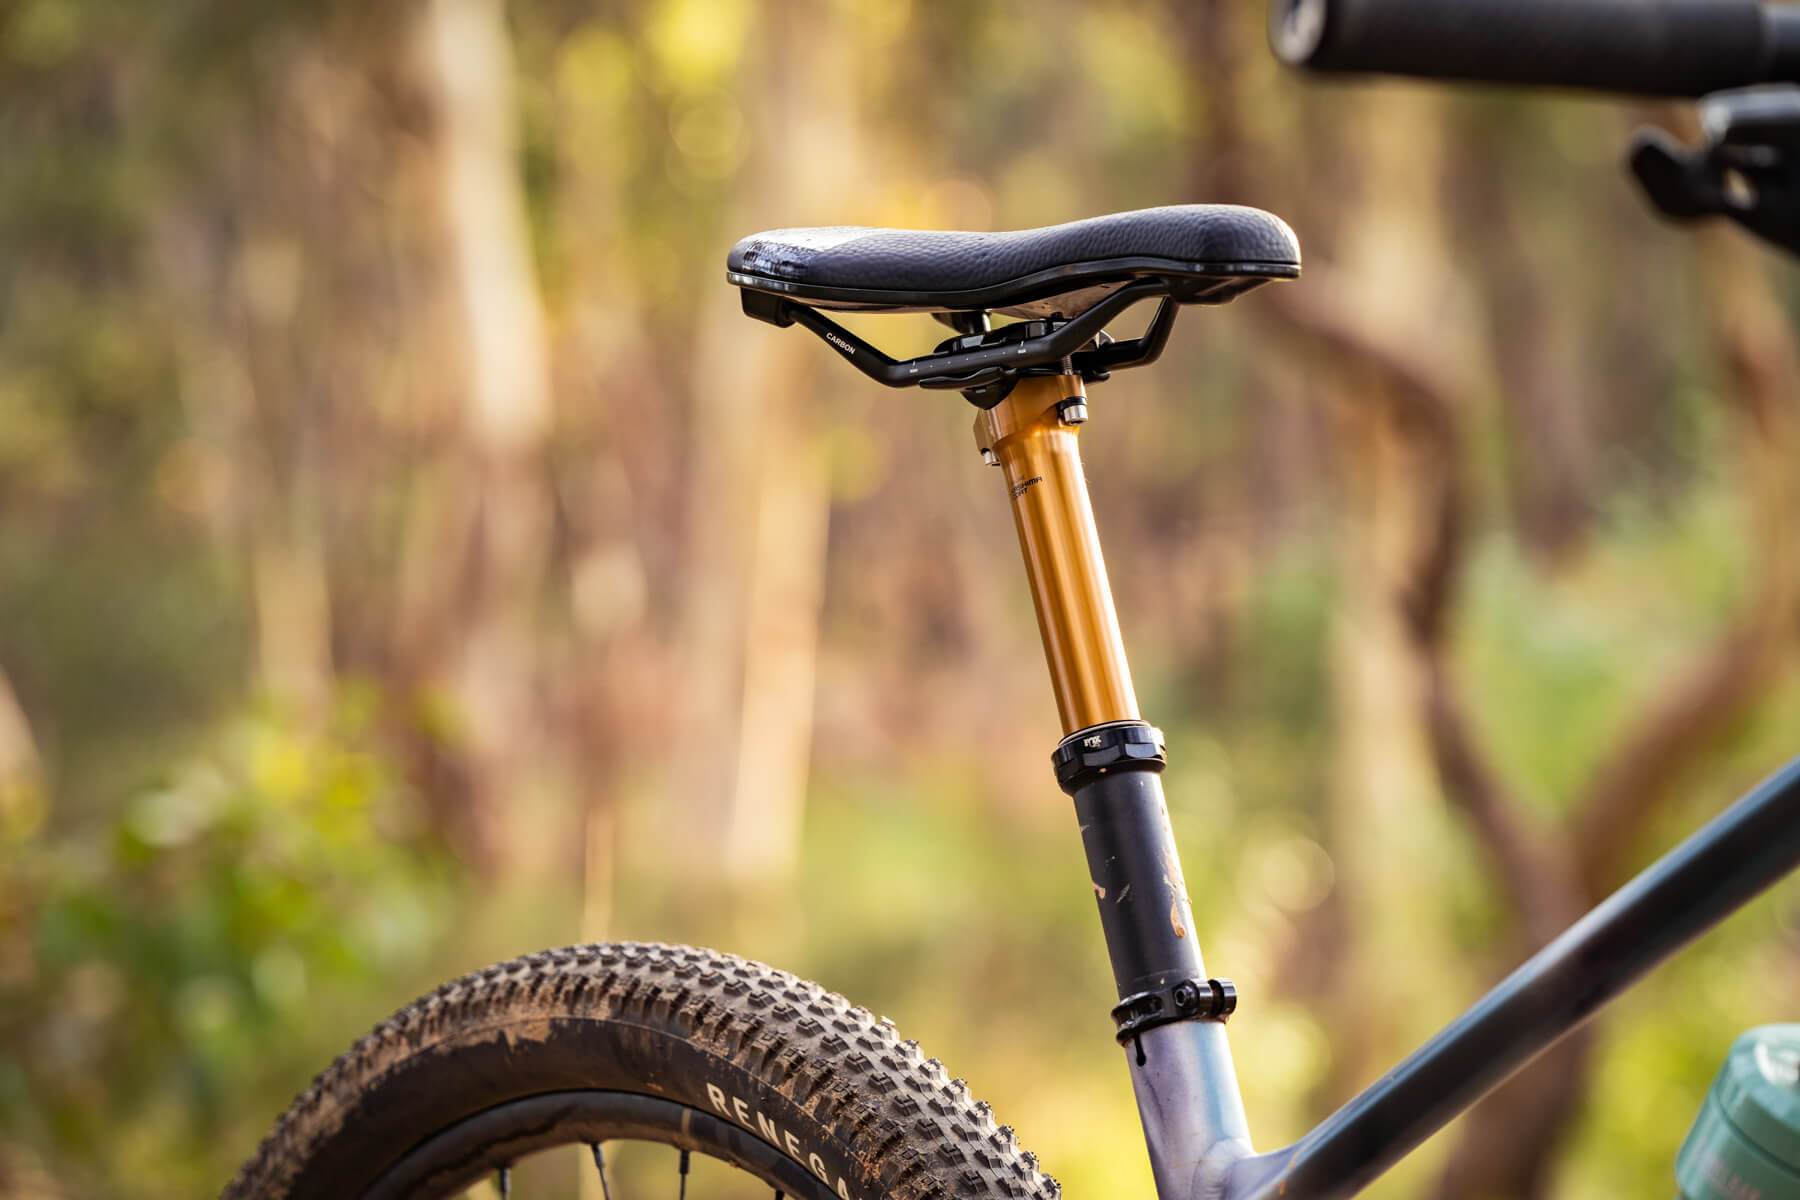
Alternatively, adding a longer dropper will add some clearance between your undercarriage and the saddle, and allow the bike to move freely underneath you on steep and technical descents.
XC whippets aside, typically, we would recommend aiming for as much drop as your frame will allow. This will be determined by your saddle height, the length of your seat tube and if anything is obstructing it, like kinks or pivots. Some are even travel adjustable, so you can tailor exactly how much drop works for you.
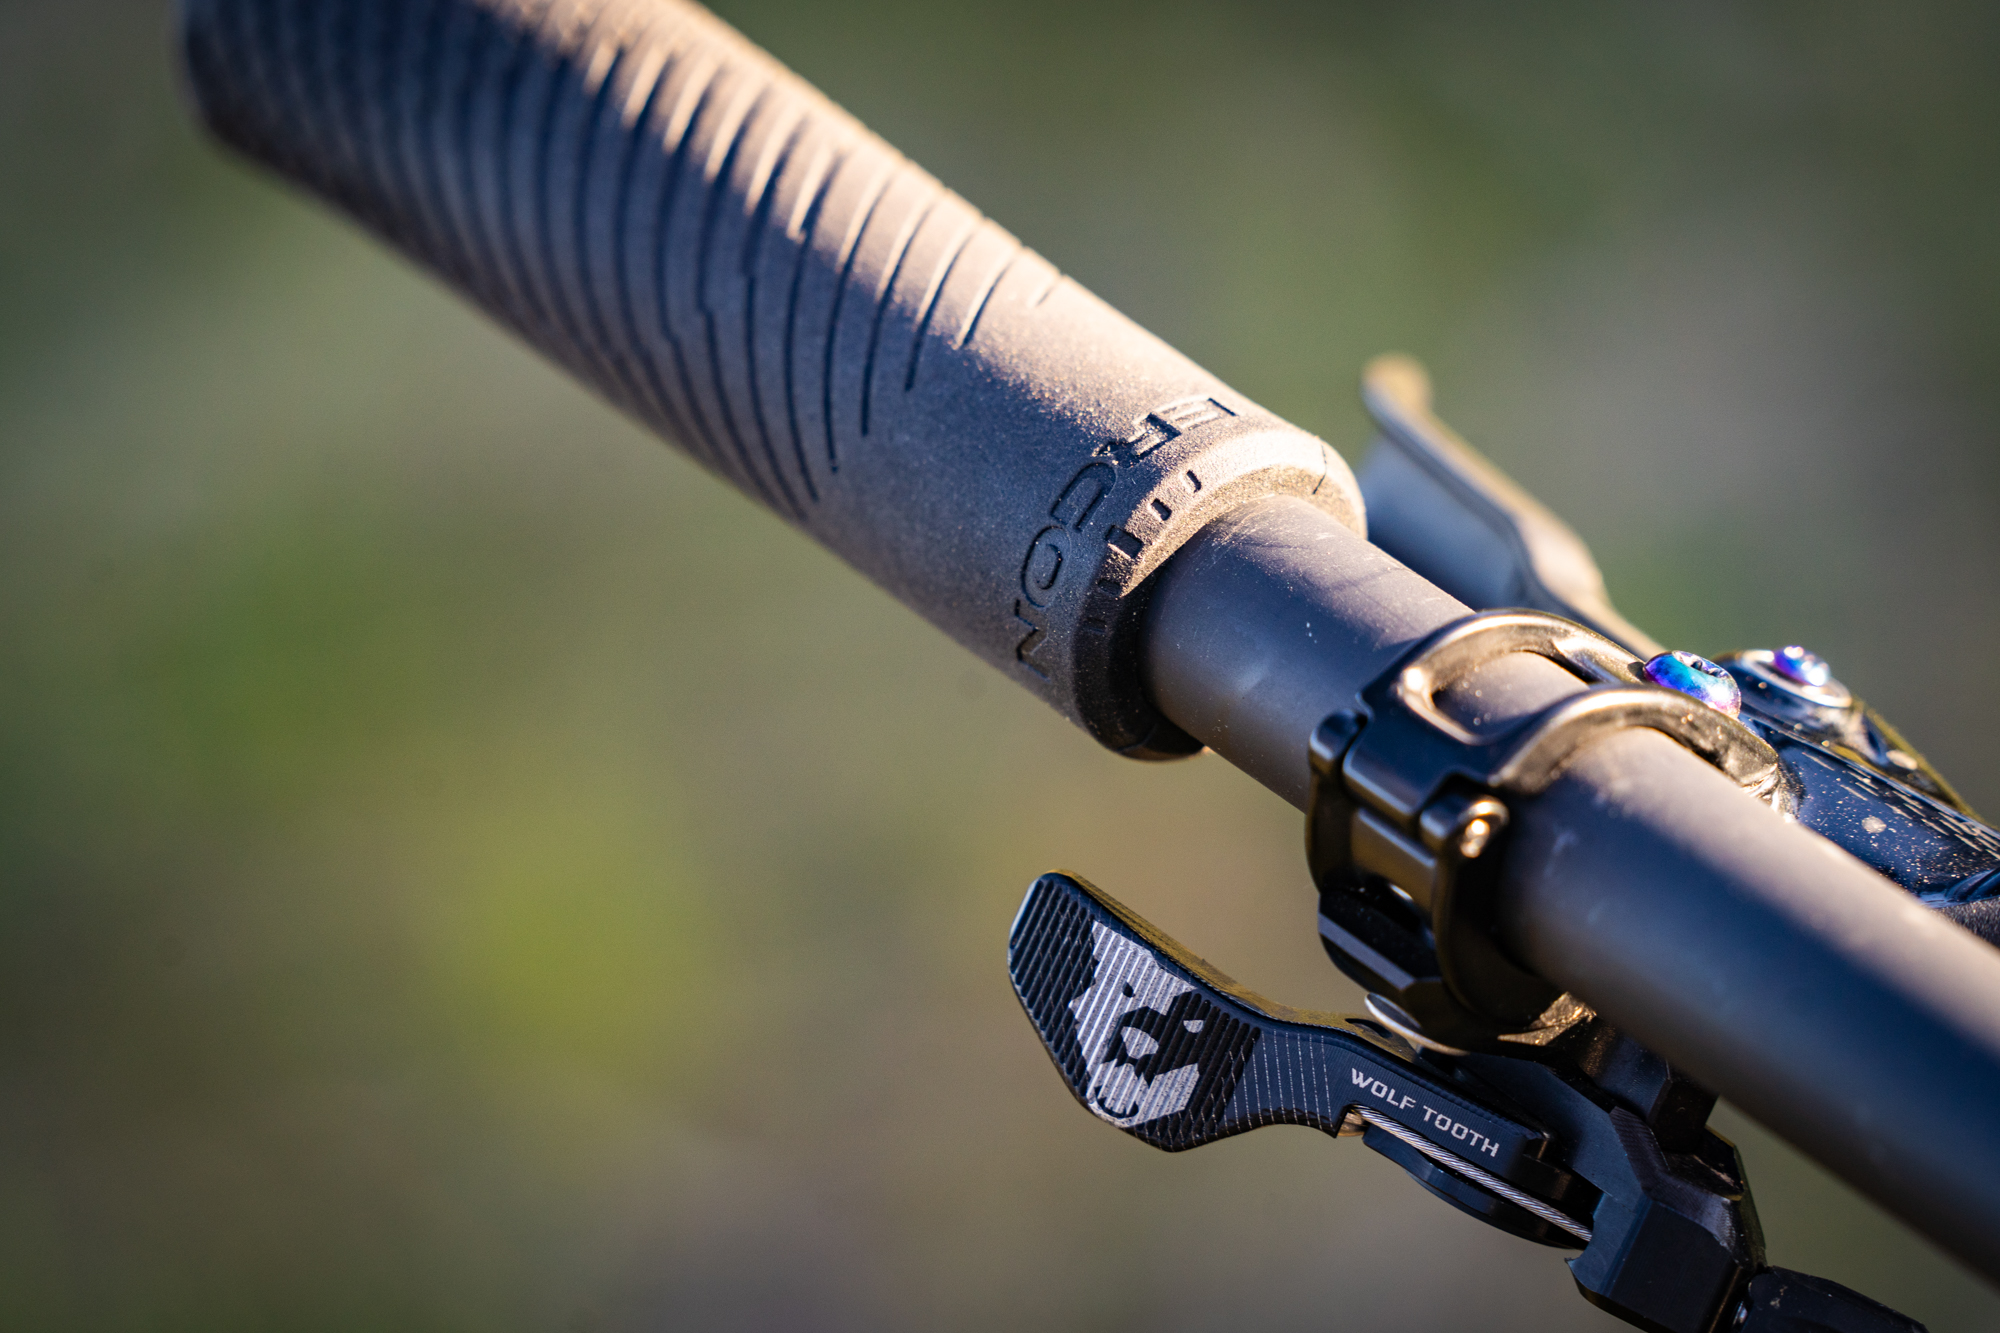
It’s also worth considering swapping out the dropper lever. If your lever feels rough or vague, and requires a load of force to actuate your saddle, upgrading the lever can make a substantial difference to how sore your thumb is at the end of the day. Brands like Fox, OneUp, Wolf Tooth or Shimano offer well-designed ergonomic levers. Make sure you consider your mounting options as not all brands are compatible with each other.